 |
| Here's our final product. We did this craft 2 times yesterday, resulting in about 20 feet of chain. |
Age: 1 - 100
Time: 20 minutes +, depending on decoration and length of chain
Mess/Cleanup: Not that bad. We used all of the paper we cut up. The paint was washable.
What You Need:
- Any type of paper (We just used a mix of office paper). About 6 pieces.
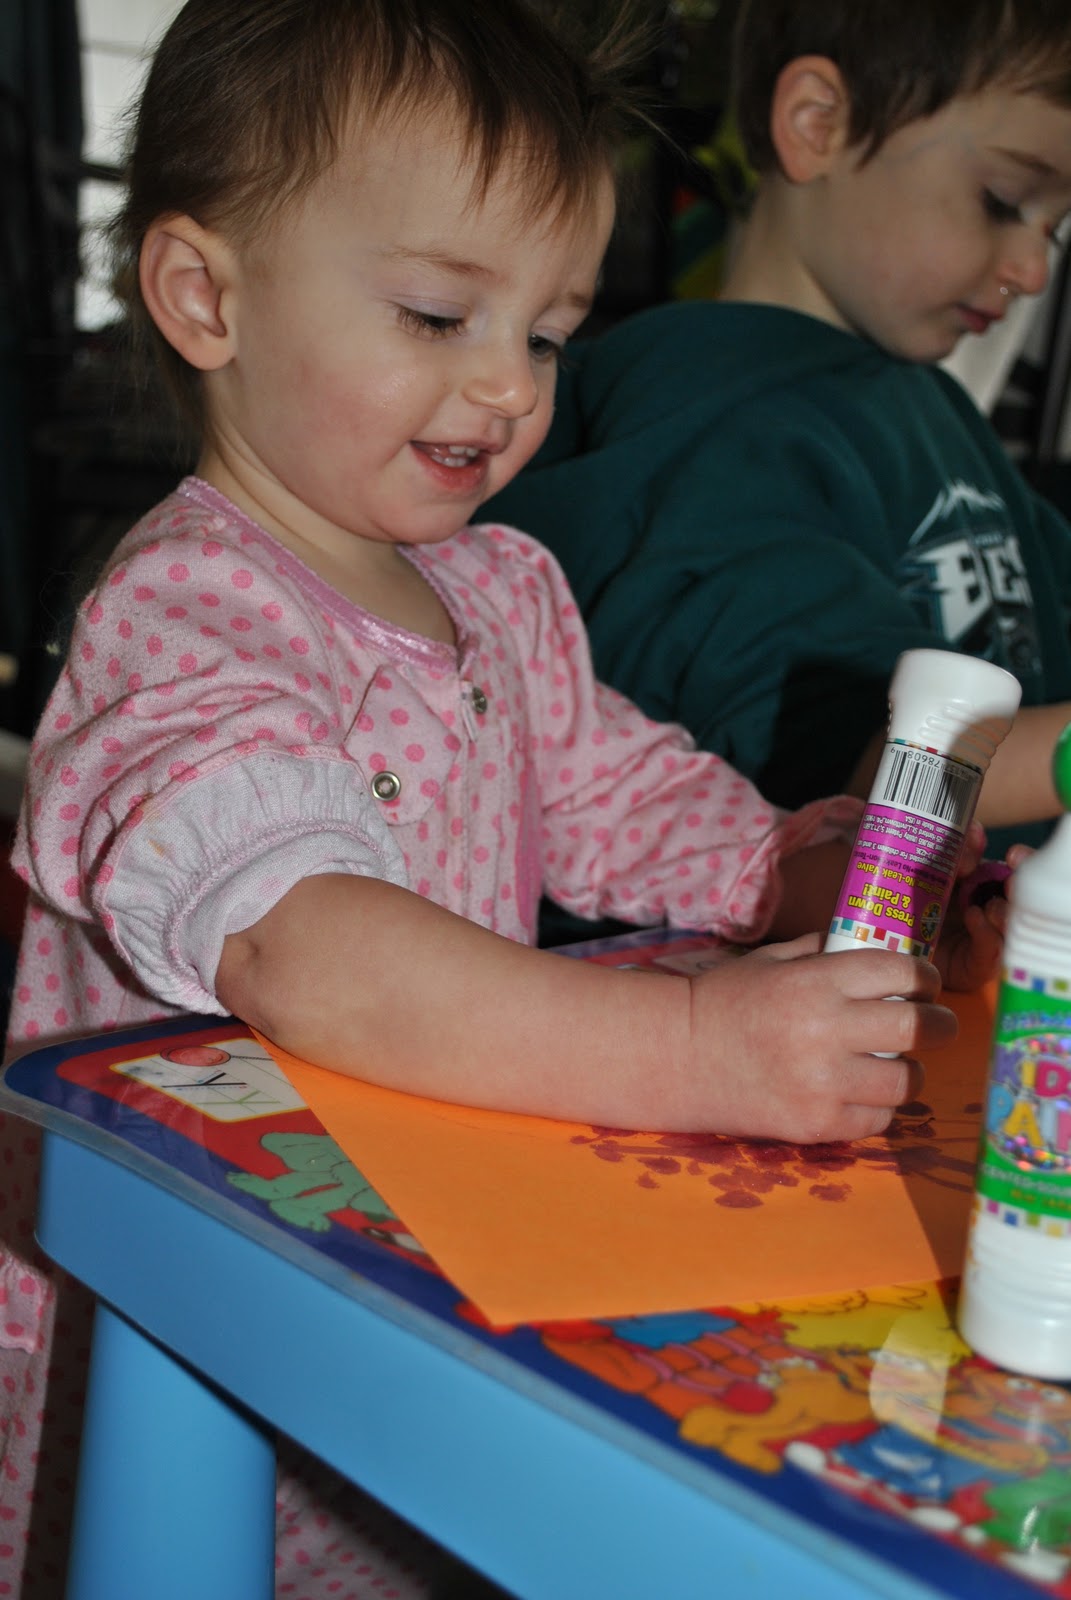
- Dot Paint (I have ones similar to these. Except my paint is also glittery). Who can't resist glittery, fruit scented paint? Not my toddler. She applied it as lip stick. Good thing it's washable! And this paint is really easy to get off: teeth, lips, eyes, etc. It even gets out of clothes easily.
- Stapler
- Scissors
- Substitutions
- Any other decoration - glitter, stickers, paint, glitter-glue, pom-poms
- Tape instead of a stapler
- If you're looking to do something with old "art-work", use that as paper for the chain. I think we'll probably do this again with colored-coloring book pages.
Both of my kids can do the craft at the same time. I found out that my toddler LOVES dot paint. I think she painted for a full 40 minutes. This can also give me another craft to make out of the millions of pieces of "artwork" I have floating around my house.
Step 1: Suit up the kids in smocks. It just makes clean up easier. I have these cover all bibs from Ikea and this apron from Constructive Playthings.
Step 2: Cover a table with lots of paper. We used 3 colors - orange, pink, and blue. Bring out the dot paint or whatever you would like to do to decorate the chain paper to-be. I think glueing some small pom-poms on the paper could make a cool chain.
 |
| Even with a double ear infection, dot paint makes her smile! |
 |
| I learned my lesson. Anytime paint is introduced, a smock is really needed. |
 |
| The scented paint smelled so good! And this paint dries rather quickly. |
 |
| Even a 4 year old can do this step! |
 |
| Grandmom and Mom helped with this step. But my preschooler loved using the stapler! |
Enjoy!
-Rose @-}--
I love the blog, Rose, keep it up! It looks great!
ReplyDelete-Annie
You're our first comment. Thanks :)
ReplyDeleteI haven't made those in years! We will be making them soon! Recycling artwork! Perfect! I don't like to throw out Anthony's projects but there are just too many to keep. From now on we'll keep a few and recycle the rest.
ReplyDeleteAnthony recently did a make your own "rocket" project. I'll type out the directions and send them to you.It was an easy inexpensive craft that he played with for quite a while after it was finished.
I really enjoyed your blog. It's laid out perfectly with easy to understand, step by step directions. The pictures are great too :)
Good luck with the blog and the book!
Debbie
Awe thanks Debbie! And please send on that craft. I would love to try it out. Anything with rocketships would be definite crowd pleaser!
ReplyDelete-Rose