This week my son's pre-school class is making a 3D model of their neighborhood. We haven't been doing as many crafts since the weather has been so nice, but last night after seeing the little neigborhood of houses made by my son's class I was inspired.
 |
| Patrick and Batman enjoying their new park. |
Age: 4+
Time: 30 minutes+
Mess/Cleanup: 5-10 minutes for all of the paper scrapes
What You Need:
- 1 flatboard box (I used a pasta box)
- 1 piece of styrofoam
- Glue Gun with sticks
- Scissors
- Pool Only
- Plastic wrap (using blue cellophane would also save a step)
- Blue marker
- Stapler
- 2 pieces of white paper.
- Decorations (my son chose to use self-adhesive glitter stars and numbers)
- Swing Set Only
- 1 piece of green felt
- Glue sticks
- About 2 feet of yarn
- 5 popcicle sticks.
- We added Batman and Slinky Dog
Why I like this craft:
Every day is gets harder to pull my kids off the TV, iPhone, or iPad - and they're only 2 & 4! And if the weather isn't great going outside isn't an option. Any inspiration I find I try to bring home and turn it into a craft so we can have an activity before bedtime. Both my son and daughter has little gumball-machine 'active figures' that are perfect size to 'play' on their new playground. As soon as my son got up this morning he told me that, "Patrick (the Starfish) and Batman went swimming, and Batman broke the swing." At least it's functional art!
Step 1:
Cut apart box. We just need to 2 large rectangles (one for the bottom of the pool, and one for the swingset base), and the strip of flatboard (for the sides of the pool)
Pool:
Step 2a:
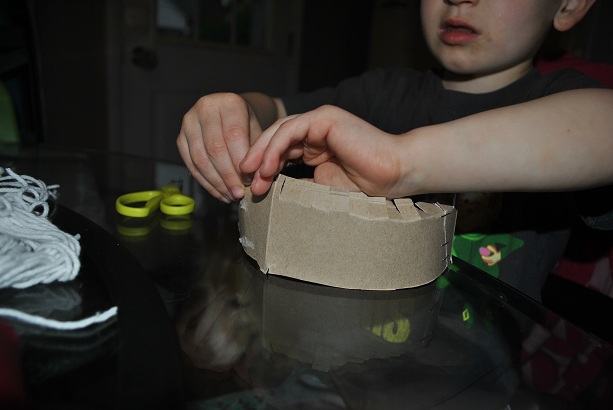
(Mom's part) Take strip of flatboard, arrange it in a circle and staple the ends together. Using the scissors, snip little 1/4 inches flap all around the strip of flatboard.
Step 2b:
Have your little one fold the flaps inward. We will use these flaps to attach the edge of the pool to the base.
Step 2b:
(Mom's part) Using the glue gun, apply glue to one of the large flatboard rectangles in the shape of the "pool". Adhere the edge of the pool to the base. Using scissors, trim the base to match the edge of the pool.
Step 2c:
Using the white paper, cut out oval for the bottom and strips for the side. Adhere to the inside of pool. This will make the water stand out.
Step 3: Making the water. This was my son's favorite part. Take a large section of plastic wrap. Flatten it on the table. Have your little one use the marker to color the plastic blue.
My son loves this because it looked like he was coloring directly on the table.Step 4: Invert the plastic wrap (so the marker doesn't not get on anyone's hands) and stuff in into the pool. If needed, fluff it up with more plastic wrap under the blue.
Step 5: We used a little piece of styrofoam to make the diving board. I just used the glue gun to attach it.
Step 6: Have your little decorate the outside of the pool.
Swing Set
Step 7: Using the last flatboard rectangle, using the glue stick, spread some glue and adhere the green piece of felt. Trim if needed.
Step 8: Create 2 "V"s the same shape out of the popcicle sticks. Using the glue gun, glue the top 2 sticks together for each "V". Let cool for a few minutes.
Step 9: Using the last popcicle stick, using the glue gun, attach the top piece.
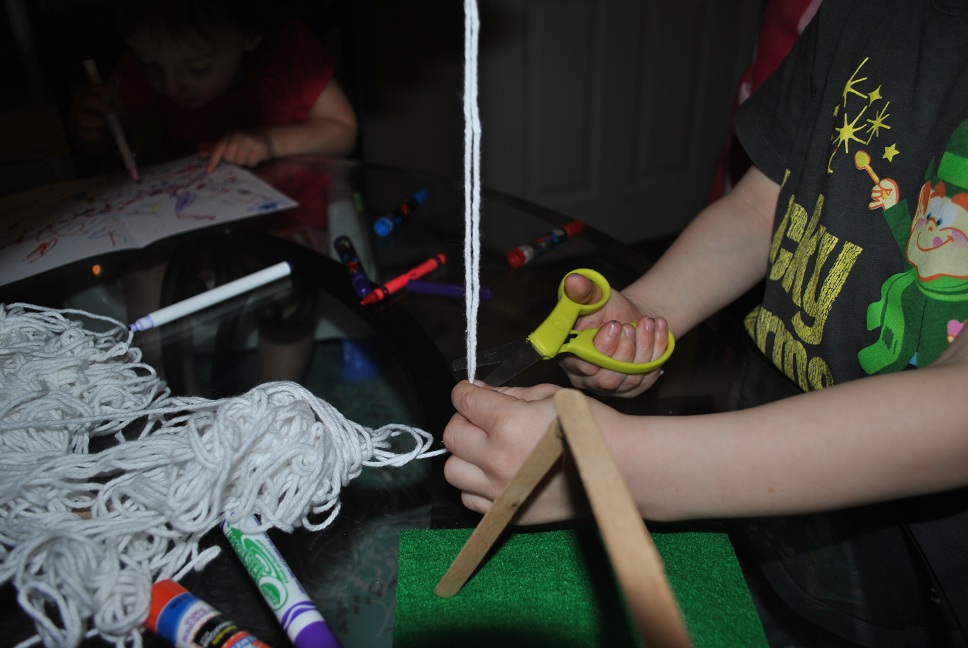
Step 10: Cut 2 pieces of yarn about 12" each.
This was a good exercise in measuring for my son. Tie each into a "U", using the top stick as the base. This will create your 2 swings.
Step 11: Cut 2 small rectangles out of the styrofoam. Cut tiny slits into the short ends. Insert the strings into the slits. Voila - you have swing seats!
Step 12: Using the glue gun, glue the four posts to the felt.
Phew. That's it. Now bring on all of the mini action figures!
-Rose @-}---