Time: 20+ minutes
Cleanup: rubber bands will probably be stuffed in your couch cushions; otherwise cleanup us a breeze!
What You Need:
-little piece of scrap wood
-5 nails or push pins
-hammer (if you're using nails)
-1 c-clip or paper clip
-lots of little rubber bands
-crochet hook (optional)
Why I Like This Craft:
I enjoyed the challenge of trying to figure out different patterns without having the actual Rainbow loom. And I love that my son loves making these things as much as I do!
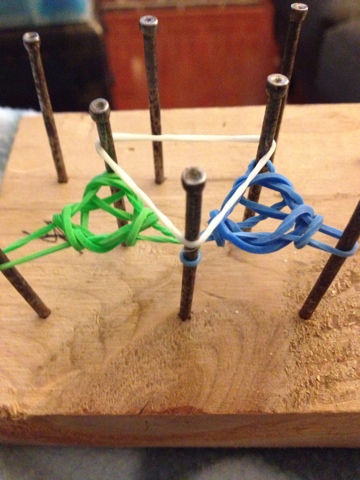
Step 1:
Hammer your nails into the wood in the shape of a 'M'. Keep the nails about an inch apart. When you stretch a rubber band on 2 adjacent nails, there should be slight tension.
Step 2:
Grab 3 rubber bands from your pile. Twist each in a figure 8. Stretch each '8' over 2 nails, forming a triangle.

Grab 1 rubber band from your pile. Stretch that band over your existing rubber band triangle. (Triangle #1)

Now, pull the bottom band over the top band and off the nail. Do this for each off your 3 nails.
Step 5:
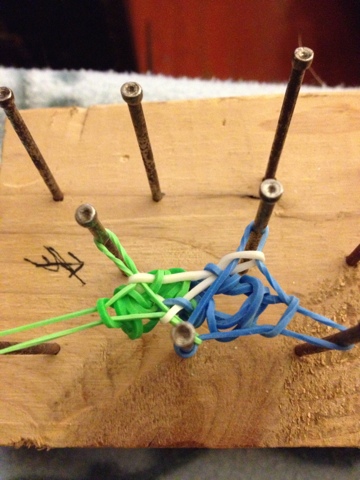
Grab 3 more rubber bands from your pile. Twist each of these into a figure 8 and stretch each over 2 nails, forming another triangle (similar to Step 2). This time share the bottom-middle nail for the lower left point of your triangle.

Grab one rubber band from your pile. Like Step 4, stretch this band over this new triangle. (Triangle #2)
Step 7:
This is the trickiest part! On the nail where the 2 triangles overlap, pull both bottom rubber bands over the top rubber band and off the nail. Do the same for the other 2 corners.

Grab one rubber band from your pile. Stretch this rubber band over 3 nails connecting both existing triangles. (Triangle #3)
For each the nails making up this triangle, pull the bottom band over the top band and off the nail.
Grab 1 rubber band from your pile. Stretch it over 3 nails the make triangle #1. Pull the bottom band over the top band and off each nail in Triangle #1.
Step 11:
Grab 1 rubber band from your pile. Stretch it over 3 nails the make triangle #2. Pull the bottom band over the top band and off each nail in Triangle #2.

Grab 1 rubber band from your pile. Stretch it over 3 nails the make triangle #3. Pull the bottom band over the top band and off each nail in Triangle #3.
Step 13:
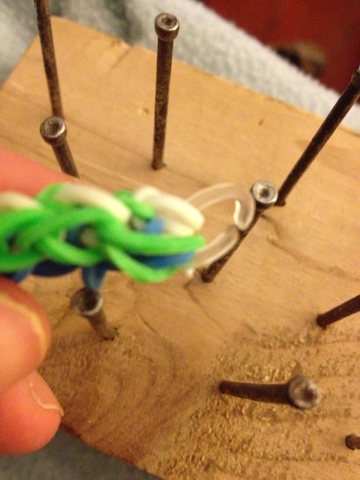
Keep doing Steps 10-12 until your bracelet is long enough.

Grab your c-clip (or bend a paper clip) and hook all of your bands on the nails into the clip. Then hook the starting bands to the clip.

-Rose @}----
|
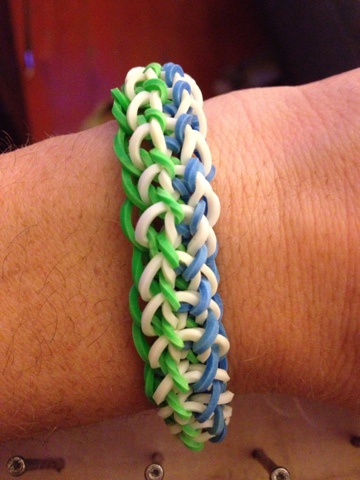
| Side 1 |
 |
| Side 2 - it's reversible! |