 |
| The ninja blowing out his birthday candles. |
Time: 30 minutes +
Mess/Cleanup: This isn't too bad. It's a let messier than making a real cake. It all depends on the materials that you use. If you use glitter and glue, except a bit of mess.
What You Need:
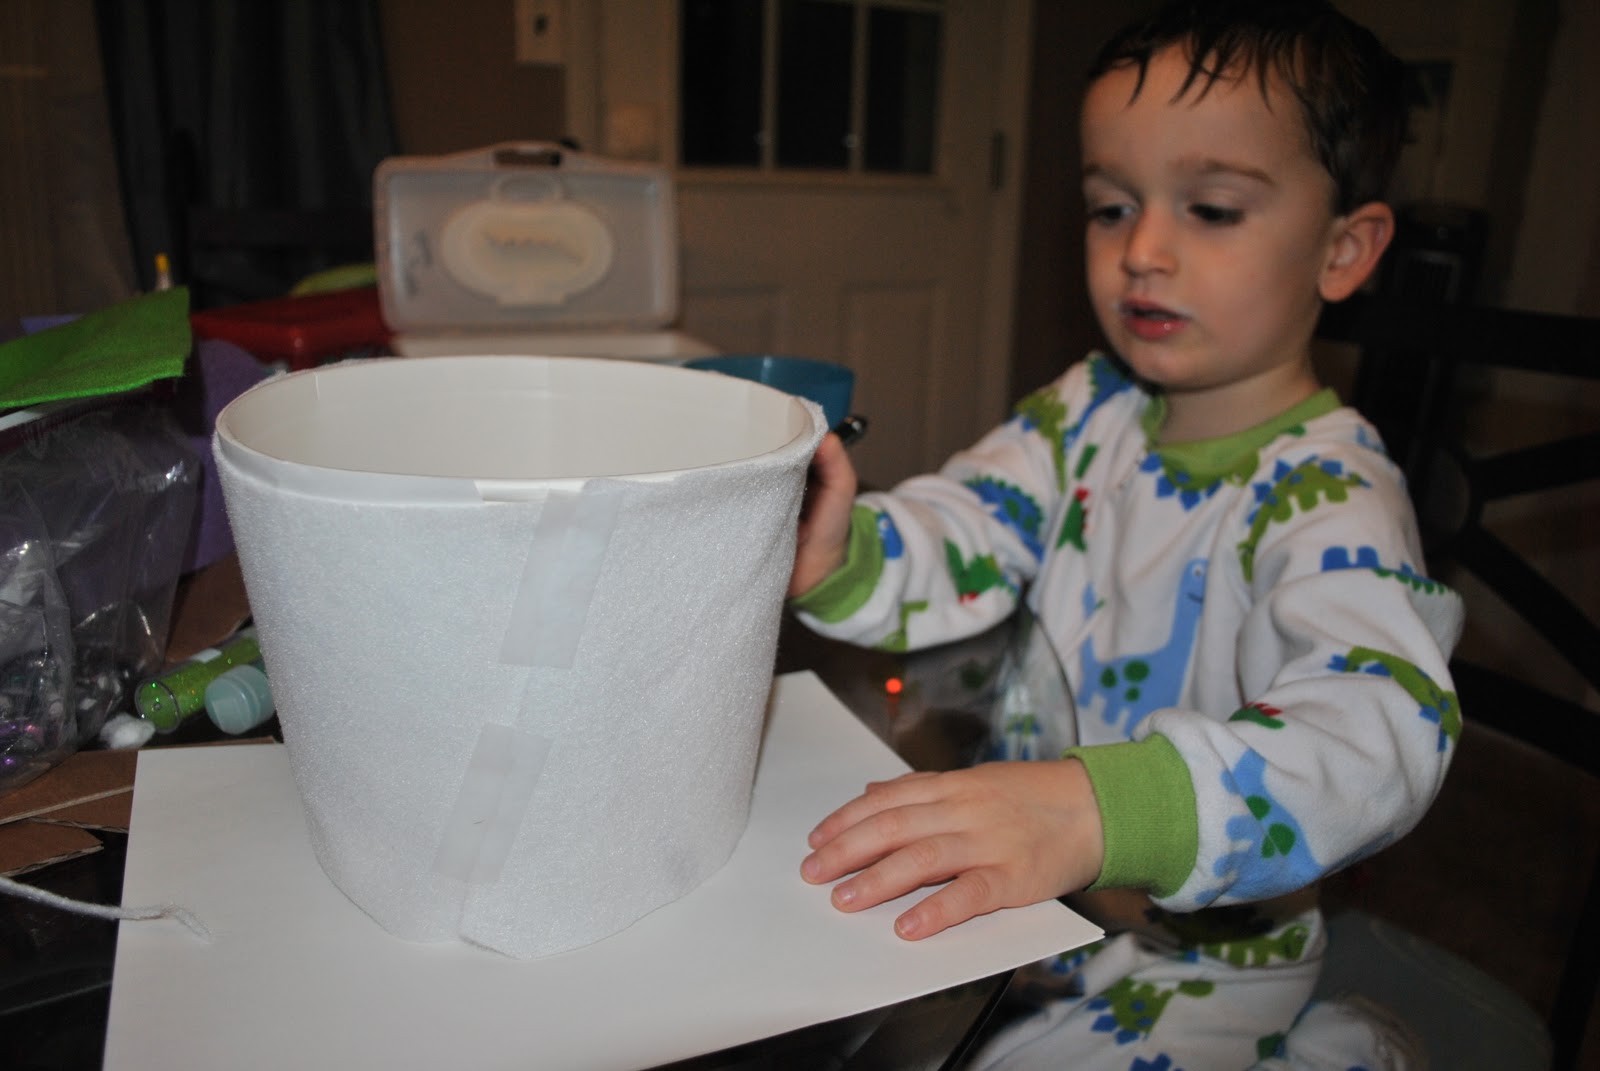
- KFC Bucket
- 2-3 sheets of White Paper (to help hide the KFC logo)
- 2 pieces of 8x10 felt
- Tape
- Scissors
- Various colors or self-adhesive felt, like this (for cake decorations)
- Various self-adhesive foam stickers, like this (for cake decorations)
- Scrap pieces of cardboard or styrofoam
- Glitter and Glue (to make sparkly candles)

My kids love playing in their pretend kitchen with all of their fake food. I think this birthday cake is an adorable addition. If we spent a little more time on the cake decoration and if my son was a little older, this could look store bought and would hold up to lots of play. Plus, I love that it doubles as a hat.
Step 1:
Cover the chicken bucket with white paper and then the felt. I used the white paper to help cover the logo on the bucket. I applied the white felt over the paper and taped it to the bucket.
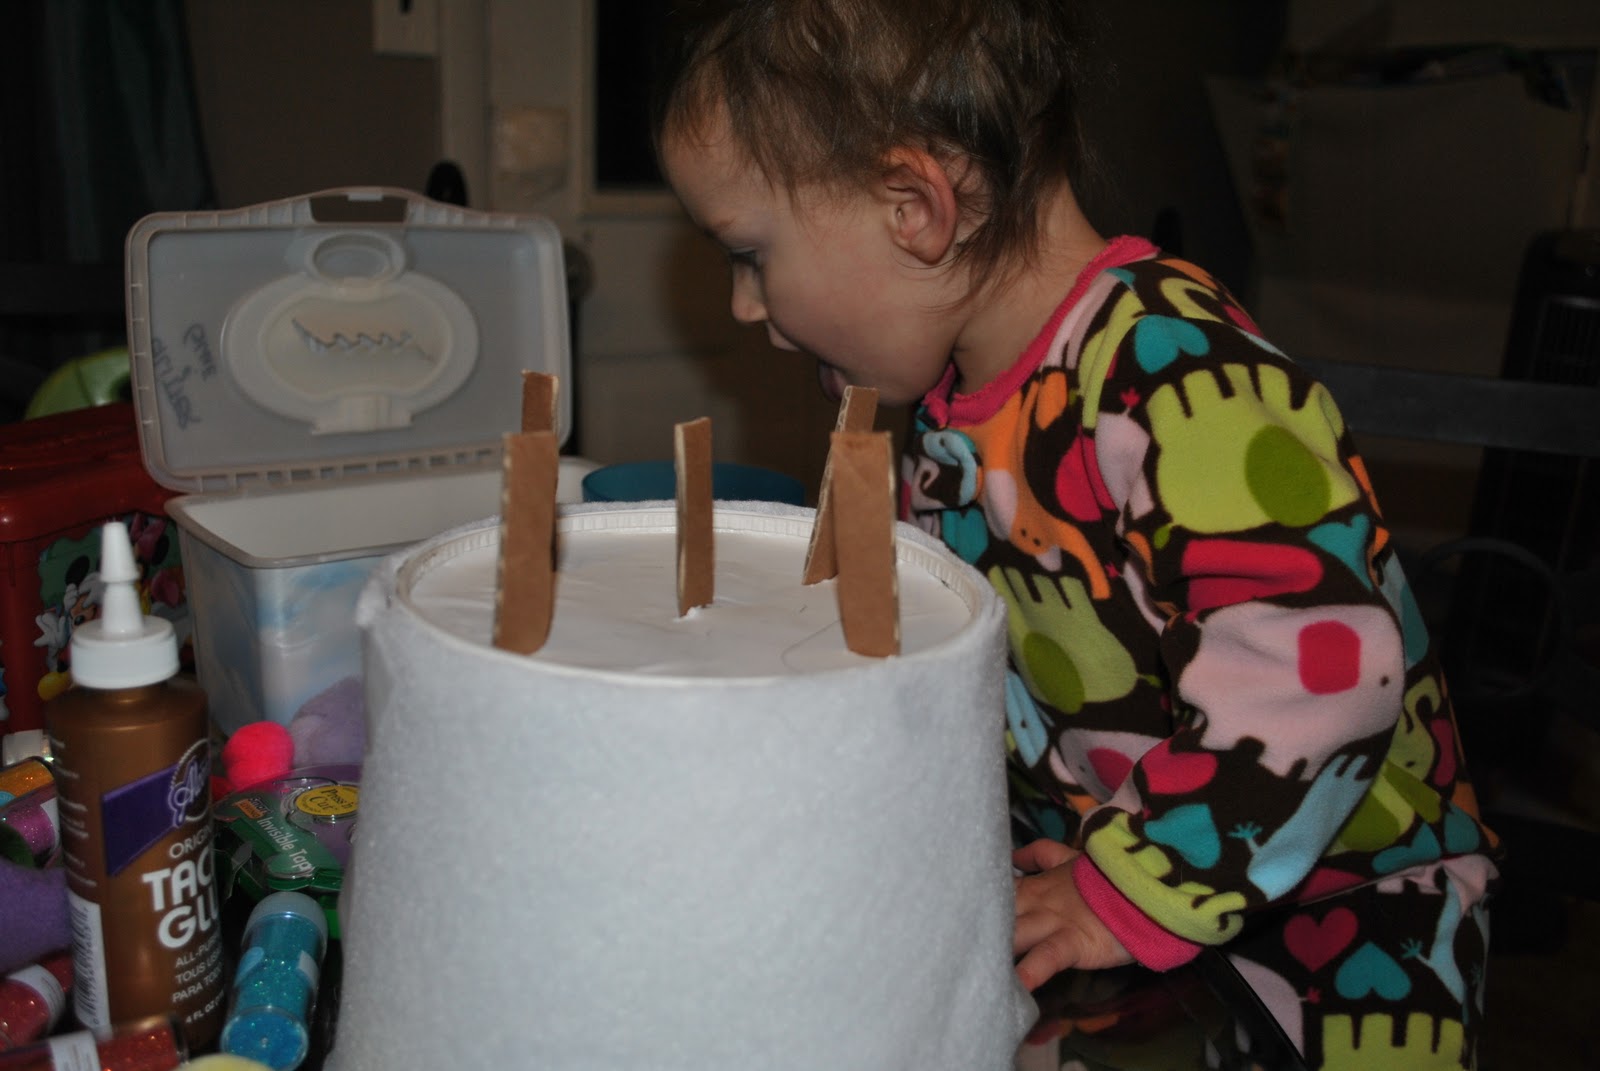
Cut a few strips of cardboard or styrofoam to fashion some candles. Invert bucket and cut a few slits in the bottom of the bucket so the candles can be inserted into the slots.
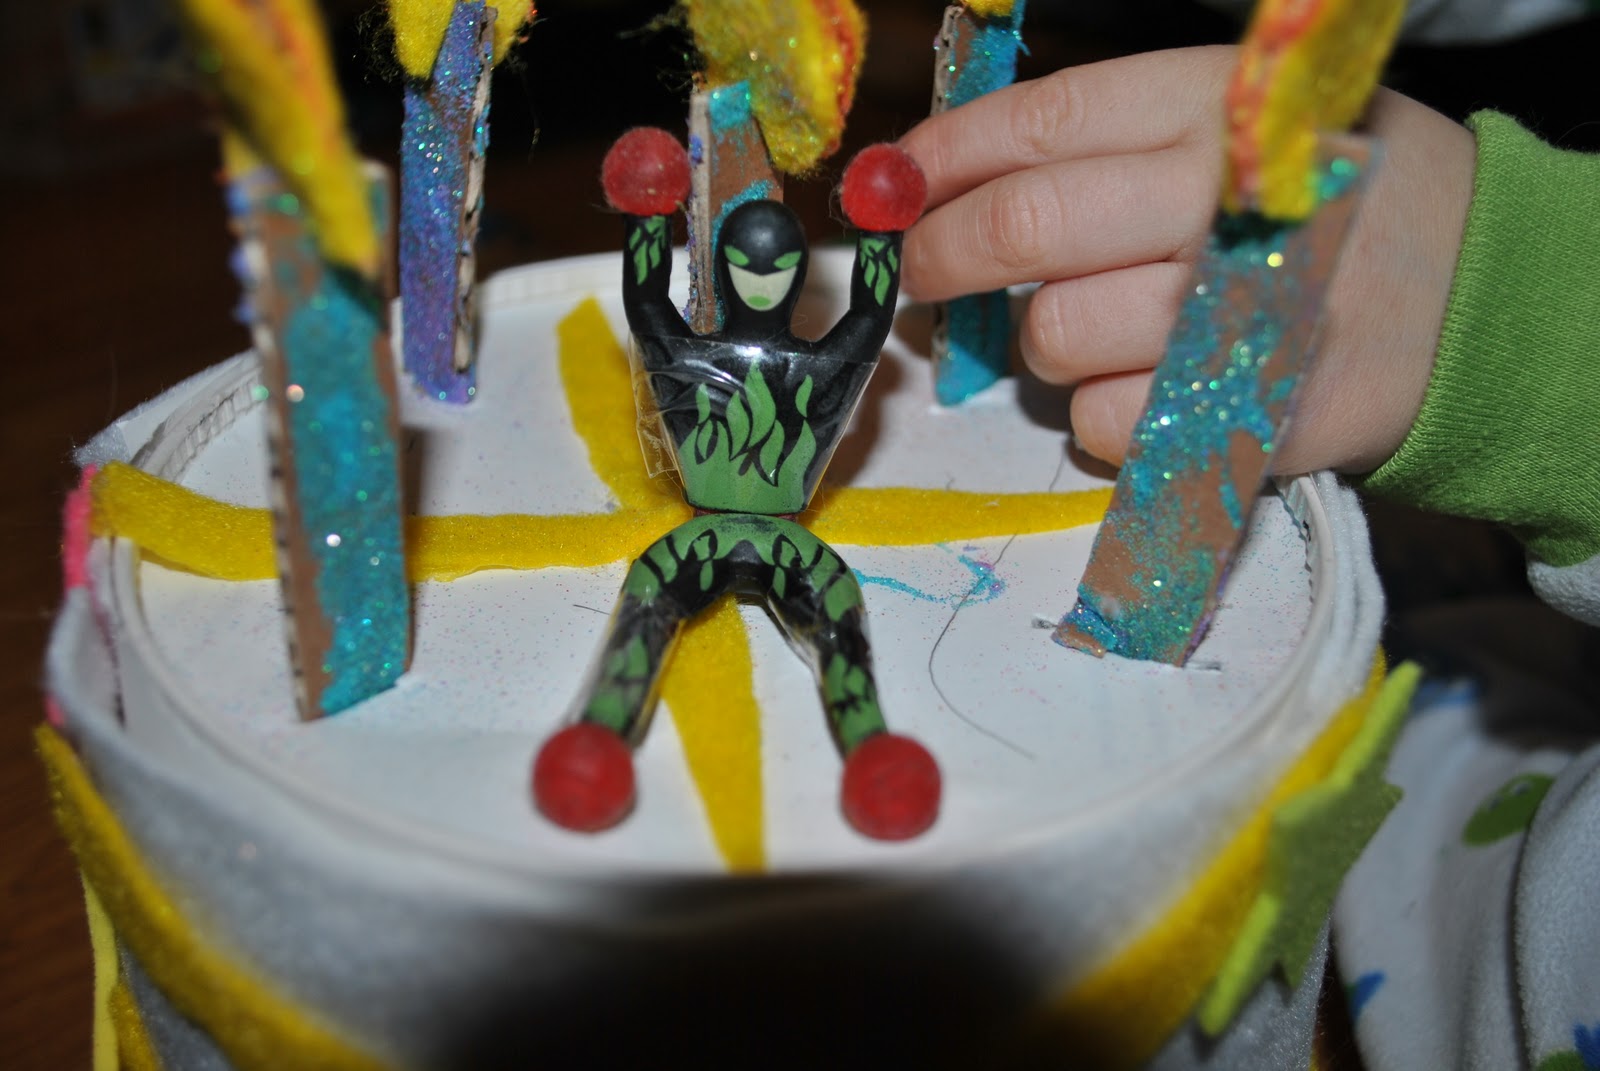
My son loves to use my expensive glitter. So we decided to make the candles sparkly. We covered the cardboard strips with glue and applied glitter to both sides.

Cut some flames out of the cardboard and covered both sides with yellow felt. And to use the glitter again, I ran of bead of glue around the edge of the flame and my son dipped it in orange glitter.
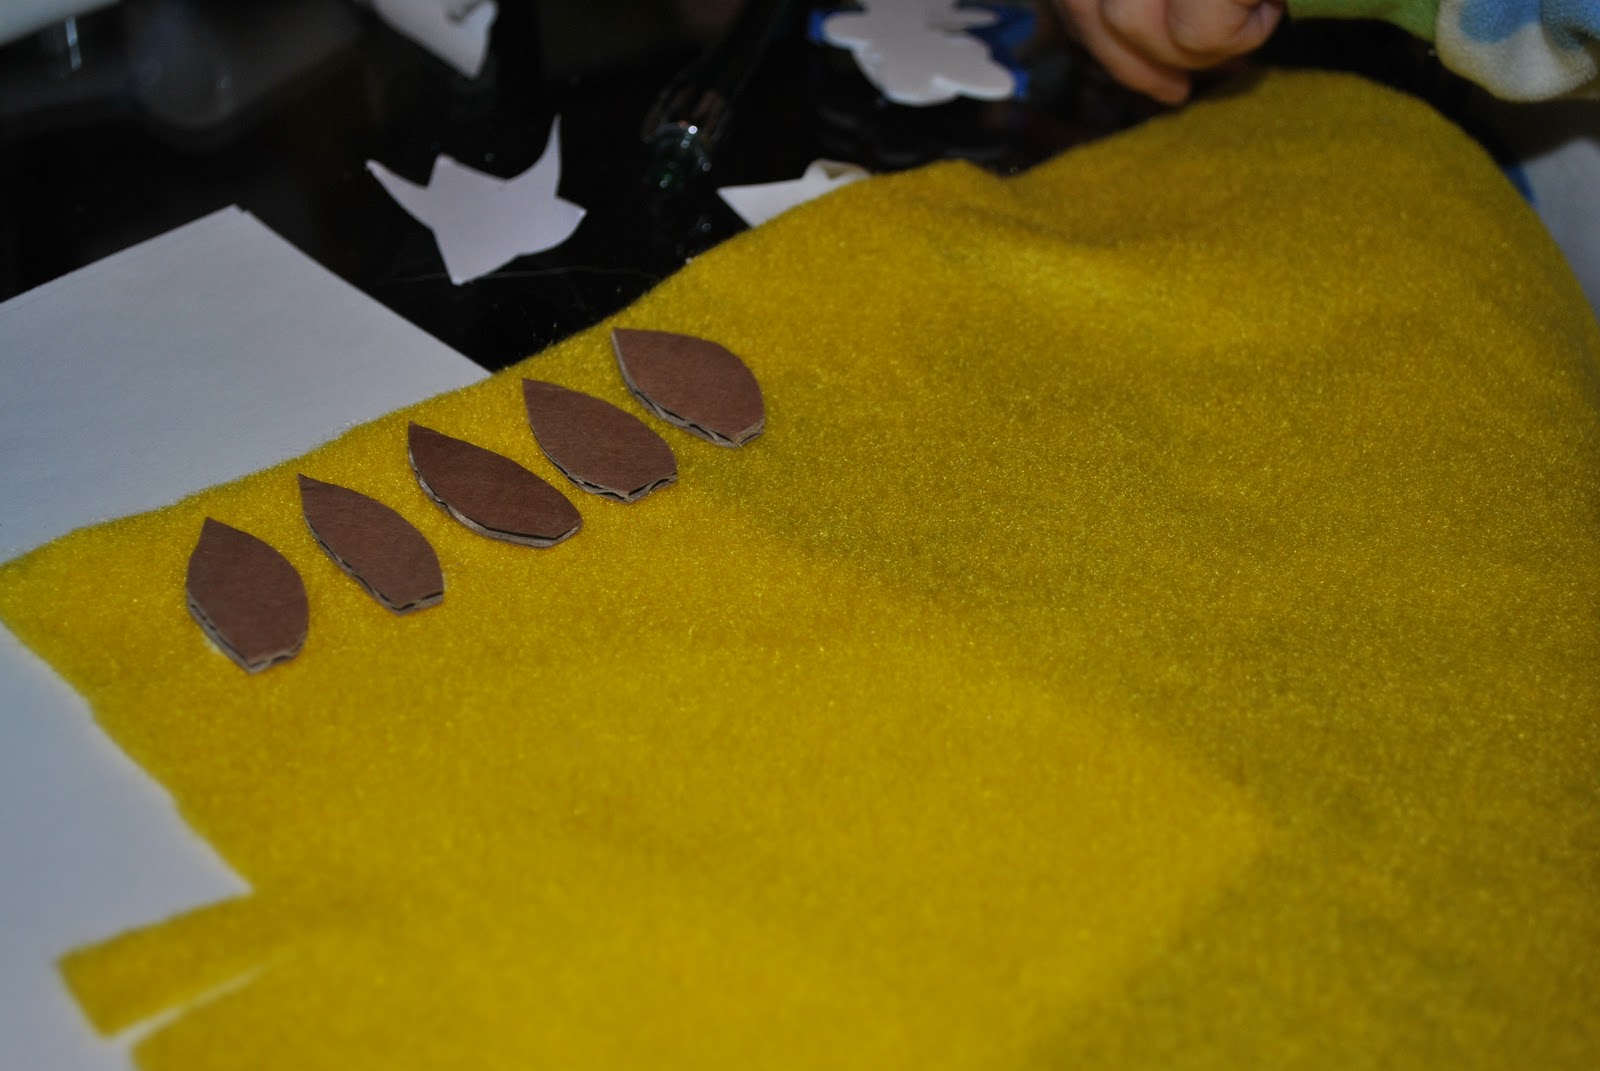
Cut a little notch out of the flame so it can fit over the candles.

Decorate your cake with jewels, felts, markers, paint, etc. We used only self-adhesive felt, so the cleanup was pretty easy.
Step 7:
Sing Happy Birthday to the Ninja and enjoy! And since the bucket is still open you can use this a birthday cake hat (or you can buy one like this). How fun (or silly)!
-Rose @-}---
No comments:
Post a Comment