This project was inspired by my daughter searching for something to put her little Peter Pan action figure in while she made up some random obstacle course in the play room (my craft room). I had an extra-wide lovely cardboard photo holder from some prints in the recycle bin and a purse was born. It would be great for holding Valentines, too!
Age: 3+
Time: 15-25 minutes
Materials:
- Envelope-style photo holder left over from a photo print order (mine was sturdy cardboard and extra wide from Photoworks)
- paper or cardstock to cover the photo holder (or fabric if you have a sturdy photo holder)
- glue or tape
- embelishments that will stick to paper-we used die cuts
- glitter glue (paint brush optional)
- scissors
- 2 to 3 ft of ribbon or string
Alternatives: flimsy paper photo holders would work if you use heavier cardstock to cover it. You can also substitute any kind of stickers or cut out your own shapes to decorate the purse.
 |
| Most of the materials we used (the coveted glitter glue is clutched firmly in her hands) |
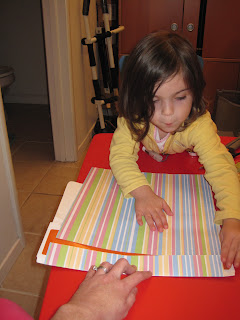
Step 1: Cover the photo holder with paper. We opened up the photo holder and started on the outside flap and worked our way to the inside. We needed two sheets of 12x12 scrapbook paper to cover this extra wide photo holder. This still wasn't wide enough for our envelope so I used some cardstock strips along the side (which ended up making it extra fancy).
My three year old liked using the glue stick. It was quite easy since the paper was so large and sturdy.
 |
| Matching the stripes on the inside |
Trim off the excess paper and tuck a bit inside. Have your kid glue it down.
I recommend tucking a little extra on the inside flap (shown below).
Step 2: Tell your kid for the 10th time in 2 minutes it is still not time to play with the glitter glue.

Step 3: Add some cardstock to the side to make it fancy and cover any remaining part of the photo holder. We used self-adhesive cardstock strips to make it really fast and easy to attach but any paper strip will work just fine.
 |
| Fancy border covers the remaining Photoworks photo holder |
 |
| Cardstock strip on the side to cover the remaining photo holder that was showing-and a random scrap of cardstock on the inside flap that is not part of the finished product. |
Step 4: Make it fancy! We used a glue stick and some double-sided tape to add some flowery and swirly die cuts and some glitter glue.
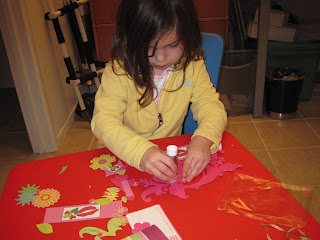 |
| Glue stick time |
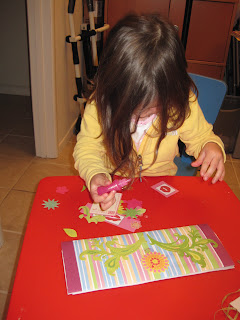 |
| Glitter glue time!!!! She used a paint brush to spread out the huge piles of glitter she glopped on there. |
Step 5: Measure a length of ribbon using your kid as a guide. Leave a little extra to make some knots at the end once it's threaded through the purse.
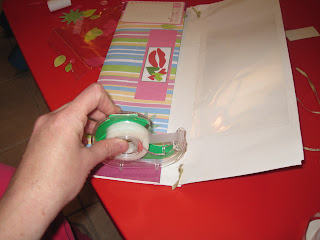
Step 6: Snip some holes for your purse strings. Make sure you cut through both layers. If by chance you cut too far (or rip the paper while putting the string through like I did) just tape it up.
 |
| Snip! |
Step 6: Thread the ribbon through the holes you snipped and add a bit of tape to the inside for added strength.
 |
| Poke! |
Step 7: Tie a knot on the inside and add a piece of tape to secure it.
 |
| My kid took this photo. |
 |
| Tape! |
Now show off your fancy purse!!
 |
| Front of purse |
 |
| Back of purse |
 |
| Valentine embelishments inside |
--Nancy


No comments:
Post a Comment