 |
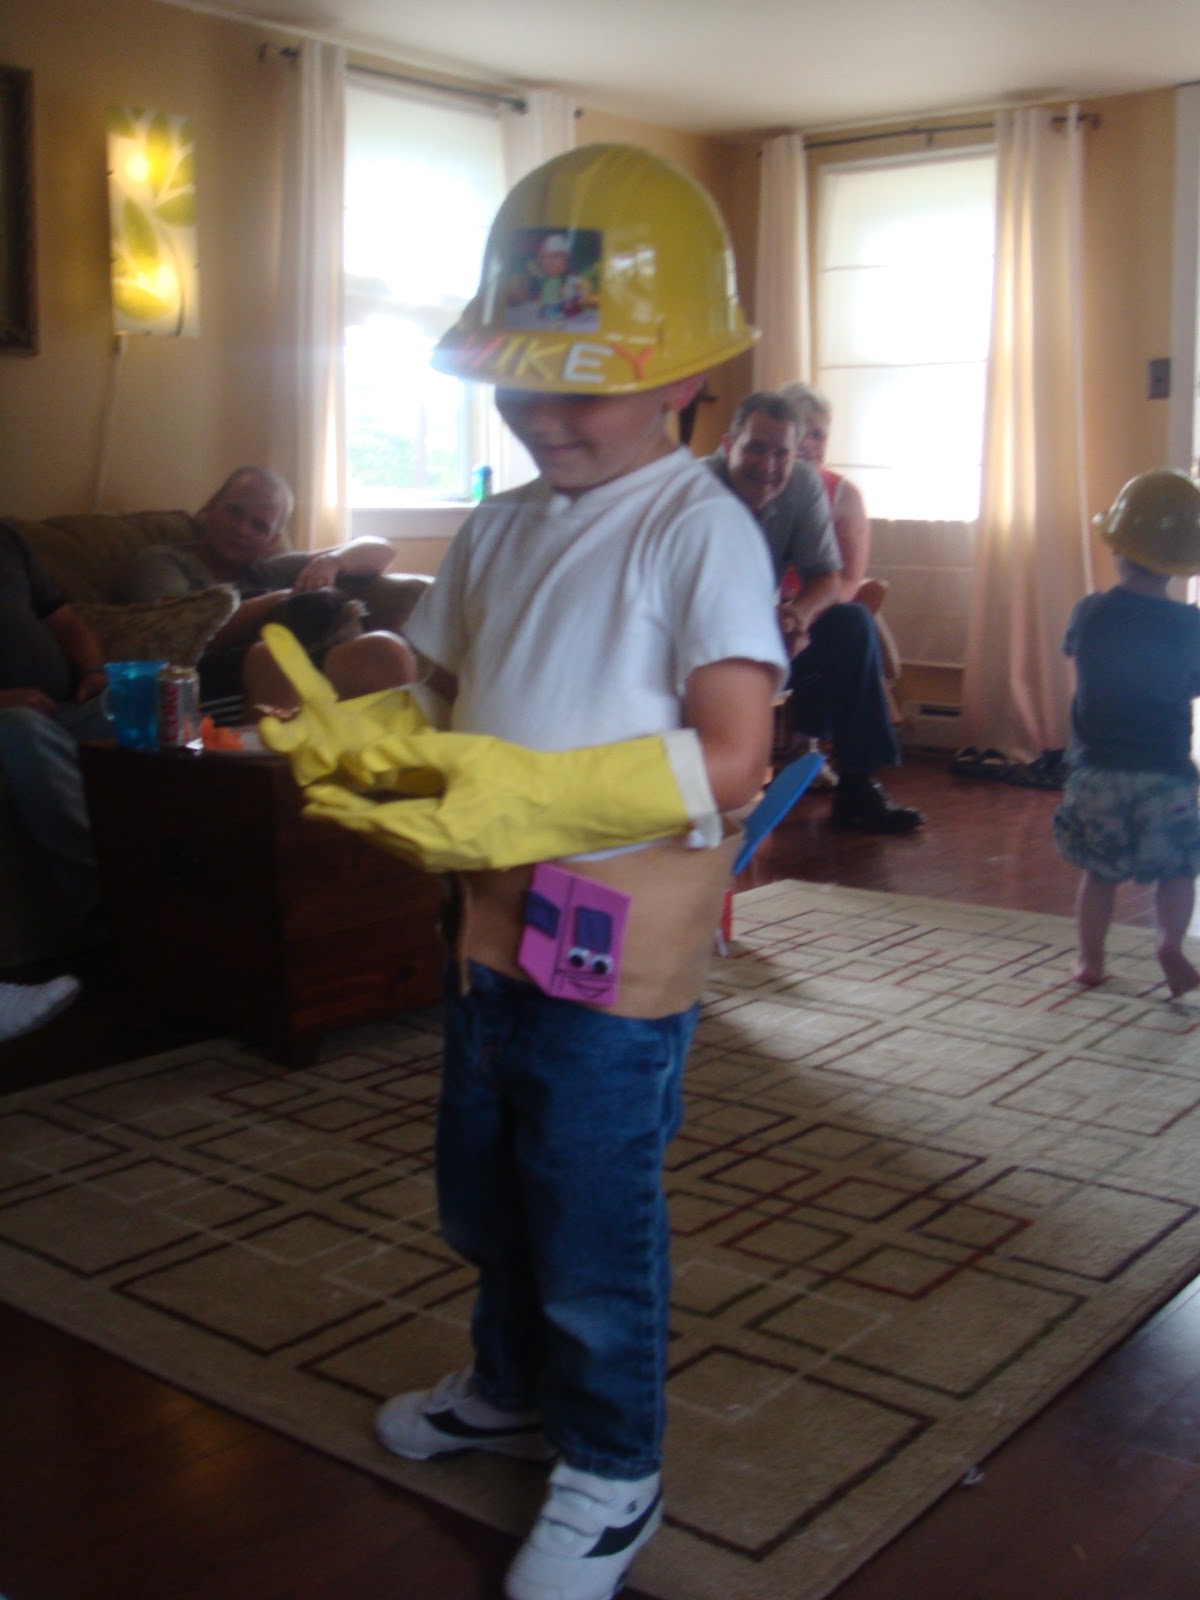
| One happy customer! You can't see all of the tools, but after everything was assembled we had lots of little Handy Mannys running around. It was very cute and kept the little ones busy for just the right amount of time. |
Age: 2-6 to assemble the pieces. An adult will be needed to draw and cut out the tools.
Time: 10-15 minutes for the kids. 2-3 hours for the adults.
Cleanup: None for the kids. Lots of craft foam scraps for mom.
What You Need:
- To Build the Tools -
- Craft Foam - Blue (Pat); Orange (Rusty); Yellow/Green (Felipe); Blue/Purple (Turner); Pink/Purple (Stretch); Dusty (Red); Squeeze (Green); Silver (Felipe/Turner/Dusty/Squeeze)
- Tan Felt (I also used some leftover felt for the toolbelts. Just measure your little one's waist to get a general idea of the length. They should be about 5-6" inches wide).
- Self Adhesive Velcro (Save some money and just buy the 'hard comb' side of the velcro if you can. The velcro combs will stick to the felt. You will need a small pieces (about an inch) for each tool, and a large piece (about 2 inches) to adhere the belt to itself.)
- Hot Glue Gun & Hot Glue Sticks
- Black Sharpie Marker
- Glue Stick
- In each goodie bag
- Finished Tool Pieces (materials listed above)
- Googly eyes (2 eyes per tool)
- Yellow dish gloves (1 pair per child. You gotta have gloves like Handy Manny! The kids look so darn cute with this massive gloves on their tiny hands.)
- Construction Hats (I bought mine from Oriental Trading)
- Self-adhesive foam letters (like these. I filled each kid's bag with the letters for his/her name.)
- I also added gummy tool candy and Handy Manny stickers.
- Amount of supplies will depend on home many sets you plan to make. I made most tools about about 6-8" tall. I used the gloves, construction hats, and toolbelts as party favors for each kid.
My son and daughter both love Handy Manny. My son loves playing dress-up, so I was trying to think of an age-appropriate activity for the kids that fell within the Handy Manny theme. This seemed to work and doubled as the party goodie bag.
Making the Tools-
Step 1:
You do not have to be an artist to make these tools. Remember that these tools are for 3 year olds. They will think you are awesome regardless of how the tools come out. I'm not a fabulous drawer, but think I did an OK job winging it! Just find a good pattern and trace what you can.
Find some patterns to use for each tool (you can use coloring books or print-outs from Disney's website) and print them out. I didn't make all of the tools. Pick the ones that are easiest for you to draw.
Step 2:
Cut-out the patterns and trace an outline on the craft foam.
Step 3:
Cut out the craft foam. Some tools will only need one color - Rusty the Pipewrench and Pat the Hammer. Stretch the Measuring Tape is mostly pink, with a purple square accent. For the screwdrivers (Turner and Felipe), I made the top in their respective colors (blue and yellow). I used silver craft foam to mimic the shaft of the screwdriver. I glued the accent pieces together with hot glue.
Step 4:
Add detail with a black Sharpie marker so your tool has some definition. Do not draw the eyes. (See pictures below)
Step 5:
Glue a piece of velcro (hard comb part) to the back of the tool.
Step 6:
Cut out the felt pieces. Each piece will be a long rectangle. It should be sized to fit around your child's waist. So the belt can stay when wrapped around, glue a piece of velcro (hard comb part) to the underside of the felt, near the end of the felt. I used dark brown felt as an accent piece to look like a buckle.
Step 7:
Add all of the near finished pieces into the baggie. Add in 2 eyes per tool and name letters.
Party Activity - Attaching the Eyes & Dressing Up Like Manny
Step 1:
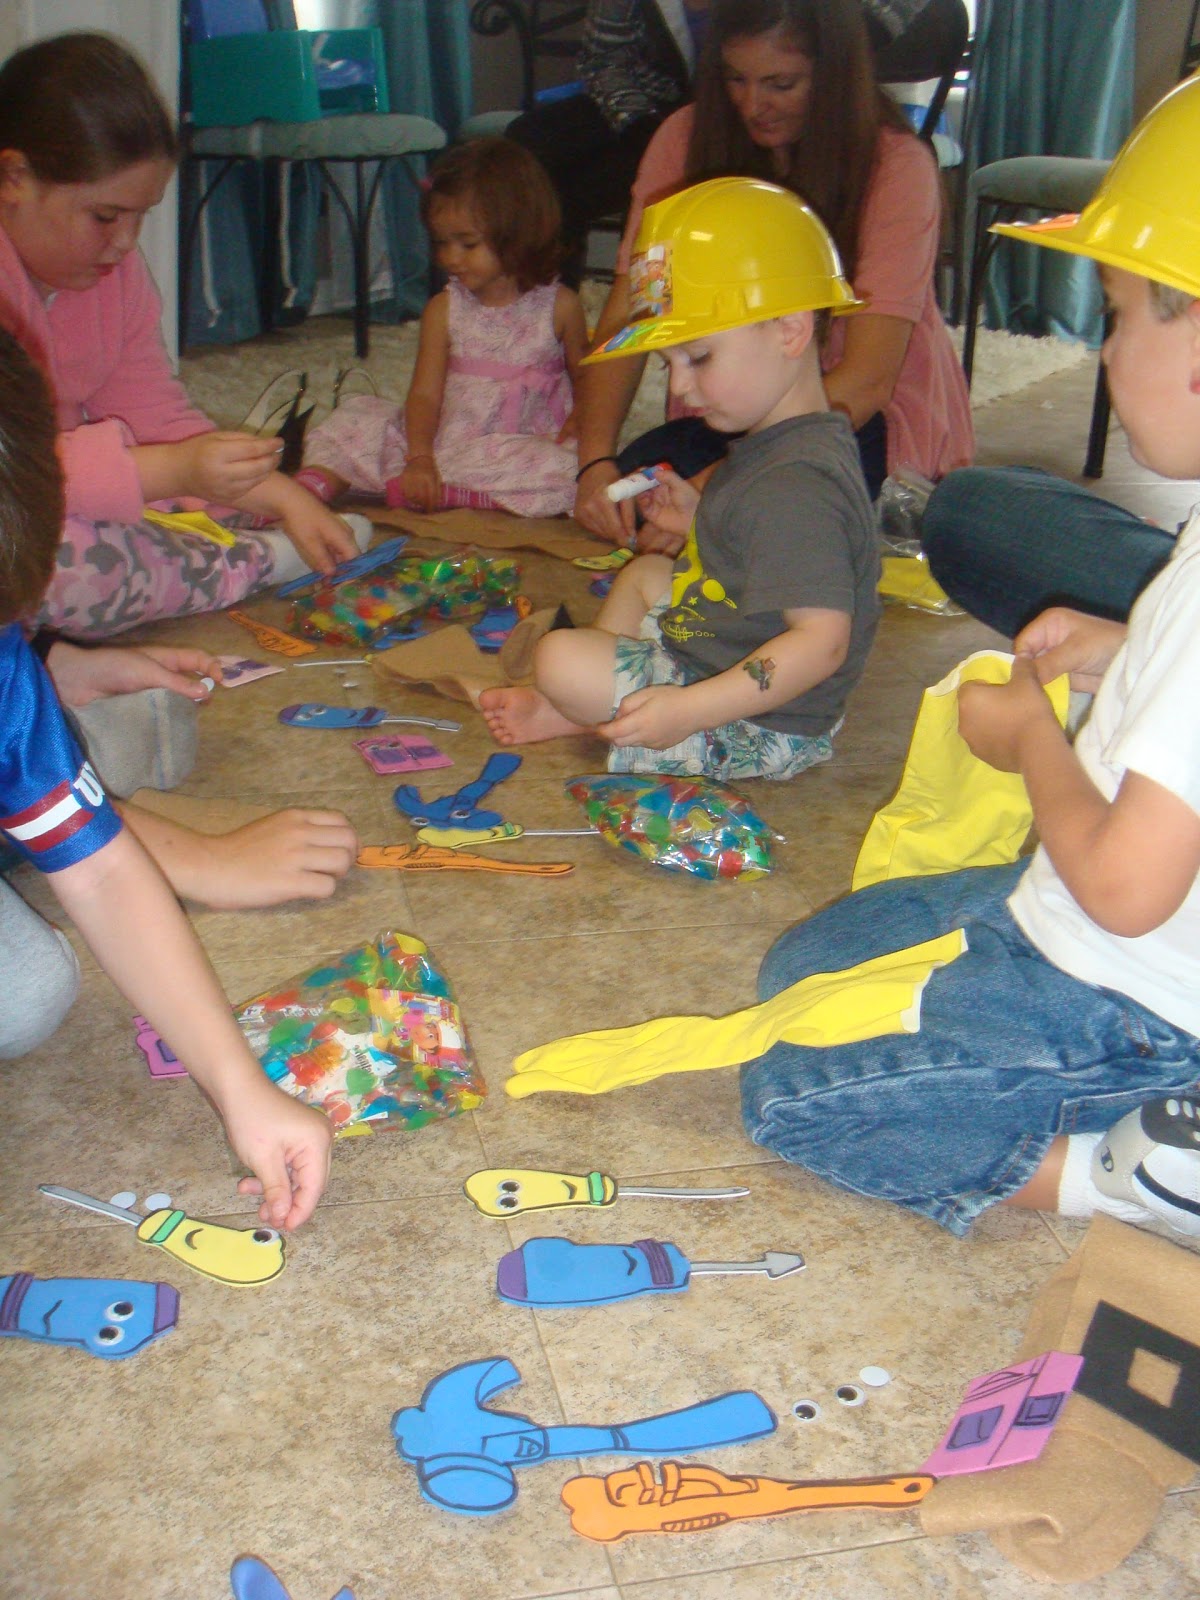
As soon as you hand out the baggies, the pieces are sure to hit the floor. Be sure to have extra googly eyes, glue sticks (the kid-friendly kind), and a hot glue gun with hot glue ready to go. We did this activity on my kitchen floor.
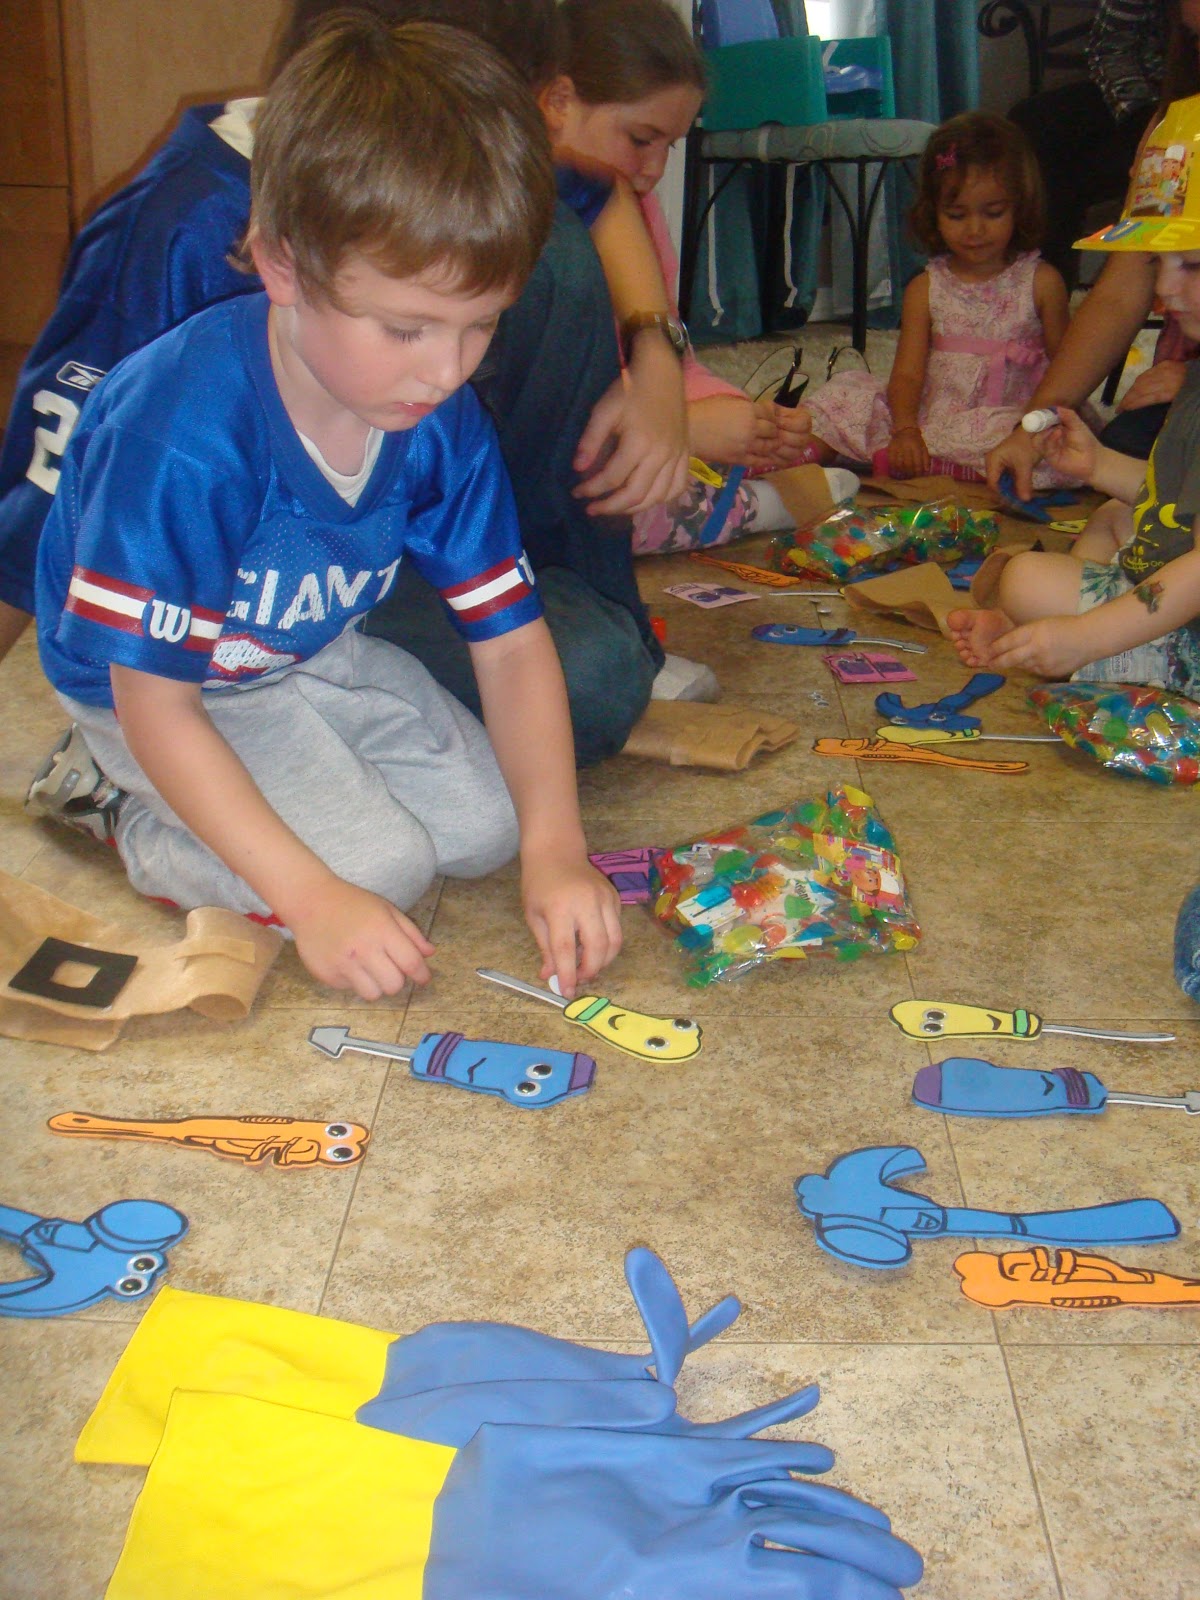 |
| Notice the semi-finished tools in the lower right corner of this picture. Pat, Rusty, and and Turner are all assembled, minus the googly eyes. |
Step 2:
Pass out a few glue sticks and instruct the kiddos to find 2 eyes and glue them on each tool. If the glue isn't drying fast enough, go ahead and zap it with the glue gun.
Step 3:
Once each tool is complete, stick it on the belt.
Step 4:
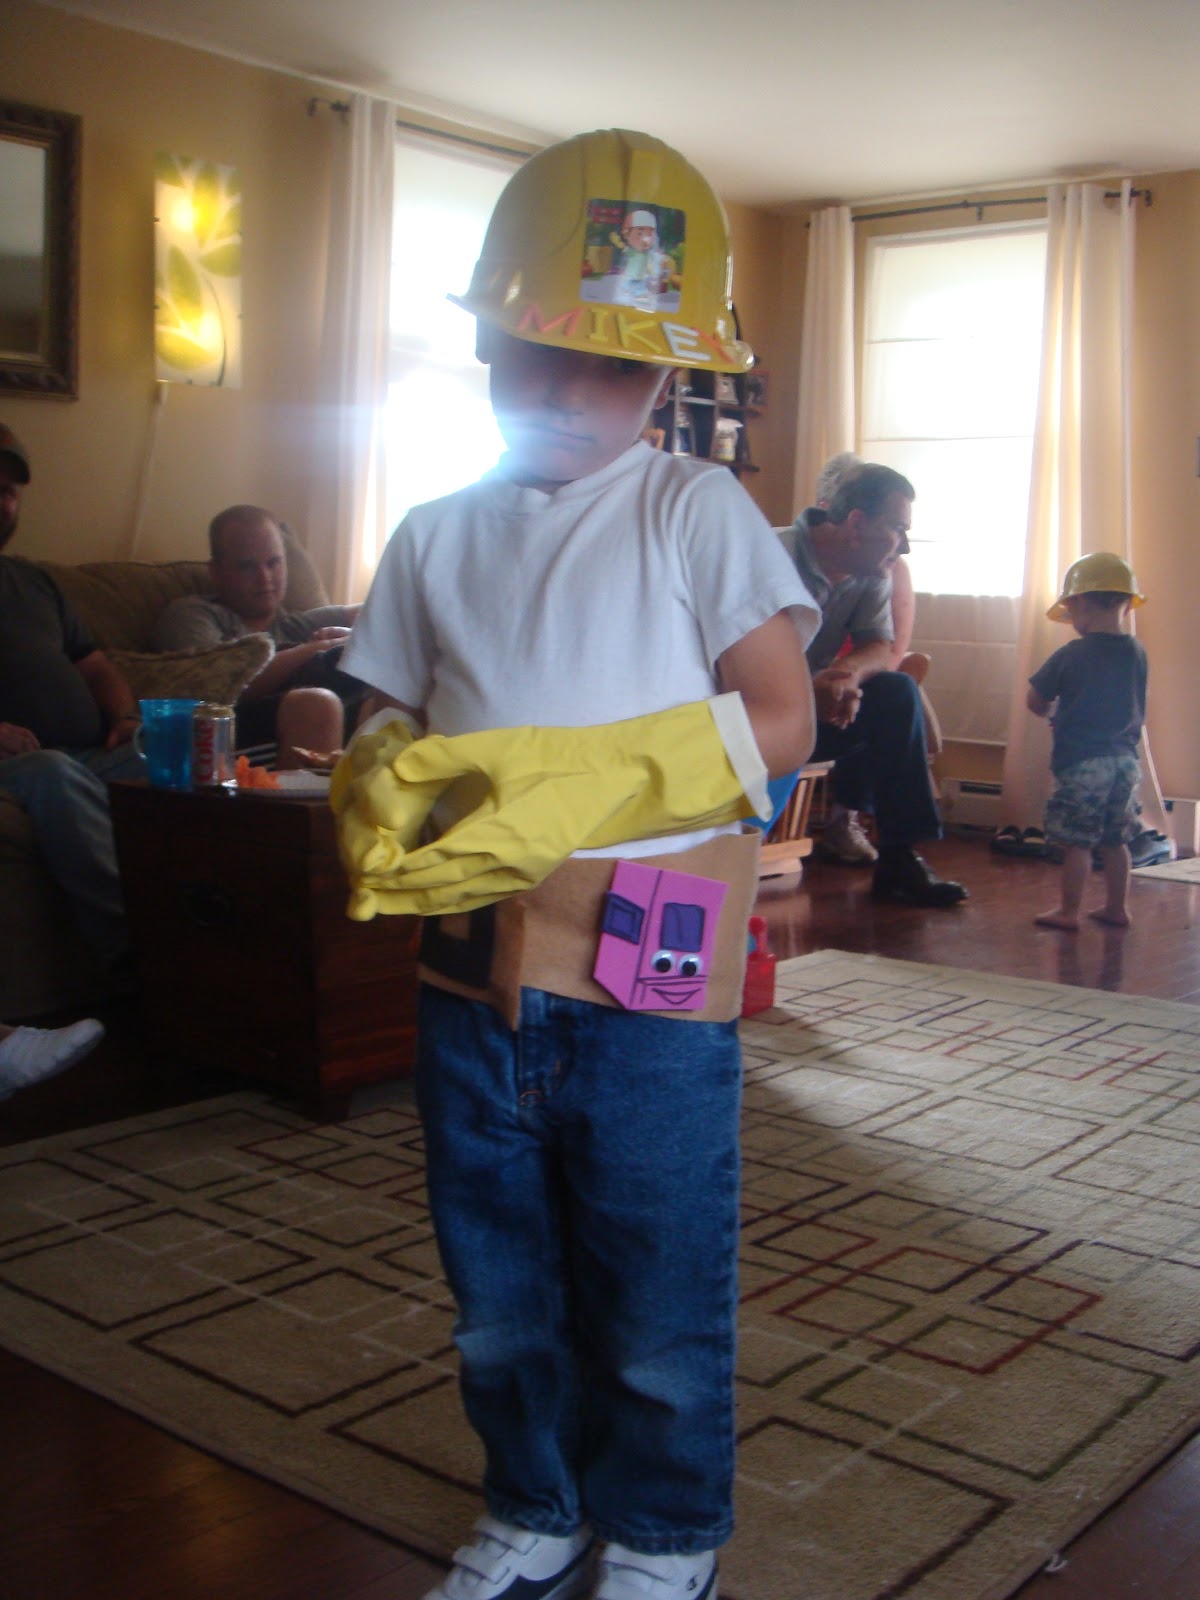
Once the toolbelt is complete, have each kiddo find the letters for their name and assemble that on the construction hat.
Step 5:
Complete the Handy Manny costume with the gloves, hat, and toolbelt.
I hope your kiddos have as much fun as we did. My son is almost 5 and he still plays with his Handy Manny costume.
-Rose @-}---
This is such a great idea! Love it!
ReplyDeleteGlad to see the wonderful party favors for kids. My party with friends after official success and promotion was outstanding. Hired one of the high rated event space Atlanta with quality cuisines. Italian food was ordered with tasty desserts. Liked the quick staff services and their dedication to serve well to all the4 guests.
ReplyDeleteucuz takipçi
ReplyDeleteucuz takipçi
tiktok izlenme satın al
binance güvenilir mi
okex güvenilir mi
paribu güvenilir mi
bitexen güvenilir mi
coinbase güvenilir mi
SMM PANEL
ReplyDeleteSmm Panel
iş ilanları
İnstagram takipçi satın al
hirdavatci
beyazesyateknikservisi.com.tr
Servis
Jeton hile indir