 |
| They almost look good enough to eat. |
Age: 2+
Time: 45 minutes
Mess: Not too bad, just a bunch of little paper scraps.
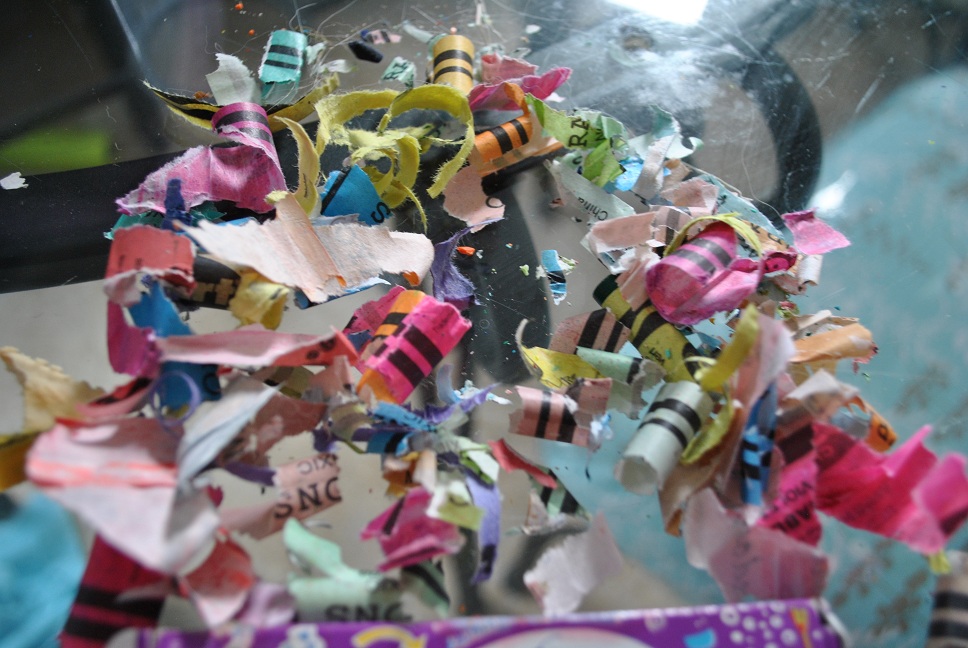 |
| I think the mess is almost kind of pretty. |
What You Need:
- A bunch of broken crayons
- Silicon baking cups
What I Like This Craft:
I always like to make something that has another use, other than filling of space on my refrigerator. This is a great way to reuse what you have and make something a little special.
Step 1:
Preheat oven to 225 degrees. Start digging through your crayon box and find all the broken pieces. This was a great sorting activity for both of my kids.

Step 2:
Peel off all of the paper surrounding the pieces.
Step 3: If you have any large broken pieces, break them into smaller sizes. This was my son's favorite part.

Step 4:
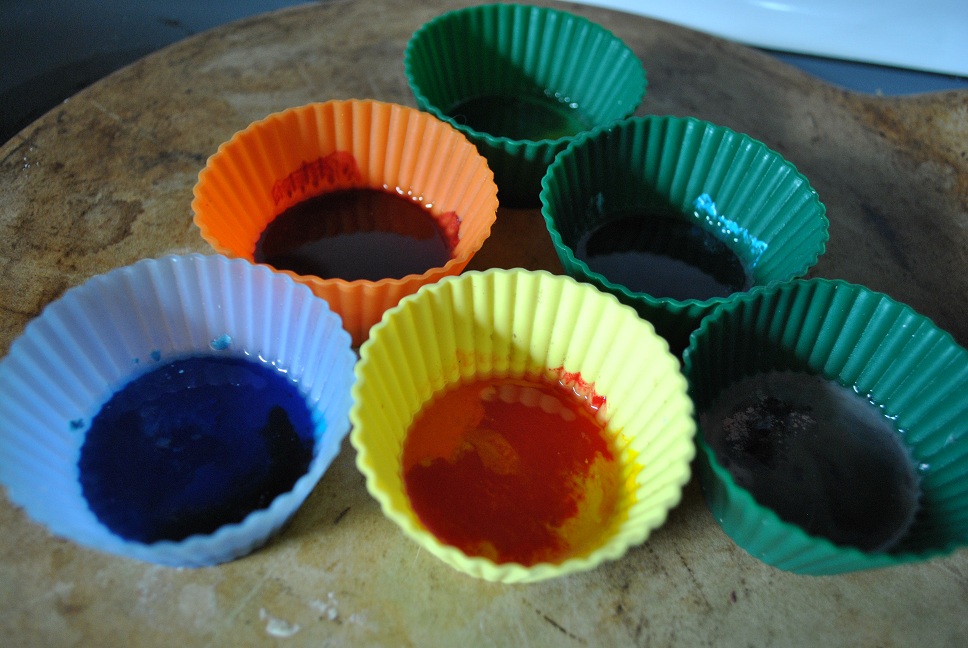
Separate your pieces into silicon cups. We categorized our's by groups of colors.

Step 5:
Put silicon cups on baking tray or baking stone and put into the oven for about 30 minutes. When wax is completely melted pull them out of the oven and let cool. I stuck our's in the freezer to firm them up quicker.
Step 6:
Pop your new rainbow crayons out of the molds and color a masterpiece.

~Rose @-}---
No comments:
Post a Comment