 |
| This Barbie dresses better than I do. |
But the first thing she does with a new Barbie is peel the doll clothes off and play with them in the buff. Then when she starts acting out stories with princes and princesses we need clothes but can't find any! Here is how to make simple skirt and top for your Barbie, or pants and top for a Barbie that has to stand in for a boy character.
Why I like this craft:
This craft teaches that you don't have to buy things to let you imagination go wild! You can make things yourself and improvise with whatever is at hand.
Warning: These clothes won't hold up long during rough play or much bending. It's ok. You can just tape over the tears until it's too ratty, recycle them and start over.
 |
| This is my favorite "prince" outfit to date made from Ikea napkins. |
Age: 3+ (3 year olds can do simple designs alone, more complicated ones need a lot of help from mom)
Time: 5-10 minutes per outfit (3 minutes for super simple dresses)
Mess: Almost zero mess, just a few scraps of paper leftover.
Materials:
Paper (clothing catalogs, napkins, paper towels, tissues, and magazines all work well)
Tape
Scissors
 |
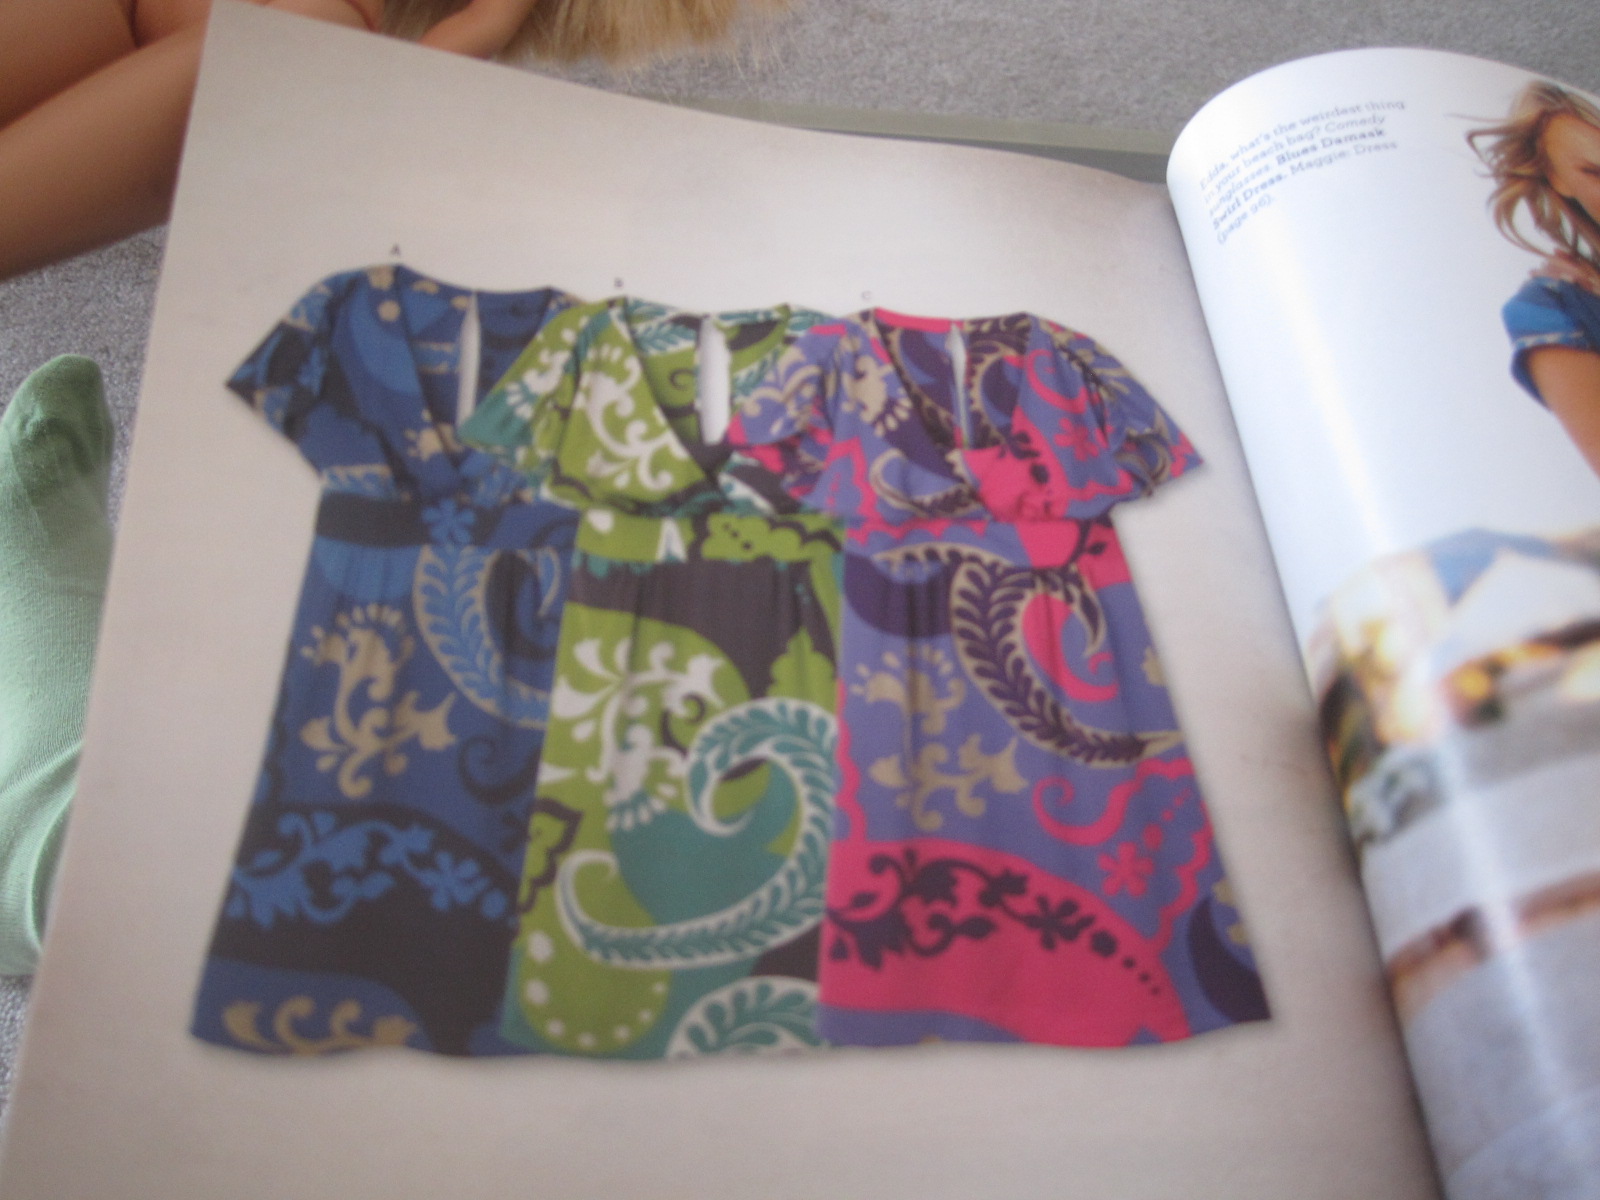
| We used the clothing catalogs that arrived in the mail today for this project |
Instructions for short PANTS made from a page from a catalog:
Step 1
Choose a page that has a lot of colors together without a lot of skin or faces that will make good "fabric" for your pants. It needs to be wide enough to wrap around the doll's hips.
 |
| This will soon become a pair of doll pants. |
Step 2
Trim the paper to remove any writing or empty space you don't want to show. Hold the paper in front of the doll to gage the size you need. It's ok to keep it a rectangle even though you'll need less paper at the waist. You can pinch it in place later.
 |
| Borderline creepy picture, but important for sizing up your model. Let's keep it professional, people. |
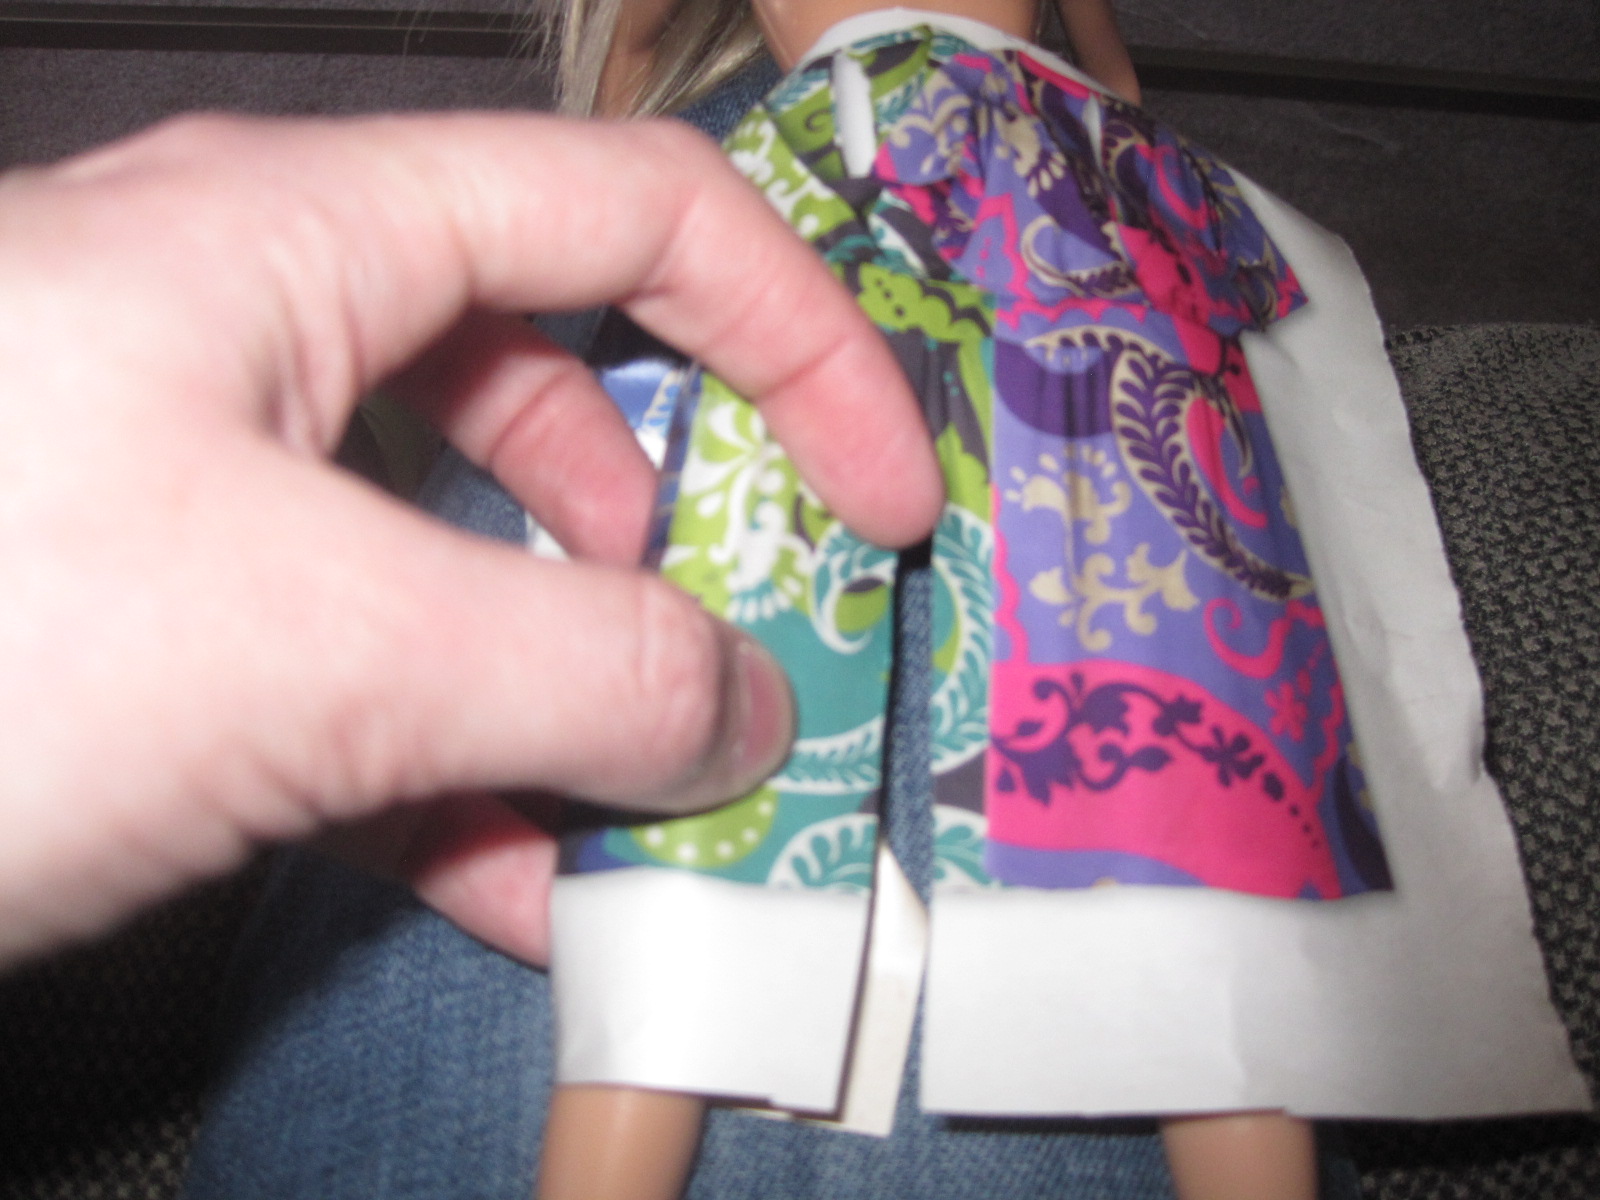
Step 3
Cut a slit in the front of the paper for the pant legs from the bottom up to the crotch. Wrap the paper around one leg and tape in place on the back. Wrap the other leg and tape it at the back.
Step 4
Pinch the paper in the back around the bum so the doll's bottom is covered. Tape a scrap of paper in place if you don't have quite enough paper, or trim excess (or fold it over) if there is too much paper. Don't worry about the waist being too even if you make the tube top shown below. Otherwise fold it down on the inside to make a flat waistband.
 |
| Taping pant leg #1 |
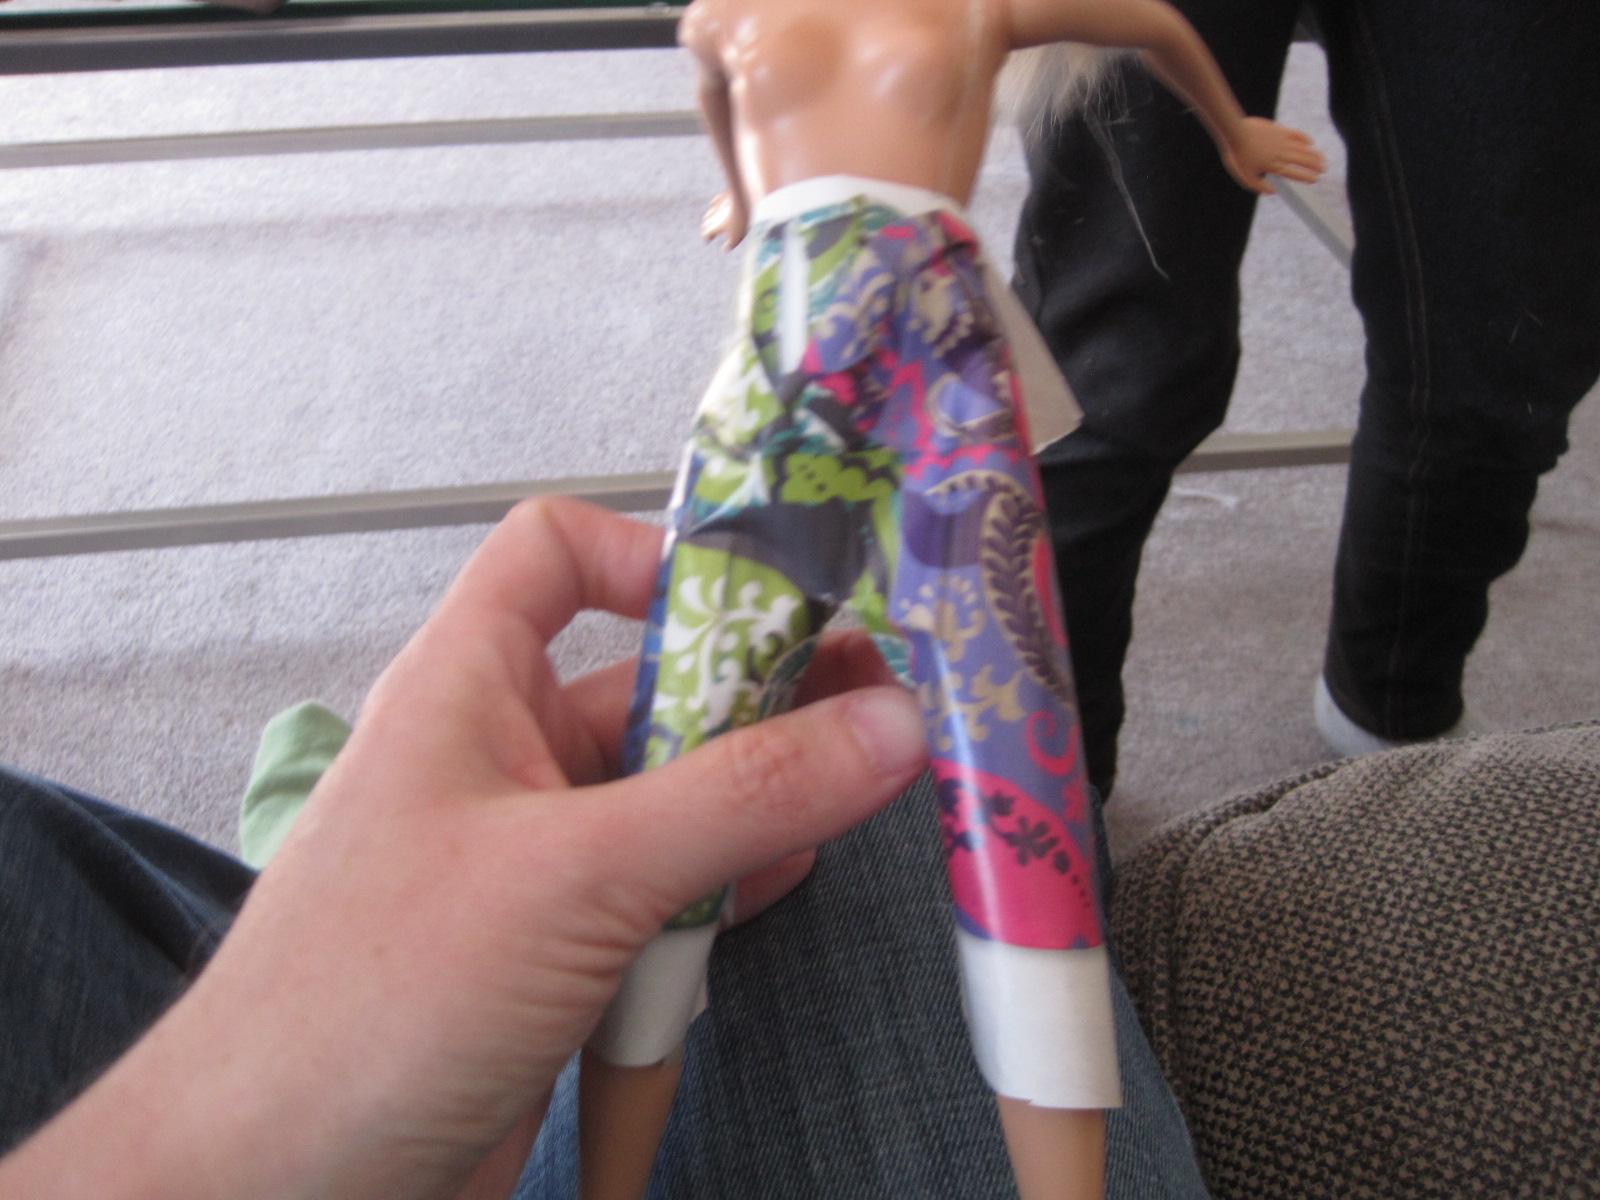 |
| Both pant legs are taped and ready. You could trim the white space off if you want. |
Instructions for a TUBE TOP made from a page from a catalog:
Step 1
Select some nice "fabric" from a clothing catalog that coordinates with your pants.
 |
| Here is a real, live 6 year old choosing the portrait on the right as material for a tube top. We folded the paper to hide the skin at the v-neck to make the tube top at the very beginning of this post. |
Step 2
Fold over the top to make a nice clean edge that won't give your kid papercuts. Cut it short enough to look like a top but long enough to cover the messy waist of your paper skirt or pants.

Step 3
Wrap around the doll's torso and pinch at the waist, maybe adding a few folds around the bosom to make it fit (for you sewers you should fold it the way some shirts have darts sewn from the armpit to the nipple.)
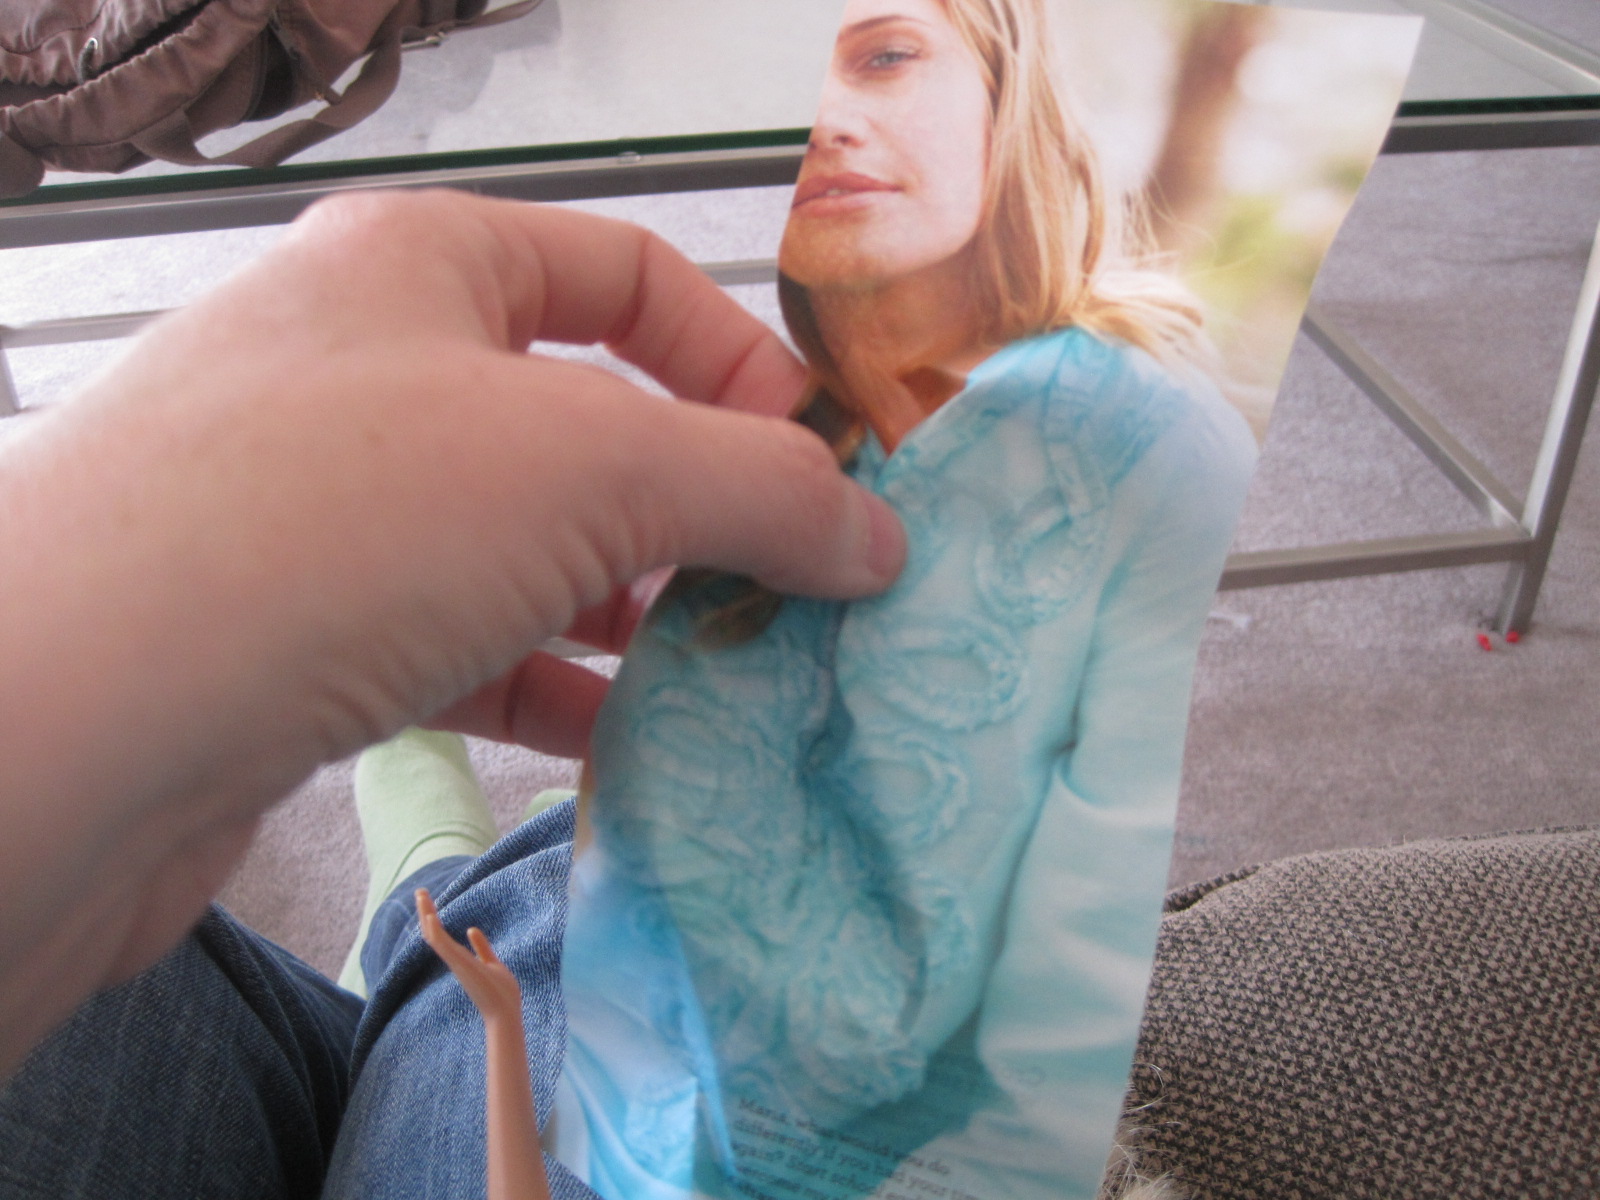 |
| Fold over any skin on the model and cut off the models head (hoo hoo hoo ha ha ha!) to make nice "fabric" for your top. |
Step 4
Tape it at the back. Use as much tape as you need to make it fitted to the doll's body.
 |
| Tape tape tape tape tape |
Optional Step 5
Add a belt by twisting a pipe cleaner around the waist (see photo with skirt below). You can also add a folded piece of paper around the waist for contrast (not shown).
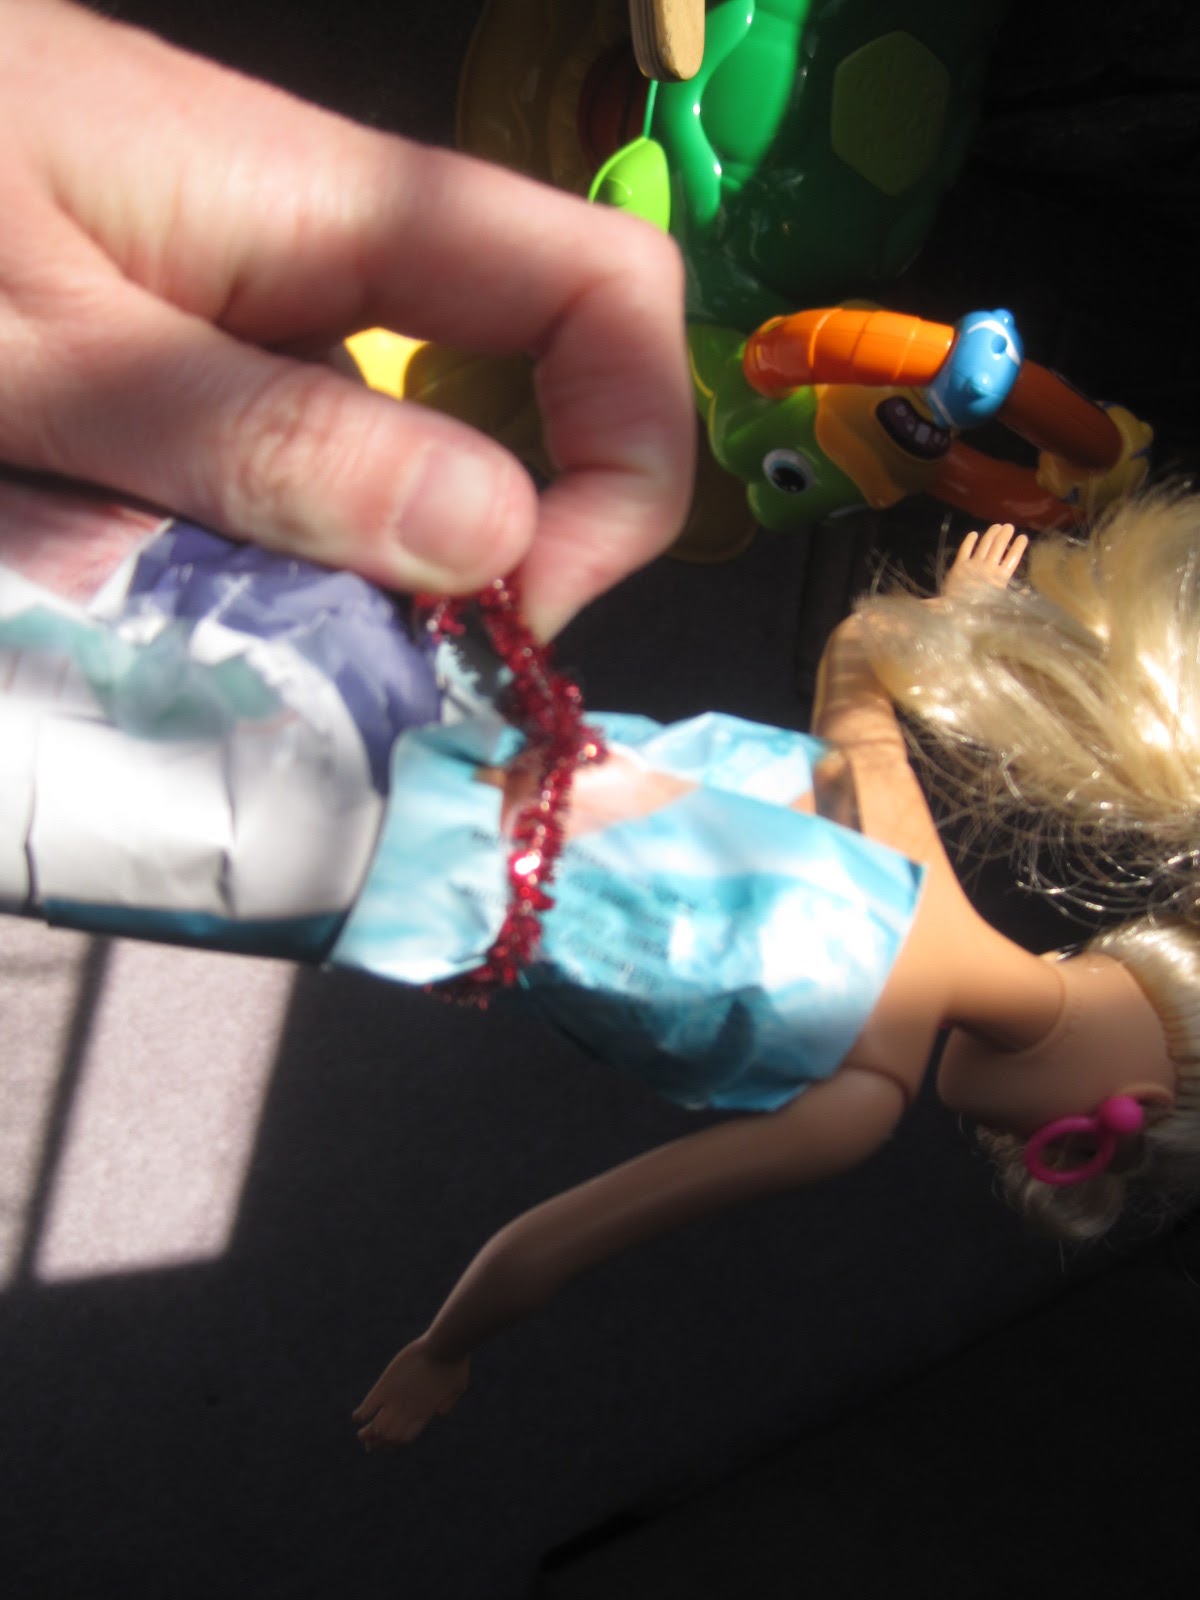 | ||
| Pipe cleaner belt back view at we twist it in place. Be sure to fold over the sharp edges of the pipe cleaner so your kid doesn't get cut while playing.
|

Instructions for a SKIRT made from a page from a catalog:

Select some "fabric" from a catalog. This example shows a page that had a lot of printed words and white space we didn't want to show. You can fold the top, bottom, and middle to hide the part you don't want.
 |
| I was very skeptical about this choice of pattern but it ended up looking fahb-yooo-lus! |
Step 2
Tape the paper at the waist, pinching the paper so it fits around the waist and flares around the hips. Note that our paper is not wide enough to cover the doll's hiney! That's ok, we'll fix it in the next step.
Step 3
 |
| Miss Z is deep in concentration wondering how I'm going to cover this Barbie's derriere |
Cut a piece of paper wide enough to hide the doll's hind quarters. Slide the strip underneath the skirt and tape in place. Trim the top and bottom and cover all seams with tape.
 |
| My 6 year old friend was an excellent tailor. |
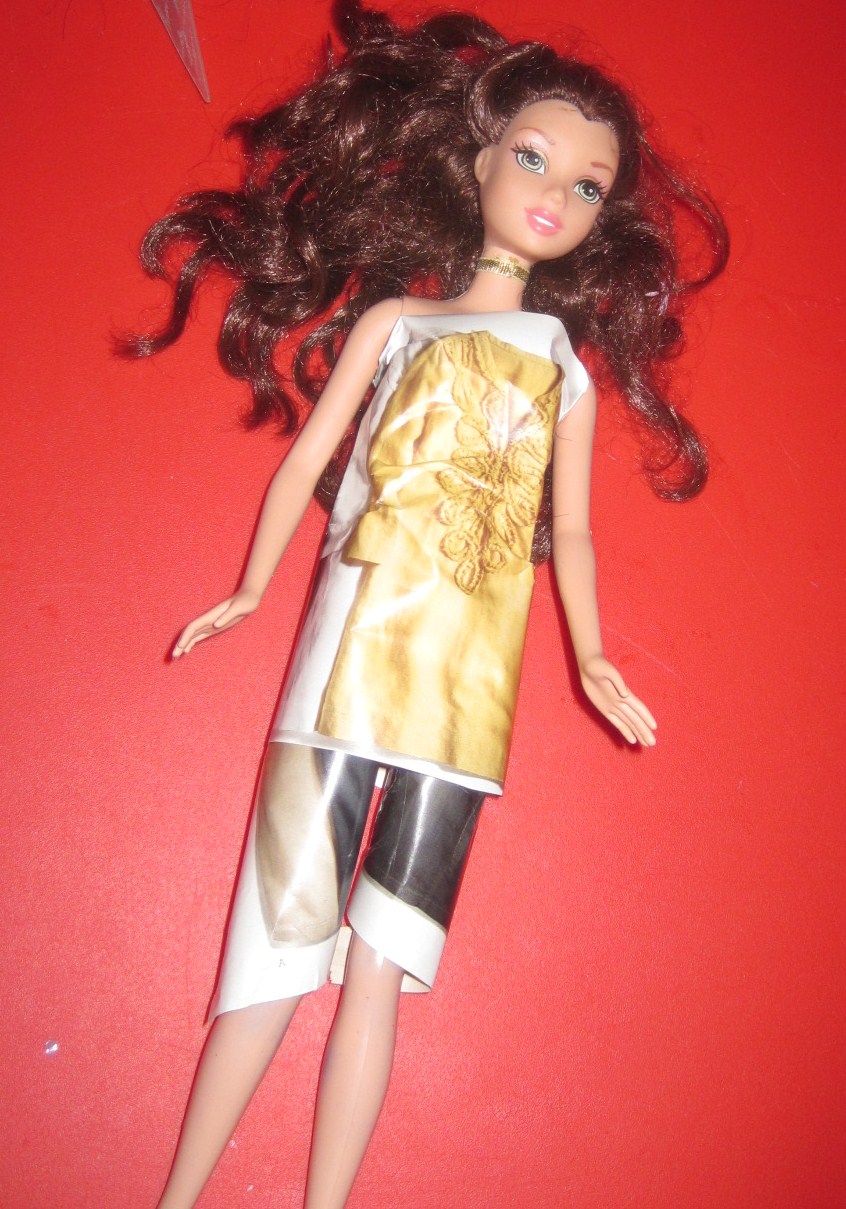
Napkins, paper towels, and tissues are fantastic materials to use for temporary Barbie clothes! You can fold, pleat, and tuck away, and they are just the right size to not even have to snip away excess paper. I have made halter tops, double strap dresses, elaborate bell sleeved jackets, pleated skirts with dolman sleeve tops, you name it. Wish I had pictures to share of all the variations. Just go crazy!
 |
| Check it out-we used a picture of a shirt to make a shirt. Yeah! |
 |
| Barbie's little sister needs clothes, too. |
 |
| We made a one-piece strapless sheeth with a pipe cleaner belt for the little Kelly doll. |
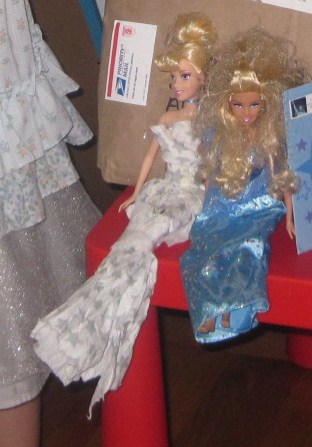 |
| We made this white ballgown on the left. |
 |
| Ready for action! |
--Nancy
Awsome
ReplyDelete