Showing posts with label School-Age. Show all posts

Wednesday, September 12, 2012

Glitterfying with Mod Podge

Summer has come and gone and I have yet to post any of the activites and crafts we've done the past few months.  But I knew I had to get this little sparkly activity out there to share how easy this craft is with great results .... and these great results can be achieved by your 3 year old!  Anything on Pinterest that includes a little glitter catches my eye, and lately all of my "pinnings" have something to do with Mod Podge.  This past weekend my kids and I hit up Michael's with one goal in mind -- buy Mod Podge!  And here's what we made, super sparkly little sneakers!

The camera of my iPhone does not give the glitter justice. 
Very cute way to repurpose shoes!

 
Age:  3+

Time:  20 minutes + drying time.

Cleanup:  We did this outside, but it's pretty easy to keep the mess contained.  Just have some paper towels handy.  I also score 5 cent foam brushes at Michael's, so I didn't even bother to clean them. 

What you need:


  • Mod Podge (We used the Glossy kind.)
  • Glitter (We used Martha Stewart's ultra fine glitter.)
  • Masking tape
  • Paint or foam brushes
  • Workspace "mat" (we used a piece of brown paper)
  • Something to glitterfy (We used some hand-me-down sneakers.  My daughter previously thought these were 'boy' shoes and refused to wear them.  Now, it's a completely different story.)

Directions
1. Clean off your object to Mod Podge.  I also glittered the top of my keys (thanks to Pinterest for the ideas), and cleaned the metal with rubbing alcohol.  For the shoes, I just brushed away any loose dirt.

2. Using the masking tape, tape off any areas your don't want covered.  My 3 year old did the majority of this craft by herself.  With the help of masking tap, she really only painted the canvas of the shoe.

 
3. On the workspace mat (or in a cup), mix together Mod Podge and glitter.  When mixed together, I had about 80% glitter.  I made a number of batches.  I didn't want to waste my expensive glitter.

4.  Brush on the glitter mixture.  We did about 3 coats with only 5 minutes between each layer.


6.  Peel off the tape and clean up any edges.
A little messy, but the coating will dry clear.  I used a paper towel to touch up the edges.

7. Let dry and enjoy!
My son decided to jump in and help us paint.


FYI ... this isn't water proof.  My daughter also decided to make Hello Kitty a little more sparkly.  Later on the Hello Kitties joined her in the bath and the Mod Podge coating dissolved.
If it didn't start raining, I'm sure we would have spent all afternoon finding more things to glitterfy.

-Rose
@-}---

Wednesday, March 14, 2012

Ooey Gooey Goobleck

Is it a liquid?  Is it a solid?  No, it's ooey gooey!

This is one of the strangest things I have ever made with my kid. 
Weird things happen when you mix cornstarch and water.

Squeeze it to make it solid

If you press your finger tips down on it or try to grab a handful it feels like a solid.  As soon as you let go it drips from your fingers like a liquid (especially when you are trying to take a picture of the solid phase)!


Age:  2+

Time:  5 minute tops to assemble.

Cleanup:  Very easy.  Even easier if you let it dry so you can sweep it up.  Start with a dry towel on countertops, then follow with a wet one.

What you need:
  • 1 cup of cornstarch + more to make it more solid in a hurry
  • 1 cup of water
  • large flat bowl or pan
  • spoon

Directions:
1) Mix equal parts of water and cornstarch in a bowl.  Add more cornstarch until it feels kind of thick when you stir it.  You can add more if you want it to be more solid (or only add half the water at first).

2) Now stick your hands in it and play!  Try to scoop up a handful and squeeze it or roll it to make a ball.  I like to let it drip from my fingers.  It kind of vibrates in a strange way.

Definitely liquid


Special thanks to Science World British Columbia for the inspiration!

Saturday, February 11, 2012

Egg Shell Sidewalk Chalk

In the past few months I've discovered Pinterest and now completely addicted and inspired to try lots of different crafts, but I only have a handful of free hours during the week -- so I've picked out some easy ones.  This is one of them.  I like to make crafts that I don't have to throw away.  I always feel guilty throwing a masterpiece in the trash, because I just don't have the room to keeps lots of stuff.  You probably have all of the materials in your house to make this craft.  You don't even need a trip to the craft store!

Age: 3+
Time: 30 minutes + 2 days to dry before you can use the chalk.
Cleanup: Manageable.  My kitchen was back to normal in a few minutes.  My son just had to wash his hands.
What I Like This Craft:  It's always to fun to use the stuff you make.  Especially when you're 5 years old!  Plus we already had everything in the kitchen.
What You Need:
  • Eggshells from about 6 large eggs (clean, dried, and without the inner shell lining)
  • 1 tsp flour
  • 1 tsp very hot water (water from my Keurig was perfect!)
  • Something to crush the shells (we used my kitchen mallet)
  • Bowl
  • Spoon
  • Ziplock bag
  • Paper Towel
  • Optional:
    • Petroleum Jelly
    • Cookie Cutter
    • Food coloring, tempura paint, or glitter

Step 1:
Put the egg shells in the bag and smash them until they become a fine powder.  It took us a good 5-10 minutes to get the shells pretty fine.  We also had lots of the egg lining to sift through.  I ended up using a small strainer to push the shells through.  This separated the egg from the lining and crushed up the shell a little more.

Step 2:
Take one heaping spoonful (we used a large spoon/tablespoon) of the egg shells and mix it with one teaspoon of hot water and teaspoon of flour.  Using this ratio, mix in all of your eggshells.  Mix until well blended. In the end, we used 3 spoonfuls of shells, 3 tsp of flour, and 3 tsp of hot water.
Step 3: (optional)
Mix in a coloring.  We used a drop of poster paint.  We also decided to add in lots of glitter.

Step 4:
Spread the petroleum jelly on the cookie cutter.  On a paper towl, fill the cookie cutter with the mixture.  All of our egg mixture fit into this single cookie cutter.  If you are not using a shape, you can simply roll the mixture into a log.

Step 5:
Let dry for about 2-3 days on the paper towel.

That's it!  Note:  the eggshell chalk it a little scratchy.  I wouldn't use it on a chalkboard.  Save this for the sidewalk!

-Rose
@-}---

    Monday, November 21, 2011

    Indian Corn Thanksgiving Slice-N-Bake Cookies

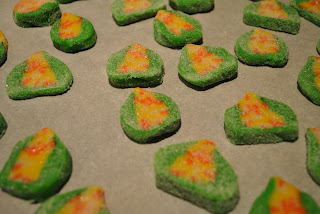
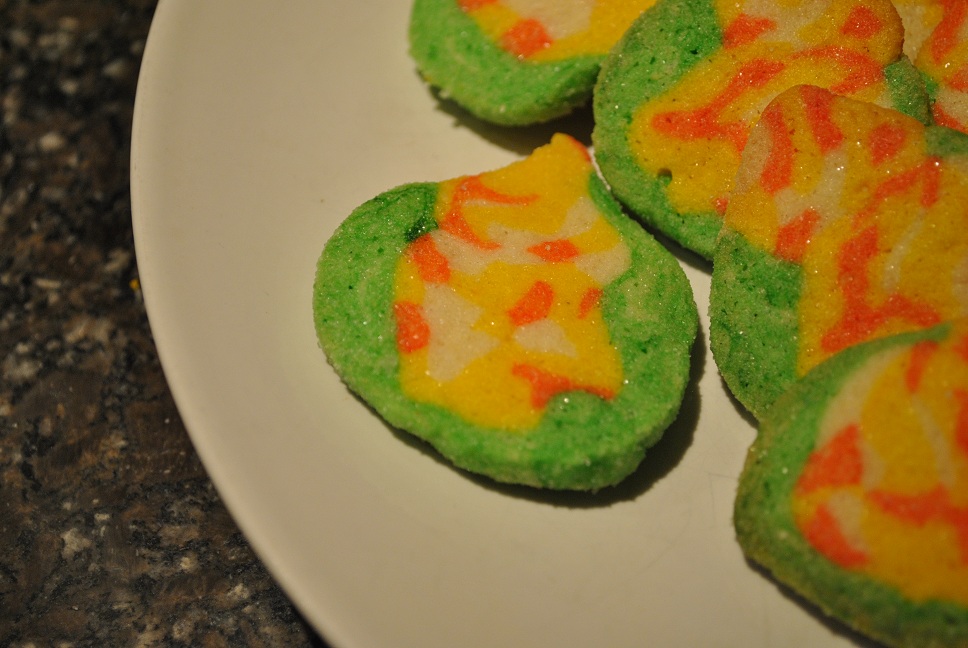
    I recently found a new hobby of making my own slice-n-bake cookies.  Land O' Lakes' recipe for Sparkling Candy Corn Cookies sparked this inspiration.  You can make adorable cookies in vast amounts without having to spend a whole lot of time in the kitchen.  Plus, you hardly need any ingredients.  Ever since making Candy Corn and Frankenstein (see pictures at the end of this post) cookies for Halloween, I've started to conjure up ideas for Christmas cookies, but I still have a few weeks until I start that baking.  However, this week is Thanksgiving and I wanted to try out an idea I had.  Tonight my son and I made some Indian Corn cookies to share with his Kindergarten class.

    I realize I really need to learn how to use my camera. But, you get the idea of how adorable these cookies are!

    Age: 5+

    Time: 10 minutes to make the dough, 35 minutes to assemble the 'dough canes', at least 2 hours to refrigerate the dough, and 8 minutes to bake.

    Cleanup: I think slice-n-bake cookies leave a whole lot less mess than your typical cutout cookies.  10 minutes to clean up the dishes, and a least 5 more minutes to get the food coloring off of your hands.

    What You Need:
    • Cookie dough (I really like this recipe from Land O' Lakes)
    • Green, yellow, and red food coloring
    • Plastic wrap
    • Knife
    • Oven
    • Sugar
    Why I Like This Craft:
    I am by no means a baker, as I always need recipes to bake sweet treats. However, I do love to get creative when making cookies.  My kids both love helping in the kitchen, but cutout cookies are a bit fragile in the hands of a 2 and 5 year old.  These slice-n-bake cookies let the kids play with the dough as if it was Play-Doh.  What kid doesn't like rolling snakes? 

    Step 1: Dye the Dough
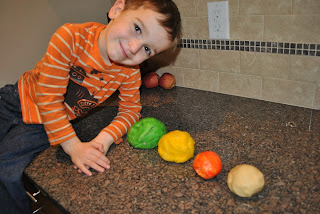
    My son now requests to pose in the pictures.
    Split the dough in thirds.  Dye 1/3 green and 1/3 yellow.  Divide the final 1/3 in half.  Dye 1 half orange, leave the remaining white.  I was a mean mom and didn't let my son dye the dough.  I like to use gel food coloring, and it's pretty potent.  I had visions of him sitting at the Thankgiving table with green dye still on his forehead.

    Step 2: Make a Bunch of Snakes
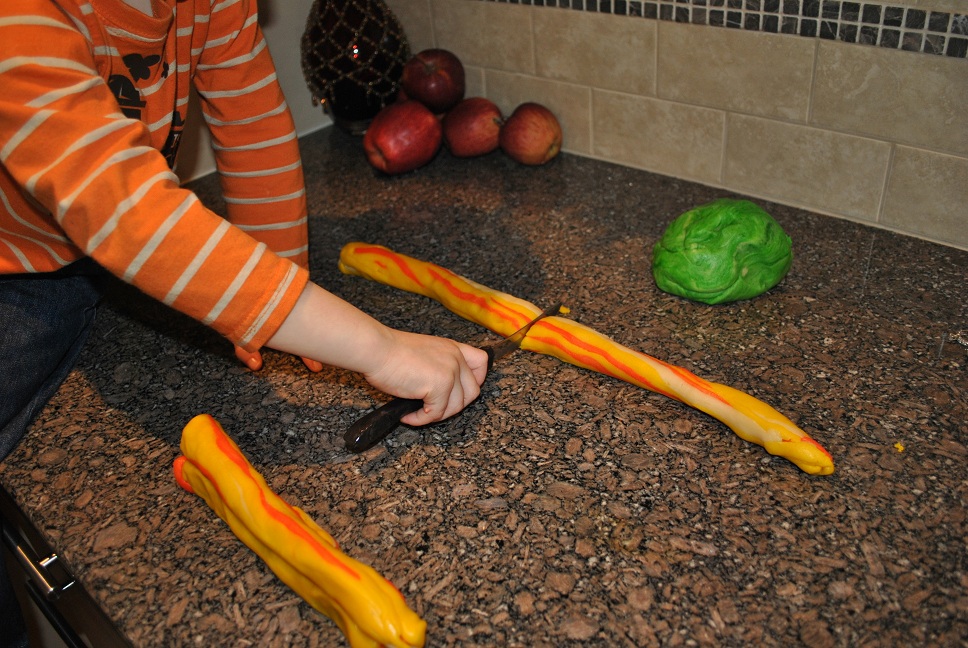
    My son did the majority of this step.  I did help him out, but he was more than eager and more than capable of making a bunch of dough snakes.  Roll the snakes about 10 inches in length with about 1/4 diameter.  Stack them randomly into 2 piles.
    It's ok if the snakes break.  Just pinch them back together.
    I know, these aren't pretty.
    Step 3: Smooth and Roll
    Roll each of the logs (I think in the crafting world, these are referred to a 'canes') until the snakes become smooth and the log is about 18".
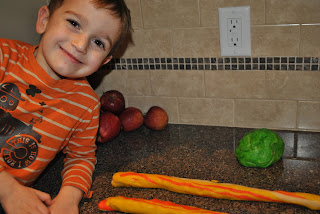
    See, he loves the model his masterpieces.
    Step 4: Cut & Stack the Corn Cobs
    Cut each of the logs in half and stack the halves on top of one another.  You should still have 2 logs when complete.
    2 not so pretty logs.  These are the corn cobs.
    Step 5: Add the Corn Husk
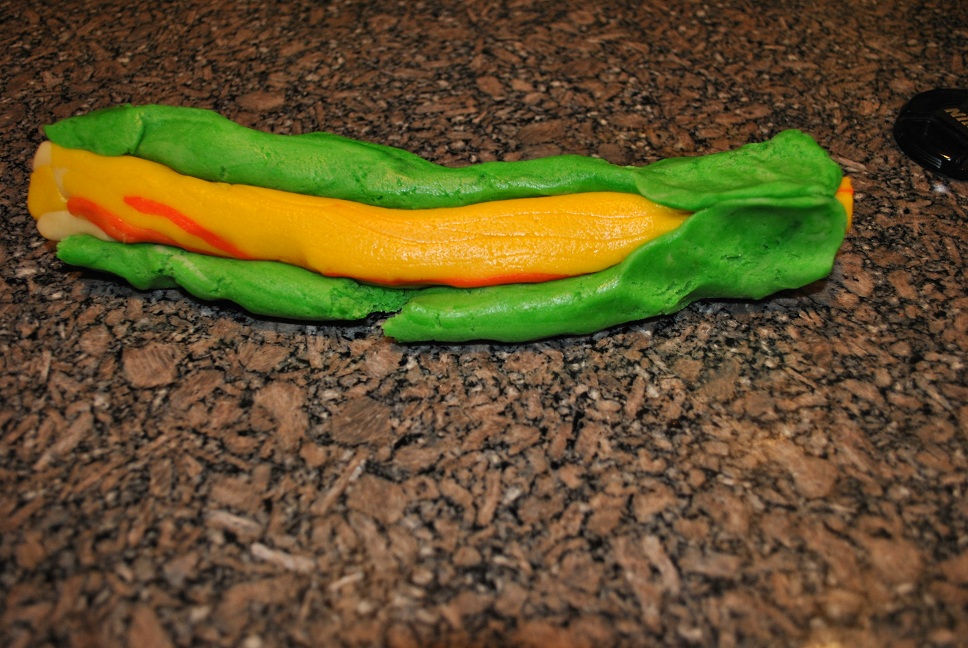
    Split the green dough into quarters.  Use 2 quarters per log.  Roll each out into a fat snake and attach it to the yellow corn cob.  Gently pinch the green dough so it completely covers the bottom of the yellow dough.  I also slighly pinched the yellow dough to form a ridge along the length of the log.
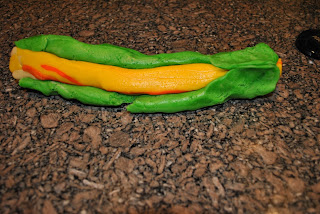
    Pinch the green dough


    Side view.  It doesn't look pretty now, but it looks better when cut.
    Step 6: Wrap the Logs of Dough
    Wrap the logs of dough in plastic wrap and store in the fridge for at least 2 hours.  You won't be able to easily slice the dough if it's not firmed up.  This dough is pretty soft.

    Step 7: Slice-N-Bake!
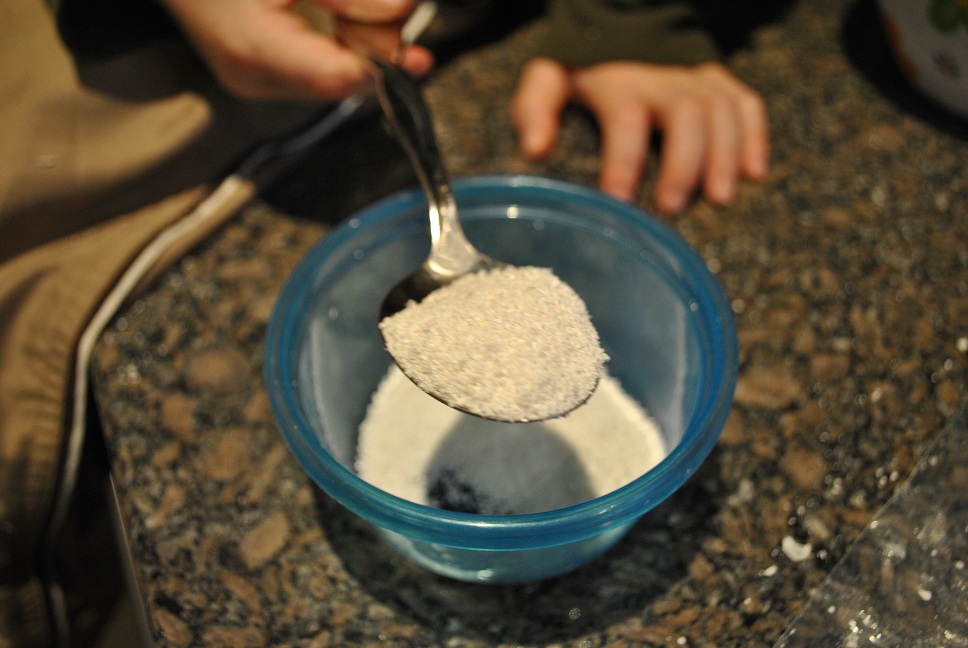
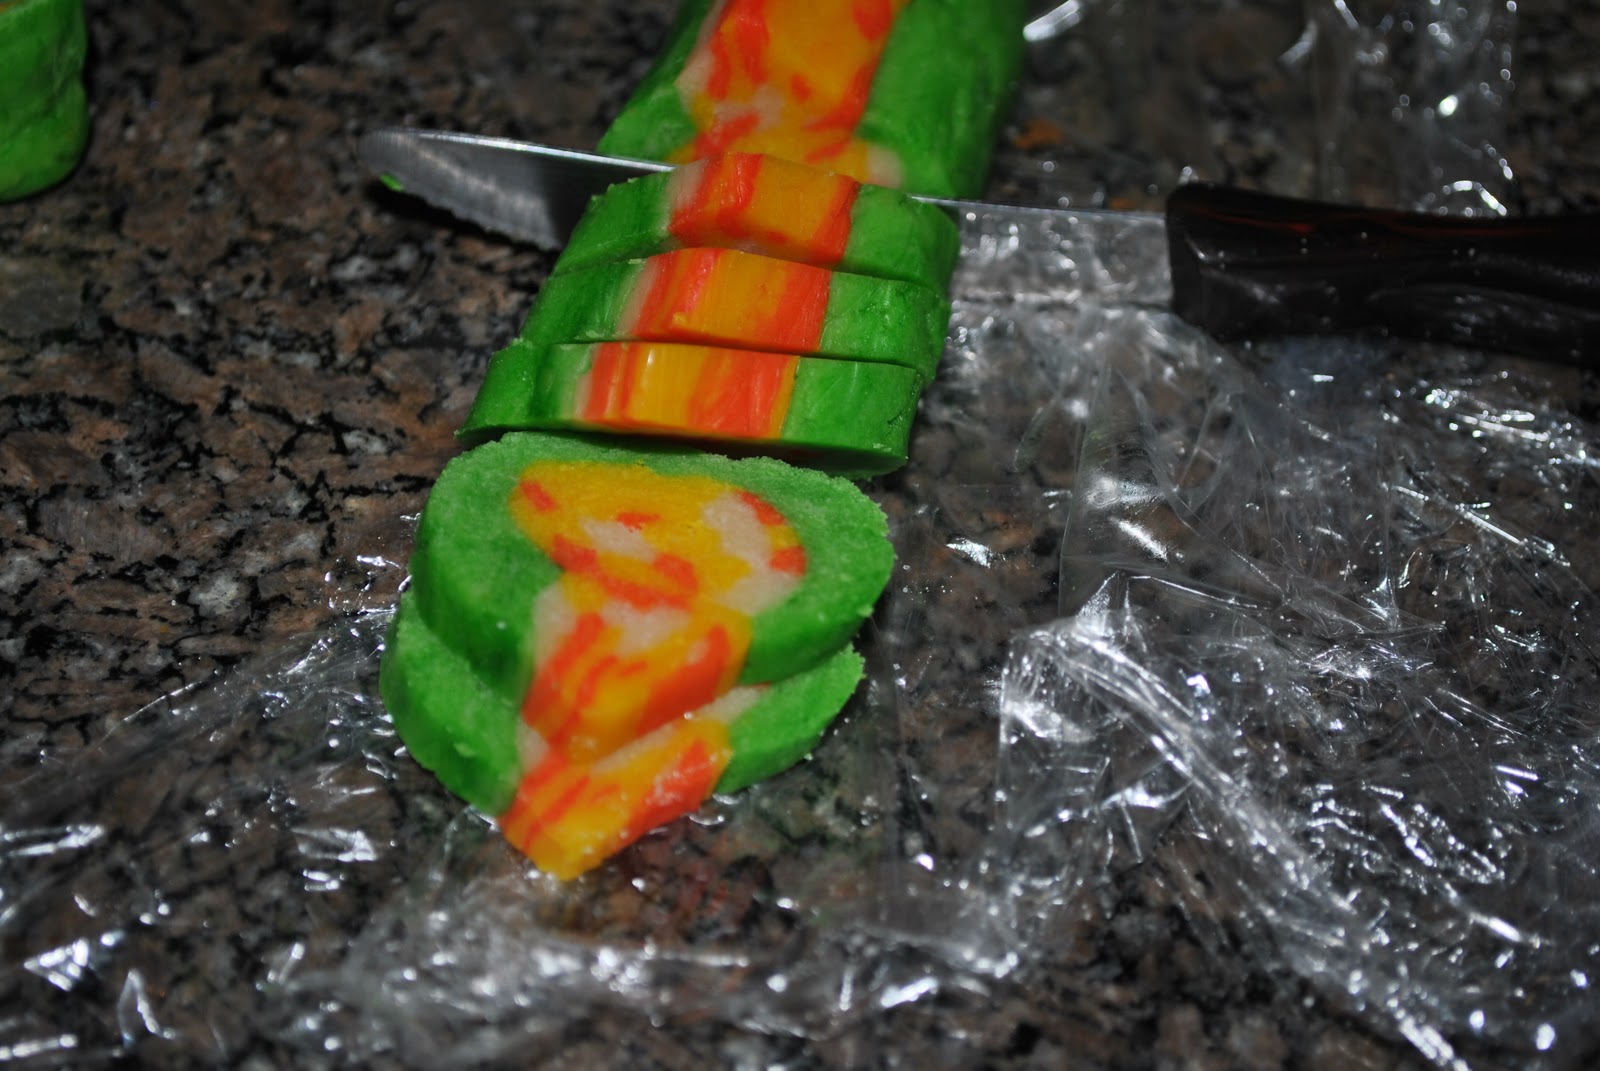
    With your oven set to 375 degree, pull the logs out of the fridge and slice them into 1/4 inch pieces.  Beware, the end pieces tend to look a little ugly.  Toss each cookie into sugar and place on a cookie sheet.  I like to use parchment paper to make sure the bottoms get perfectly golden.  This single recipe makes about 8 dozen mini-cookies.  I baked mine for 9 minutes.
    1/4 inch pieces
    Dusted in sugar and ready to bake.
    I might adjust my technique the next time I make these, but I think this was a good start.  I think I need better shaping for the husks.  Lesson learned for next time.  Now, I can't wait to try out my ideas for Christmas designs!  Here's what I did for Halloween:
    Frankenstein and Candy Corn Slice-N-Bake cookies!
    Have fun and good eats!
    -Rose @-}---

    Monday, October 10, 2011

    Slime Time!


    For those of you that don't know me, Halloween is my favorite time of year.  For weeks I've been dreaming up new stuff to make that's within theme for this holiday.  Here's a little recipe to make some easy slime jelly.  I've had this little "trick" stored in the back of my brain since I first learned about polymers as a Girl Scout back in the 80s.  It's still fun to make, and now I always have diapers on hand. 

    Age: 5+ (I think any younger and they would want to eat the slime.  This is NOT edible!)
    Time: 5-10 minutes
    Cleanup:  Fairly contained, nearly mess-free!
    What You Need:
    • 1 diaper
    • 1 big ziplock bag
    • Scissors
    • Bowl
    • Food Coloring
    • Water
    Why I Like this Craft:  This is surprising simple to make; and if you have a non-potty trained little one in your household, you have everything you need!  When you're ready to toss your slime, you can add it to your potting soil.  The polymer will help maintain moisture in your soil.  Pretty clever, huh?

    Step 1:  Cut the cotton core out the diaper.  Discard the remaining pieces.

    Step 2: Place the cotton in a ziplock bag.  Close tightly.


    Step 3: SHAKE IT! (...like a Polaroid picture...).  This will help separate the powder (the polymer) from the cotton.

    Step 4: Move all of the powder to one corner of the bag. Cut one corner off of baggie.  Carefully pour the powder into a bowl.

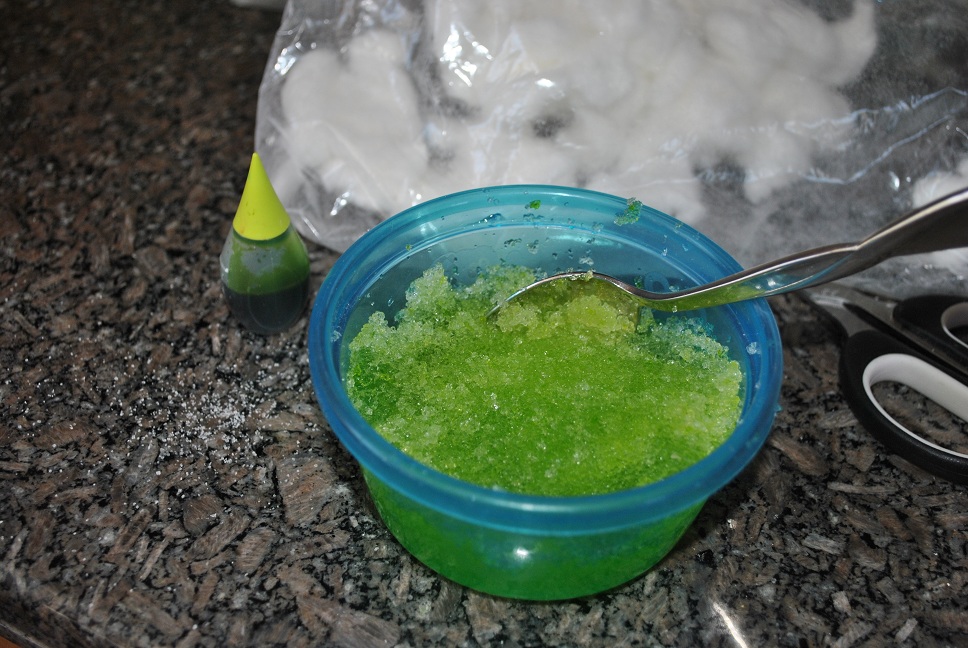
    Step 5:  Add water to the bowl and stir.  It's pretty neat to water the powder swell with the water.  When you mix it, it kind of looks like snow.

    Step 6:  Add food coloring and enjoy the squishy goo.
    Right now is the perfect time to work on your Mad Scientist skills.  Have fun!

    -Rose @-}---


    Pretty, pretty Pinwheels

    A.C. Moore was having a 50% sale on all packages of cardstock.  Little did I know that this sale would start my new affection for pretty paper crafts. Looking for a reason to use my new paper, I figured we would try making some tiny pinwheels.  Mission accomplished.


    Age:  Any age can play with the finished craft; but scissors skills are needed.
    Time:  Only about 5 minutes.
    Clean-up:  Some paper scraps.
    What You Need:

    • Cardstock.  (I used two-sided cardstock)
    • Scissors
    • Pencil with eraser
    • Stick Pin
    • 1 Bead
    What I Like This Craft:  You can make these pinwheels in any size.  I think they would look adorable grouped together on a streamer for some birthday party decorations.  Aside from the decorations, my kids throughly enjoyed playing with the pinwheels for 2 days.  20 minutes at least were spent in front of the fan watching them spin!

    Step 1:
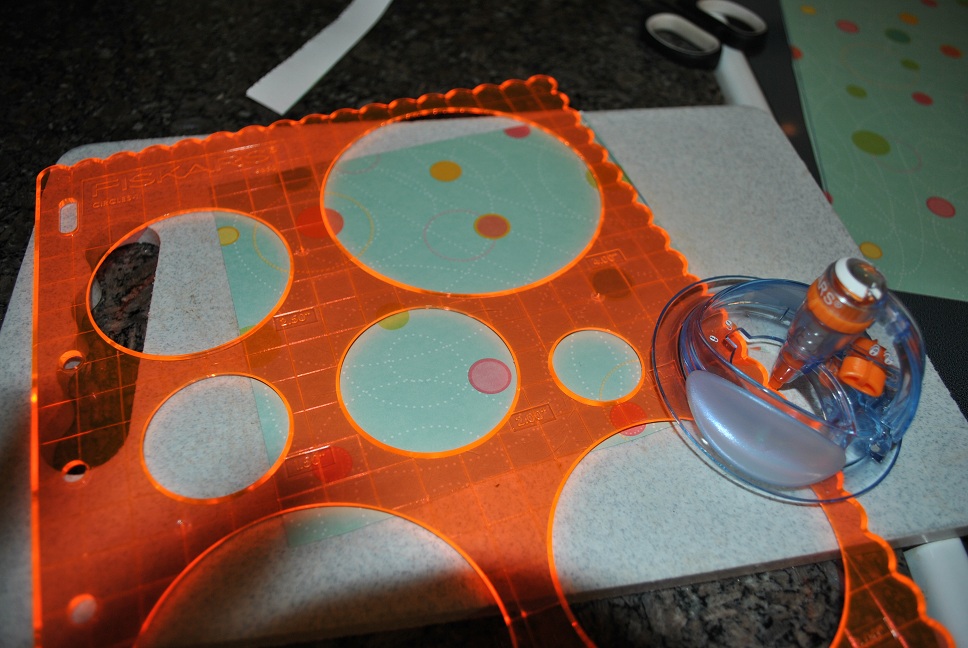
    Cut paper into a square.  The second time I created a pinwheel I used my new Fiskars Shape Cutter to trim a scalloped edge.
    Fiskars Shape Cutter

    Step 2:
    Find the middle of the square and mark with a dot.  Draw a diagonal line from each corner towards the center.  End the line about 3/4 inch away from the dot.

    Step 3:
    Cut along the diagonal lines.

    Step 4:
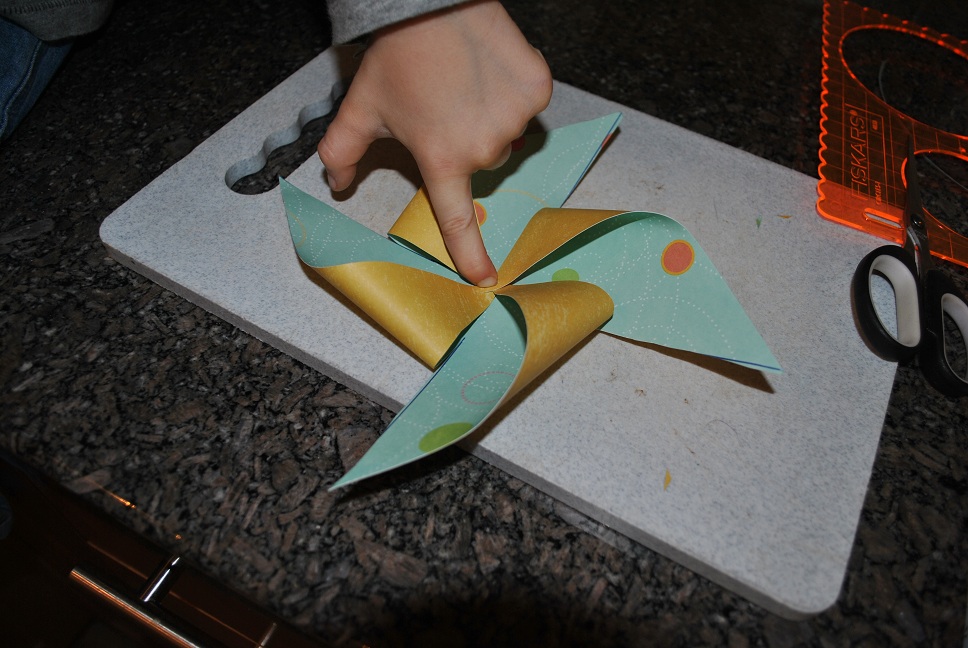
    Fold over every other corner towards the center.  Using the straight pin, gather each corner that meets in the minddle, and poke through the paper near the tip of the corner.
    Step 5:
    Using the bead a spacer, thread the pin through the bead and stick in the pencil eraser.

    5 minutes and you're done.  Enjoy. 
    -Rose @-}---
    Sunday, September 18, 2011

    Rainbow Crayons

    Our crayon box has started to overflow - which was just in time for this little craft.  I've been waiting for months to try it out and I can happily report it worked like a charm!  Making your own rainbow crayons are the perfect solution to a box filled with broken crayons.  And, this craft buys mom a little time while her little one is slowly peeling away all of the paper from each broken crayon.
    They almost look good enough to eat.
    Age: 2+
    Time: 45 minutes
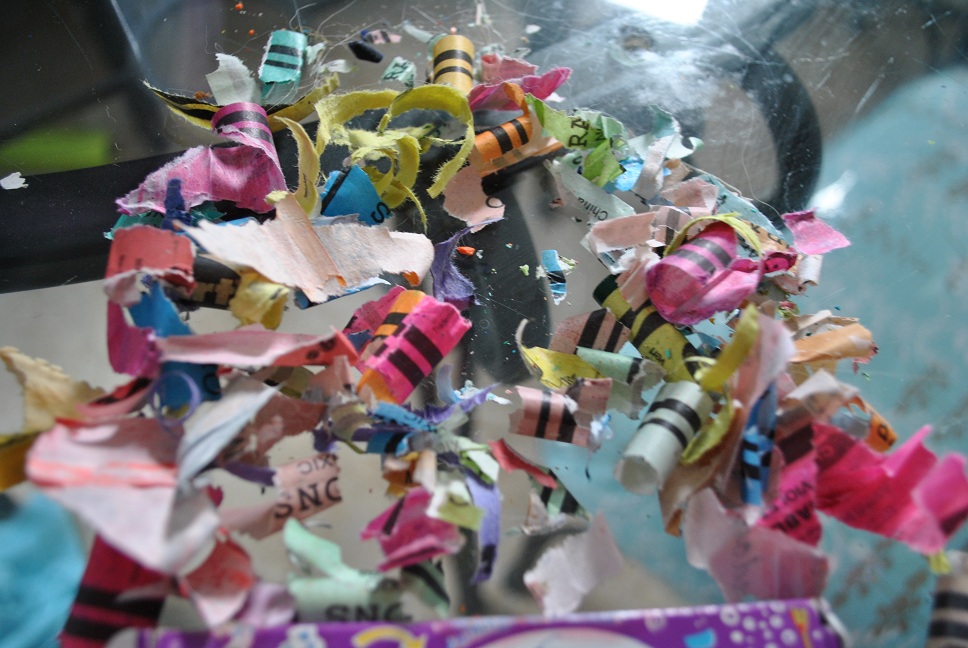
    Mess:  Not too bad, just a bunch of little paper scraps.
    I think the mess is almost kind of pretty.
    What You Need:
    • A bunch of broken crayons
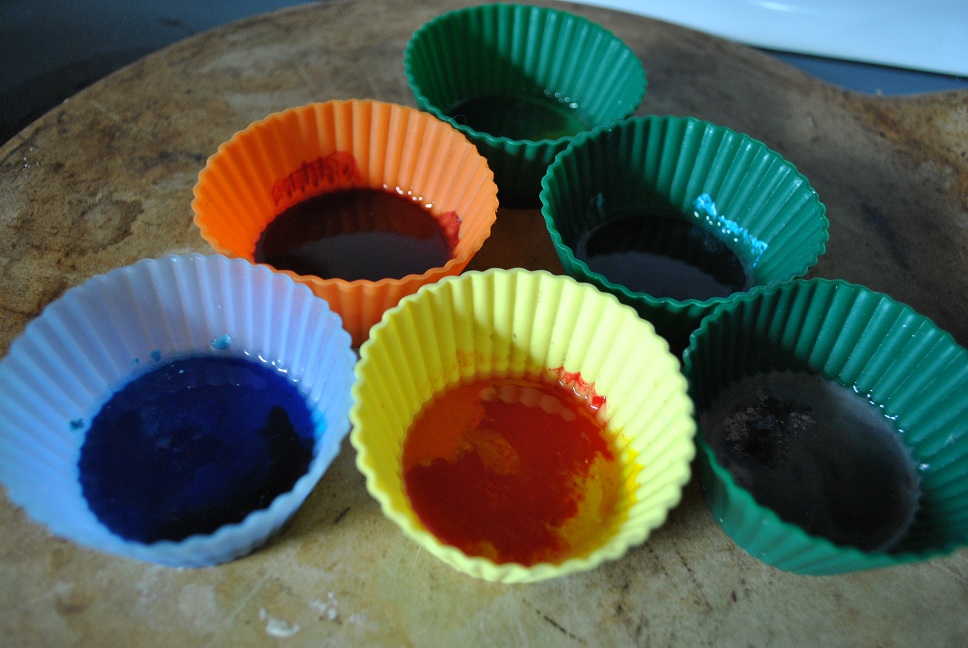
    • Silicon baking cups

    What I Like This Craft:
    I always like to make something that has another use, other than filling of space on my refrigerator.  This is a great way to reuse what you have and make something a little special.

    Step 1:
    Preheat oven to 225 degrees.  Start digging through your crayon box and find all the broken pieces.  This was a great sorting activity for both of my kids.

    Step 2:
    Peel off all of the paper surrounding the pieces. 

    Step 3:  If you have any large broken pieces, break them into smaller sizes.  This was my son's favorite part. 

    Step 4:
    Separate your pieces into silicon cups.  We categorized our's by groups of colors.

    Step 5:
    Put silicon cups on baking tray or baking stone and put into the oven for about 30 minutes.  When wax is completely melted pull them out of the oven and let cool.  I stuck our's in the freezer to firm them up quicker. 

    Step 6:
    Pop your new rainbow crayons out of the molds and color a masterpiece.


    ~Rose @-}---


    Easy and Delicious (Mock) Toffee

    Last year I went to a Boy Scout dinner and had this super yummy treat.  As soon as I got home I was googling to find the recipe.  This is a very easy, almost no-bake, version of toffee.  It's called mock toffe because it's not true toffee, but it is simply delicious.  It's a great goodie to give as a thank you treat, bring to PTA meetings, or handout over the holidays.  I hope you enjoy it as much as I do.


    Age: 2+.  My little one likes to sprinkle the toppings on top.
    Time: 10 minutes to prep, ready to eat in about an hour.
    Mess: For a kitchen activity, this is relatively clean with an easy clean-up.  Hardly any dishes to wash - one pan, spatula, and a cookie sheet.
    What I Like this "craft":  I know this really isn't  craft, but it is an easy activity that results in a yummy treat.  Enough said :)
    What You Need (recipe):
    • 1 sleeve of Saltine crackers or Graham Crackers (both versions come out very good!)
    • 1/2 cup butter
    • 1/2 cup light brown sugar
    • 3/4 cup bittersweet chocolate chips
    • Toppings (pecans, peanuts, almonds, dried sweet cheeries, dried cranberries, dried blueberries, toffee bits, etc.  Make you own combo!), about 1/4 cup each.
    Step 1:
    Preheat oven to 400 degrees.
    Line a baking sheet with foil. Lay the crackers into the pan as close together as possible without overlapping. 

    Step 2:

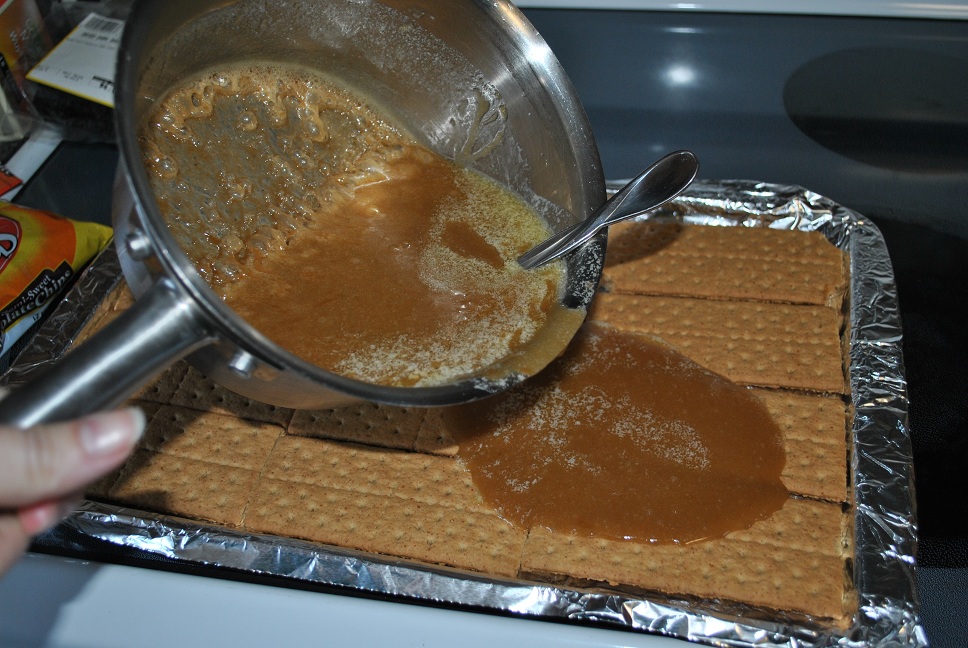
    Bring the butter and sugar to a boil over medium heat. Boil for 2 minutes, stirring constantly.  Remove sugar from heat and pour evenly over crackers.


    Step 3:
    Bake the crackers and sugar in the oven for 5 - 7 minutes, until very bubbly. Don't let the crackers get too browned! Remove pan from oven and let sit for 1 minute to set the sugar up slightly.  

    Step 4:
    Sprinkle chocolate chips over crackers and let sit for 5 minutes to melt, then spread the chocolate evenly over the top when melted.  Sprinkle nuts over the top (optional).  I also like to press the toppings into the chocolate.


    Note: On one variation, I used white chocolate chips for this step.  The white chocolate did not melt with a smooth finish.  I would only use what chocolate chips for the final topping or melted for a drizzle on top.

    Step 5:
    You can also make this extra pretty by melting some white chocolate, transferring to a plastic baggie, and drizzle the white chocolate all over the top.

    Step 6:
    Sprinkle a little salt (this makes it extra yummy) over the entire pan.
    Cool at room temperature and then refrigerate. When the chocolate is set, cut or break into into pieces.
    Yum! Yum!
    ~Rose @-}---