Showing posts with label Dress-Up. Show all posts

Thursday, November 17, 2011

Monster Dancing Clothes!

Remember those days when you had a tiny little baby and you had to pack up or give away perfectly pristine clothes every three months?

Those days are over at my house. 

My kid has been climbing and running and falling down in some of her clothes for two years now and they are full of holes.  This past week I've found holes in three pairs of pants, two shirts, a dress, and a pair of shoes. 

You know what that means.

Time to get all Incredible Hulk and let her rip them off her tiny muscular body and bedazzle them!

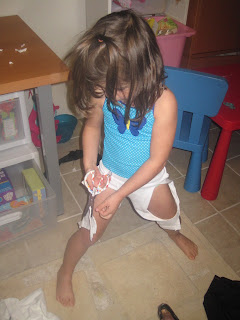
We busted out the scissors, glitter glue, and googly eyes to make some fancy ripped up clothes with monster faces.  I can't describe the fantastic dances that were inspired by the fluttering sleeves and exposed legs.  It was a whirlwind!

Age:  3+ depending on how fancy you want the end product.  I don't mind if mine end up in the trash tomorrow.  What the heck, let the almost-2 year olds play, too!

Time:  about half an hour plus time to dry the glue overnight.

Cleanup:  pretty easy, about 5 minutes to wipe up the glue and wash hands.

What you need:
  • Old clothes or shoes, the more stains and holes the better
  • Scissors
  • Glitter glue, acrylic paint or permanent markers
  • Paint brush or cotton swabs
  • Googly eyes
  • Privacy so your kid can strip off the clothes to paint after cutting them up

Why I like this craft:
1) It feels incredibly naughty and fun to rip up your own clothes (you will have to decide for yourself if your kid is capable of restraining herself from ripping up clothes you don't intend to turn into monster dancing apparel.  My kid is pretty trustworthy.  Famous last words, right?)
2) I hate throwing away anything that might possibly ever maybe sort of have a useful crafty afterlife.  I don't mind throwing away finished preschooler craft projects.
3) It was a great craft to do before bedtime so we could let the clothes dry undisturbed overnight. 

Step 1:
Cut and rip up the old clothes.  It's particularly exciting to rip the clothes starting at the holes instead of using scissors.  But scissors add extra danger and excitement.  For heaven's sake don't give your kid pointy scissors to use next to their skin!  This calls for blunt tips.
Make sure you rip at least one sleeve or leg up the side so it flutters around when they're dancing later. 

Step 2:
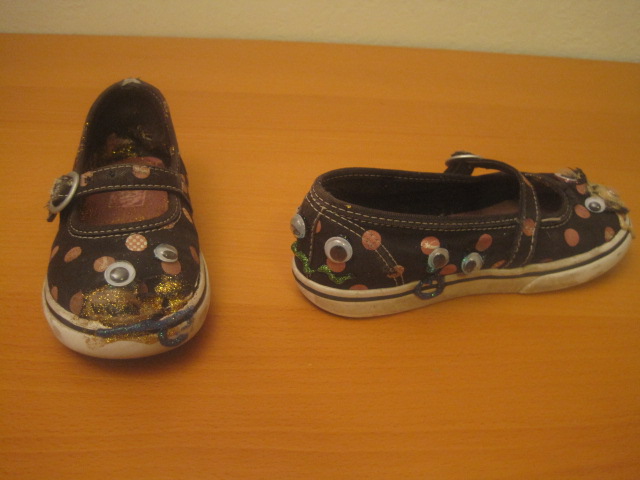
Take off the clothes and start decorating!  My kid decorated the bejezus out of the inside of her shoe and filled it with glitter glue and googly eyes.  Cute and sparkly, but not very comfortable to walk on.  Plus I had to hide my chagrin at seeing our entire supply of googly eyes covered in glue so I started plopping pairs of them on the old clothes.  Then I added a mouth.  And some eyelashes.  And some eyebrows.  Then my kid started adding mouths.  And eyelashes.  And noses.  And big globs of pink glitter that she said looked just like brains (they really did!)  And big globs of blue that somehow ended up in her hair...

Step 3: 
Use the paint brush or cotton swabs to thin out the thickest globs of glue if you want it to dry quickly.  Leave the brain shaped globs if you have a full 24 hours or more to let it dry. 


Step 4:
Put the clothes back on and dance, dance, dance. 
Wednesday, March 30, 2011

Handy Manny Toolbelts and Party Favors

I've been meaning to post this craft up here for awhile.  I made this craft a couple of years ago for my son's 3rd birthday and I think it's what sparked my resurgence in crafting.  This is half mommy-craft and half kiddo activity.  I think it came out pretty well and it was the perfect craft to do with a house full for 3-5 year olds.  It doesn't take too long for the kids part and it's something they can play with after they're all done.
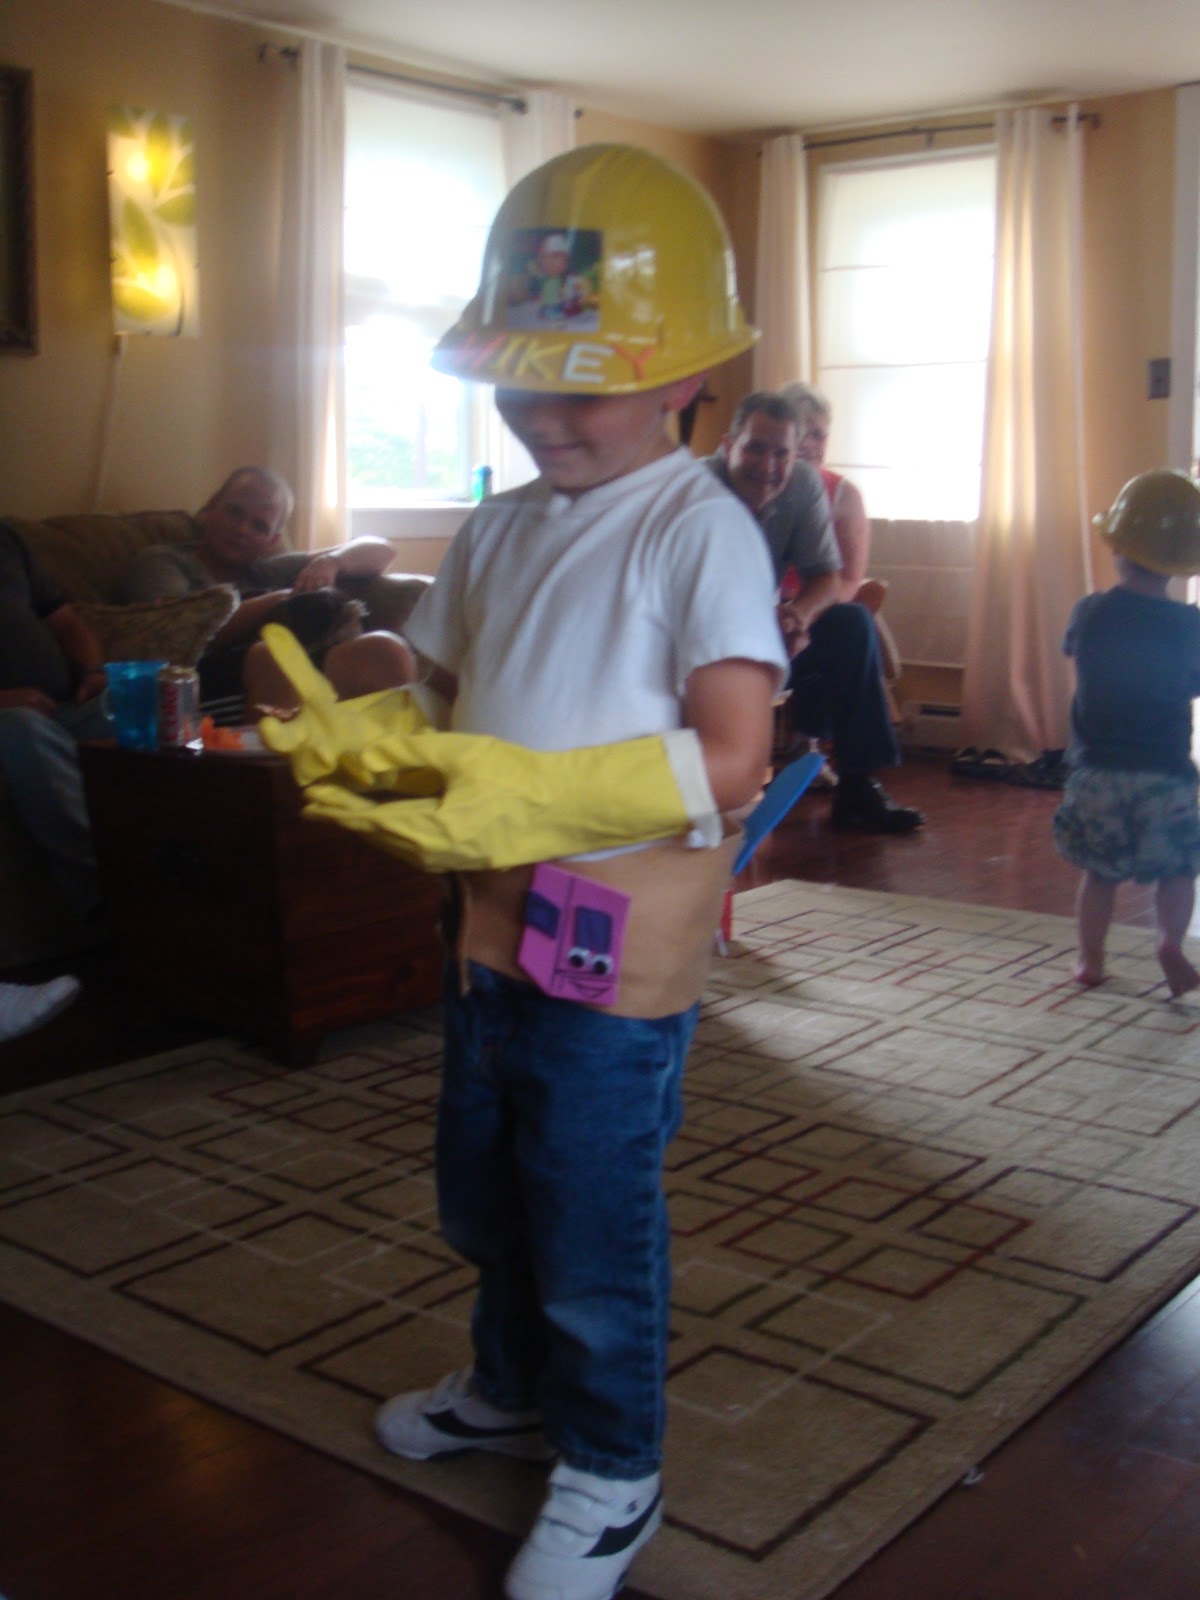
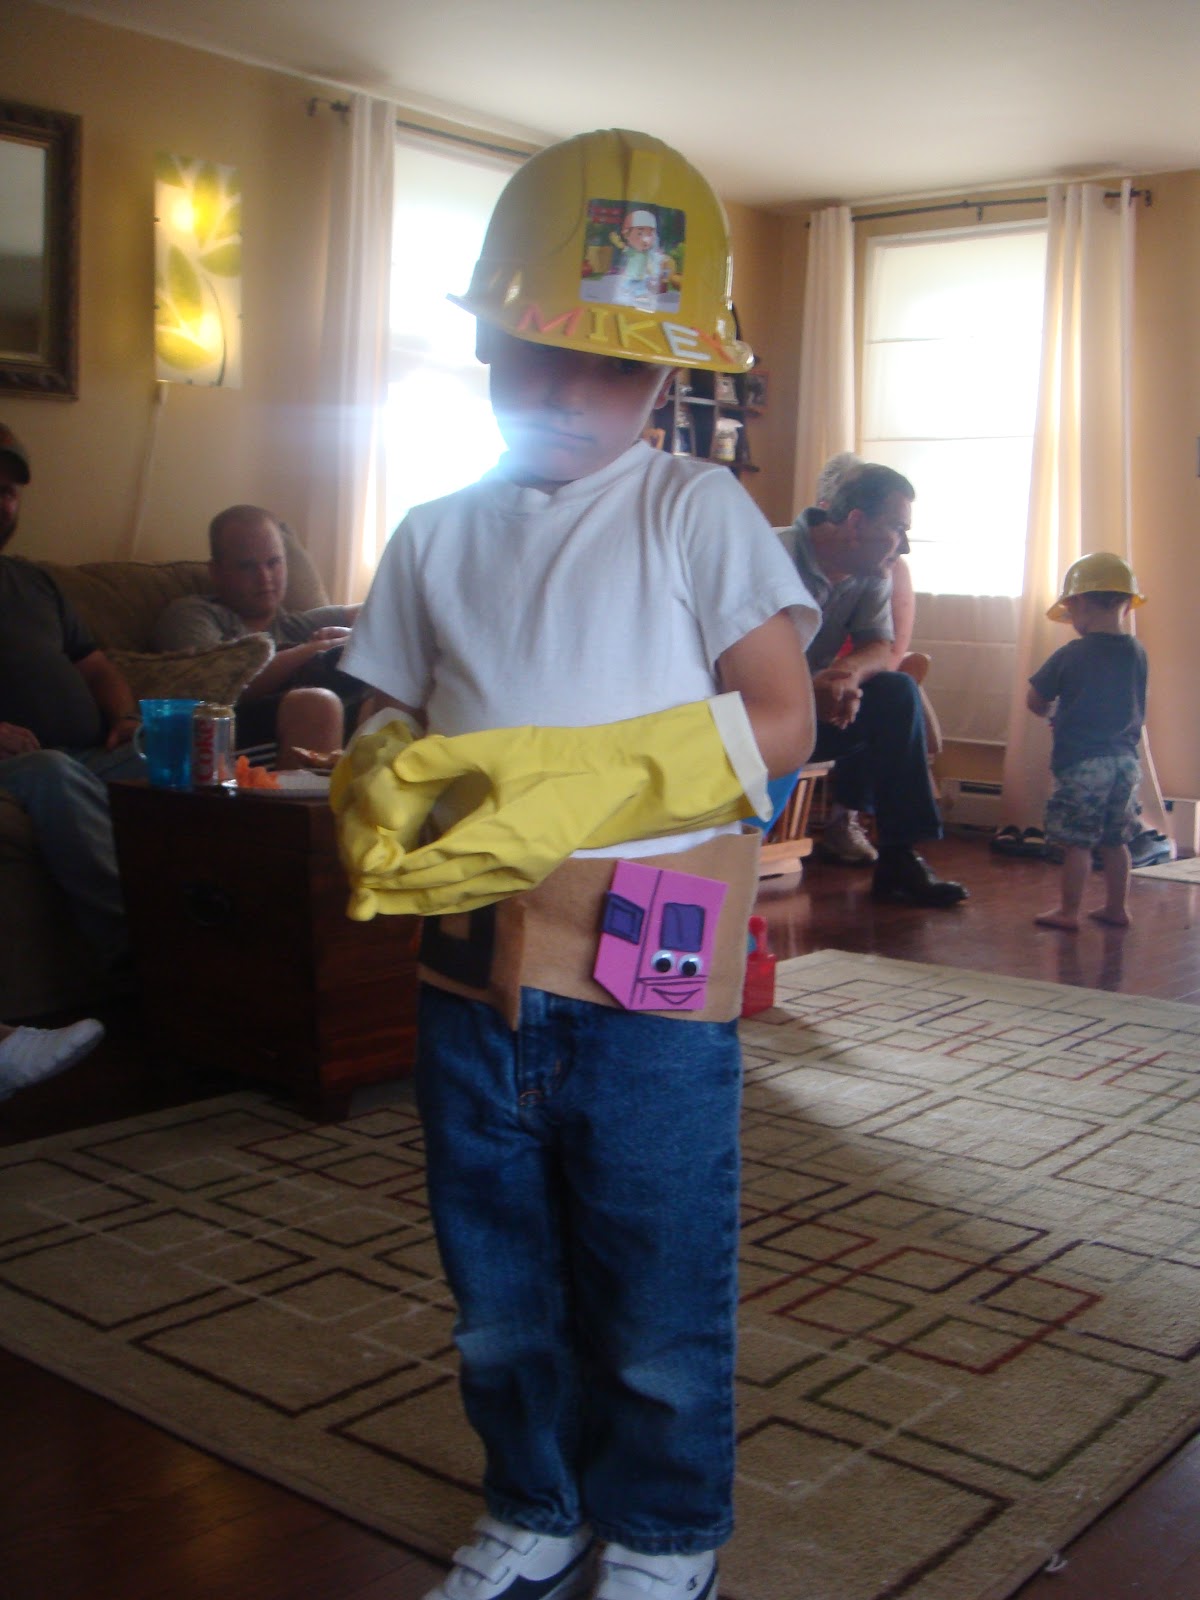
One happy customer!
  You can't see all of the tools, but after everything was assembled we had lots of little Handy Mannys running around.
It was very cute and kept the little ones busy for just the right amount of time.

Age: 2-6 to assemble the pieces.  An adult will be needed to draw and cut out the tools.
Time: 10-15 minutes for the kids.  2-3 hours for the adults.
Cleanup: None for the kids.  Lots of craft foam scraps for mom.
What You Need:
  • To Build the Tools -
    • Craft Foam - Blue (Pat); Orange (Rusty); Yellow/Green (Felipe); Blue/Purple (Turner); Pink/Purple (Stretch); Dusty (Red); Squeeze (Green); Silver (Felipe/Turner/Dusty/Squeeze)
    • Tan Felt (I also used some leftover felt for the toolbelts. Just measure your little one's waist to get a general idea of the length. They should be about 5-6" inches wide). 
    • Self Adhesive Velcro (Save some money and just buy the 'hard comb' side of the velcro if you can.  The velcro combs will stick to the felt.  You will need a small pieces (about an inch) for each tool, and a large piece (about 2 inches) to adhere the belt to itself.)
    • Hot Glue Gun & Hot Glue Sticks
    • Black Sharpie Marker
    • Glue Stick
  • In each goodie bag
    • Finished Tool Pieces (materials listed above)
    • Googly eyes (2 eyes per tool)
    • Yellow dish gloves (1 pair per child.  You gotta have gloves like Handy Manny!  The kids look so darn cute with this massive gloves on their tiny hands.)
    • Construction Hats (I bought mine from Oriental Trading)
    • Self-adhesive foam letters (like these.  I filled each kid's bag with the letters for his/her name.)
    • I also added gummy tool candy and Handy Manny stickers.
  • Amount of supplies will depend on home many sets you plan to make.  I made most tools about about 6-8" tall.  I used the gloves, construction hats, and toolbelts as party favors for each kid.
Why I Like This Craft:
My son and daughter both love Handy Manny.  My son loves playing dress-up, so I was trying to think of an age-appropriate activity for the kids that fell within the Handy Manny theme.  This seemed to work and doubled as the party goodie bag.

Making the Tools-
Step 1: 
You do not have to be an artist to make these tools.  Remember that these tools are for 3 year olds.  They will think you are awesome regardless of how the tools come out.  I'm not a fabulous drawer, but think I did an OK job winging it!  Just find a good pattern and trace what you can.

Find some patterns to use for each tool (you can use coloring books or print-outs from Disney's website) and print them out.  I didn't make all of the tools.  Pick the ones that are easiest for you to draw.

Step 2:
Cut-out the patterns and trace an outline on the craft foam.

Step 3:
Cut out the craft foam.  Some tools will only need one color - Rusty the Pipewrench and Pat the Hammer.  Stretch the Measuring Tape is mostly pink, with a purple square accent.  For the screwdrivers (Turner and Felipe), I made the top in their respective colors (blue and yellow).  I used silver craft foam to mimic the shaft of the screwdriver.  I glued the accent pieces together with hot glue.

Step 4:
Add detail with a black Sharpie marker so your tool has some definition.  Do not draw the eyes.  (See pictures below)

Step 5:
Glue a piece of velcro (hard comb part) to the back of the tool.

Step 6:
Cut out the felt pieces.  Each piece will be a long rectangle.  It should be sized to fit around your child's waist.  So the belt can stay when wrapped around, glue a piece of velcro (hard comb part) to the underside of the felt, near the end of the felt.  I used dark brown felt as an accent piece to look like a buckle.

Step 7:
Add all of the near finished pieces into the baggie.  Add in 2 eyes per tool and name letters.

Party Activity - Attaching the Eyes & Dressing Up Like Manny

Step 1:
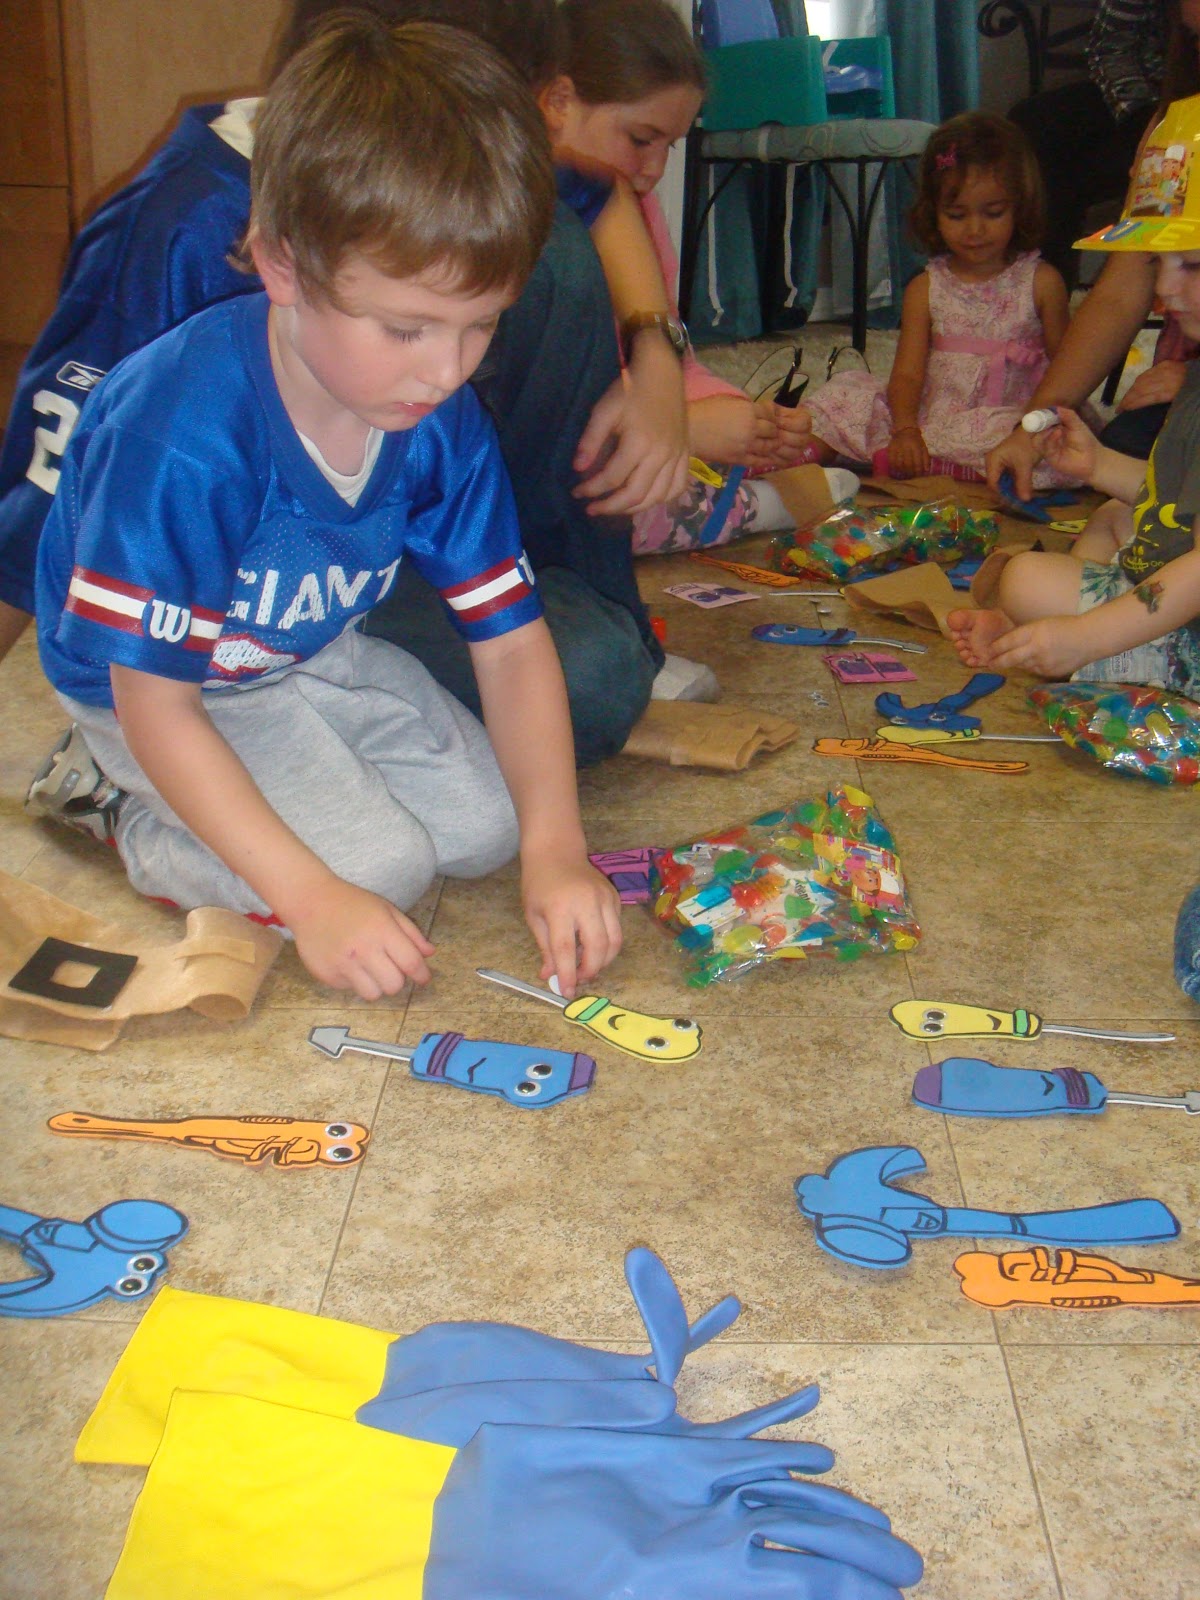
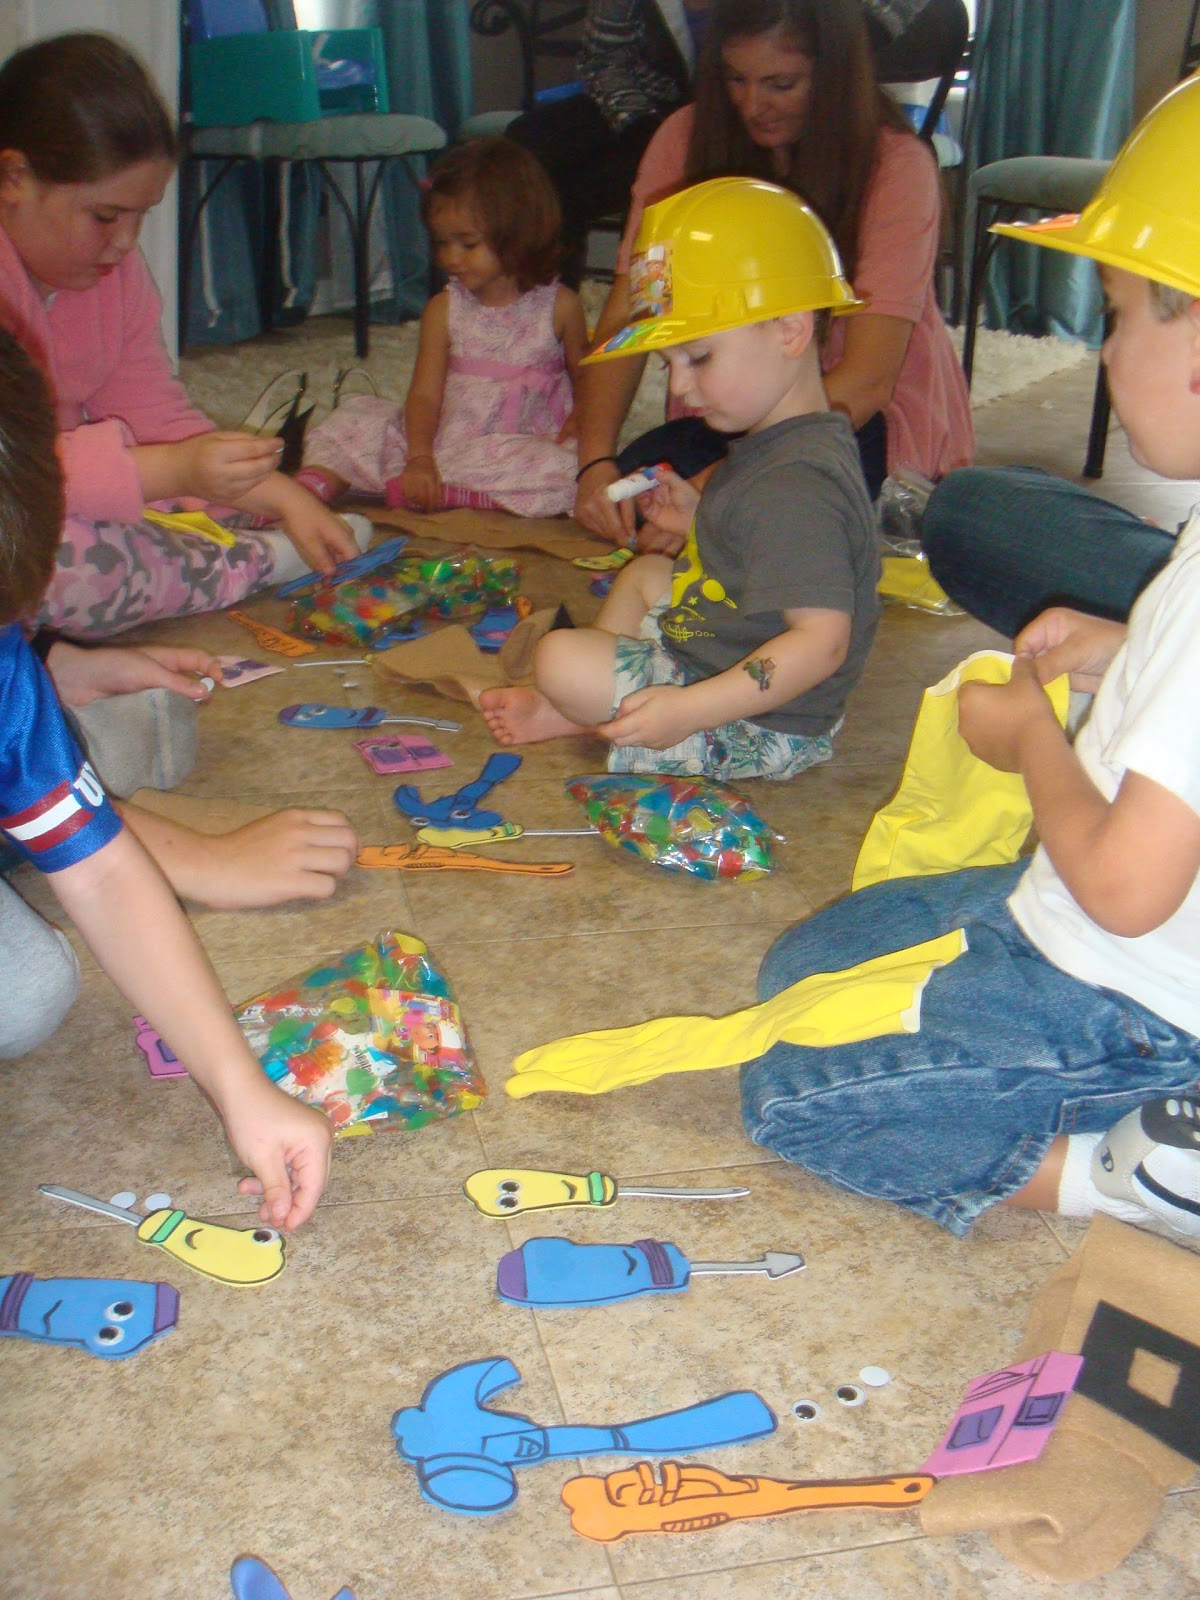
As soon as you hand out the baggies, the pieces are sure to hit the floor.  Be sure to have extra googly eyes, glue sticks (the kid-friendly kind), and a hot glue gun with hot glue ready to go.  We did this activity on my kitchen floor.
Notice the semi-finished tools in the lower right corner of this picture. 
Pat, Rusty, and and Turner are all assembled, minus the googly eyes.

Step 2:
Pass out a few glue sticks and instruct the kiddos to find 2 eyes and glue them on each tool.  If the glue isn't drying fast enough, go ahead and zap it with the glue gun.

Step 3:
Once each tool is complete, stick it on the belt. 

Step 4:
Once the toolbelt is complete, have each kiddo find the letters for their name and assemble that on the construction hat.

Step 5:
Complete the Handy Manny costume with the gloves, hat, and toolbelt.

I hope your kiddos have as much fun as we did.  My son is almost 5 and he still plays with his Handy Manny costume.

-Rose @-}---

Monday, February 7, 2011

10-Minute Jet Pack Craft

This weekend we had two preschooler birthday parties.  After all the wrapping we had an empty wrapping paper tube sitting on the dining room table.  Just before I tossed the tubed into the recycling bin, we whipped this little jet pack together while dinner was cooking on the stove.  It only take a few materials and a few minutes to make.
My son is now into the Despicable Me movie.  He particularly loves the part where Vector zooms around with his jet pack (or as my son calls it, his "Rocket Jet Pack").  
Age: 3+
Time: 10+ minutes
Cleanup: A few paper scraps, that's it!
What You Need:

We used some old drawings for the paper scraps

  • Wrapping Paper Cardboard Tube (paper towel tubes or Pringles can would probably work too)
  • Tin foil
  • Yarn or ribbon (2 pieces, about 24 inches each)
  • Red, orange, and yellow paper scraps
  • Scissors
  • Glue (To make things quicker, I just used the hot glue gun to stick everything together.  You could staple or use craft glue to adhere the pieces).

Why I Like This Craft:
This was so quick and easy to make (as are most of the crafts on this blog).  And any craft that can double as a costume accessory is always a plus!  I love pretend play!

Step 1:
Cut tube in half.

Step 2:
Cover tubes in foil.
Step 3:
Glue tubes together.

Step 4:
Poke 2 holes at the top and bottom of each tube.

Step 5:
For each tube, tie the piece of yarn  to the top and bottom of tube to make a backpack.

Step 6:
Cut scraps into flame shapes.  I drew some shapes on the paper and my son cut out the pieces.

Step 7:
Glue the flames to the bottom of the rocket jets.  All done!

See, so easy!

-Rose @-}---

Thursday, January 13, 2011

Cardboard Shoes & Dino or Monster Footprints

Many thanks to Alyssa for her suggestion of making monster footprints.  As soon as my son came home from pre-school I told him about this pending project.  He was in love with the idea and couldn't wait to get started.  Right now my son is really into dinosaurs, so we decided to make T-Rex footprints.  After we completed the project, we took the cardboard cutouts into the snow and stamped some footprints.  My son hopes to scare our neighbors into thinking a herd of T-Rexs came stomping through our neighborhood :)  Too funny.  I love my 4-year old.

So, here you go...
Age: 4+ (however, as you can see - made made a tiny pair of dino-prints for my youngest)
Mess/Cleanup: Just some cardboard scraps
Time: 20+ minutes
What You Need:
  • Cardboard (We used a pizza box)
  • Yarn (or string or laces)
  • Scissors
  • Markers
  • Packing tape (It was getting close to bedtime, so we didn't use the packing tape.  But I was thinking to adhere it to the underside of the print so the cardboard wouldn't get wet in the snow.)

Why I Like This Craft:  It's so easy with only a few supplies!  Plus, my son thinks this is super cool.  It allowed us to do a little pretend play (which I'm sure there will be more time tomorrow to stomp around like dinosaurs) and give us another activity for the snow.  Also, as soon as my 20 month old got interested, I started thinking of all kinds of things to make -- little ice skates (this one's for you Erin), princess shoes, or monster feet. If you cover these with construction paper, glue, and glitter you can make some pretty cute little pretend play shoes.  Time was limited tonight, so it mostly was a mommy-craft with playtime by the kiddos.


Step 1:
Flatten out card and draw your footprint.  I drew what I think a T-Rex footprint would look like.

Step 2:
Cut out footprint and decorate.  It was pretty close to bedtime when we started, so I only had my son use some markers for decoration.  He was too excited to wear the footprints, so the coloring was short-lived.

Step 3:
Have your little one place his/her foot on each of the prints.  Trace the foot.  Poke 4 holes in the cardboard - 2 on each side of the foot.
Step 4:
Cut about 2 feet of yarn.  Thread the yarn through the cardboard.  I threaded it so my son's toes would go under the yarn.  I criss-crossed the yarn behind his heel, then tied them.


Step 5:
Stomp like a dinosaur!  We also tried this outside to make prints in the snow and it worked pretty well.  We made our prints pretty large, so it was a little difficult for my son to walk.  I had him take off his dino-feet and we just used the prints as very large stamps.

Too cute not to mention....
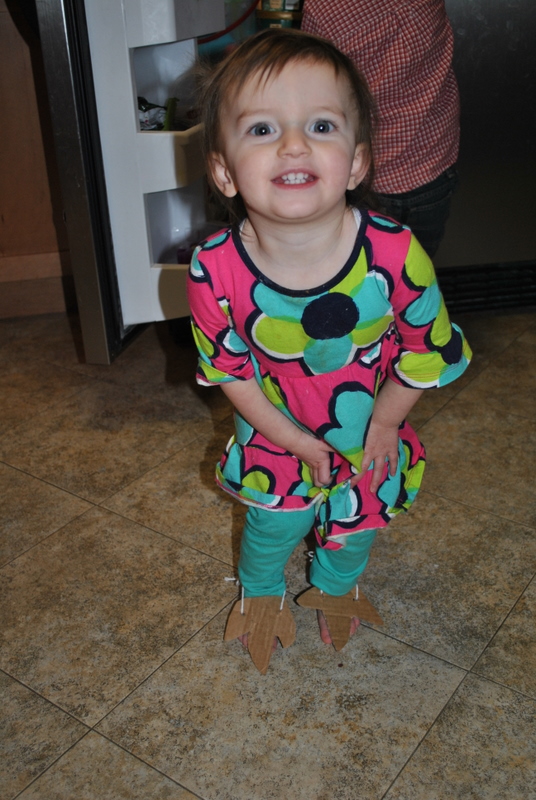
My daughter was throwing a fit that she didn't have a pair of dino-feet, so I made her little baby T-Rex feet.  These cut-outs that went over the top of her little barefoot feet.  How cute?  She was in love.  I have a feeling in the very near future we will be making some sparkly shoes or ballerina slippers using a similar technique.

-Rose  @-}---