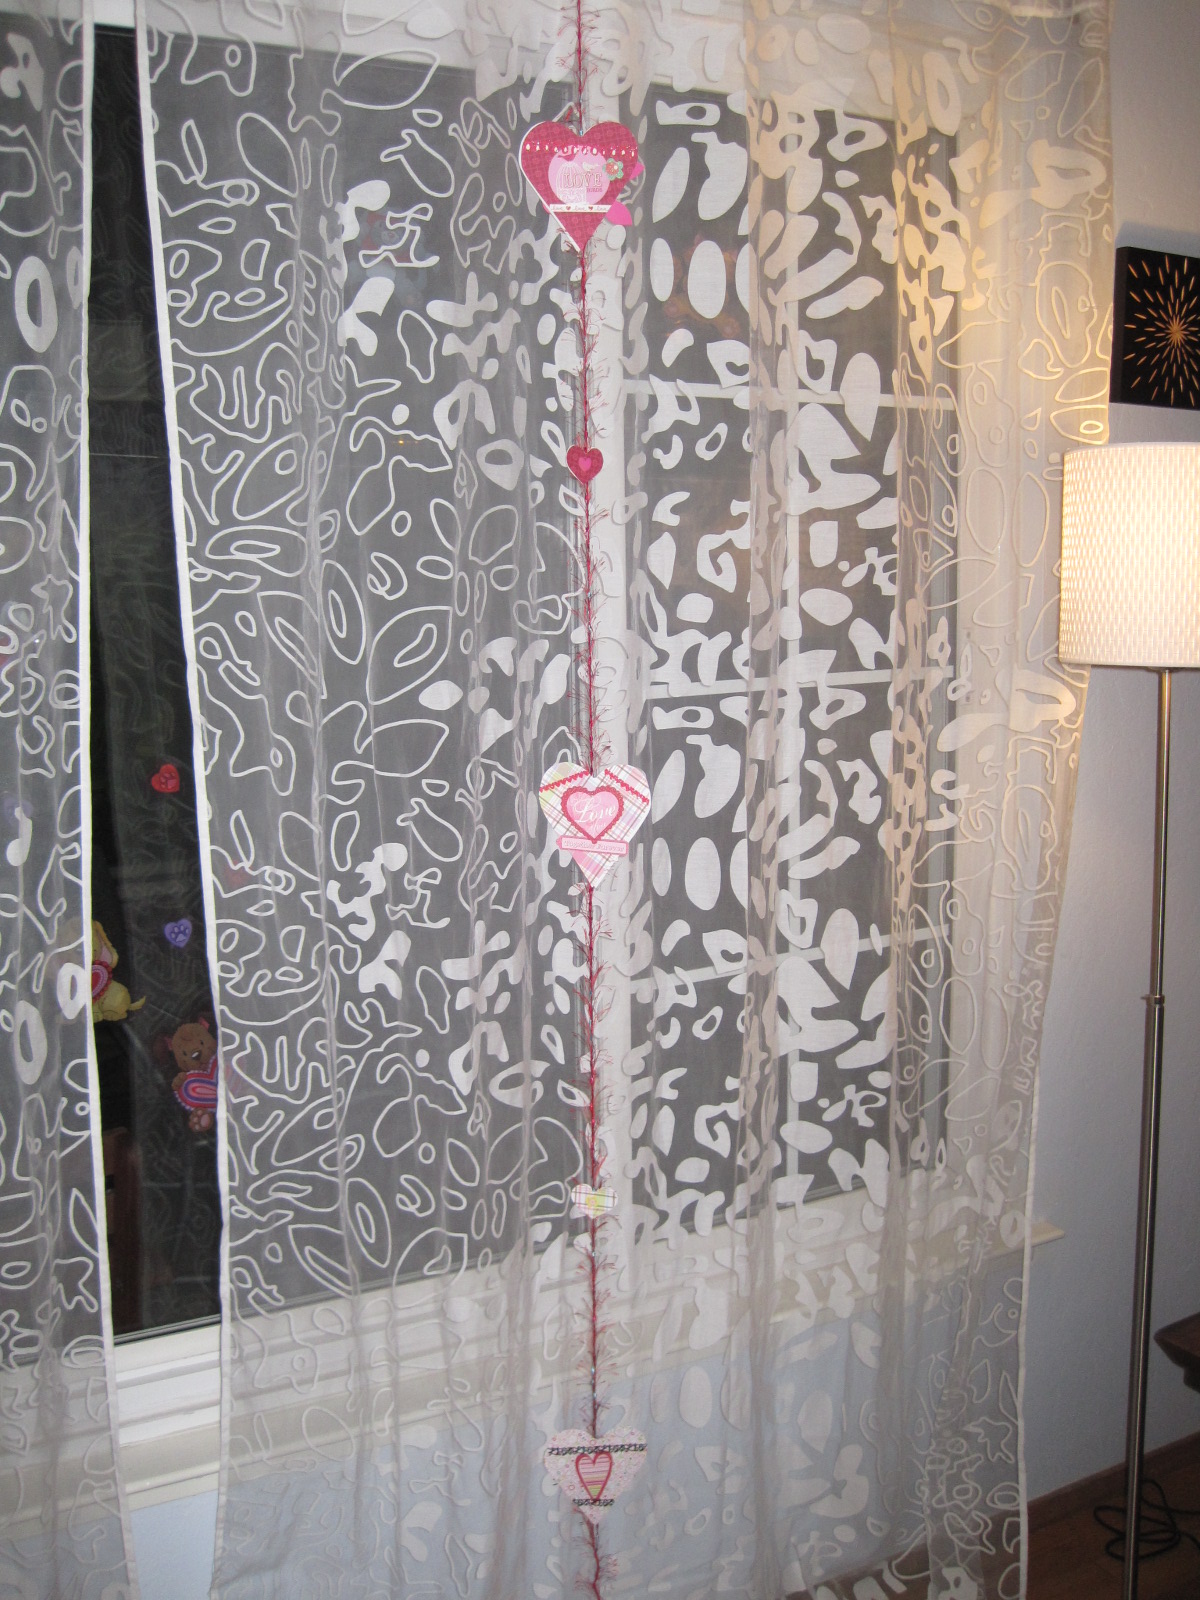
I wanted to make some fancy, twirling valentines for my windows.
It's pretty. It's frilly. It's happy! What other reason need there be?
Make some valentine garlands for your house and be your own valentine :)
Age: 2-99
Time: 1 hour to 5 hours (I take my valentines very seriously)
Mess/Cleanup: Minimal mess if you work quickly. I made a long-term mess by spending three days on this craft. It's less messy if you use more stickers and tape than glue.
What you need:
- Paper-I got pink and red patterned card stock and paper from the scrapbook section (actually it was all my own stash)
OR___skip the paper and buy some cute heart doilies and/or heart shaped die cuts (for you non-scrapbookers out there die cuts are pre-cut paper shapes sold in the paper crafting section of craft stores)
- Valentine themed and flower die-cuts, clip art printouts, or hand cut hearts
- Pen or pencil for tracing
- Scissors
- Glue
- Stickers-I got valentine borders and shimmery hearts
- Double stick tape
- Yarn-I used whiskery red silky yarn entwined with this really cool black colorful stuff that I had left over from another project. Use dental floss if you have nothing else on hand.
Optional:
heart cookie cutter stencil
anything else you have around to embelish your valentines
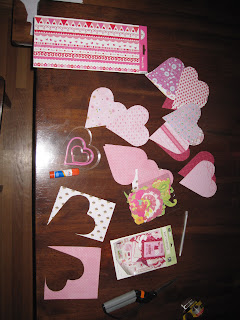 |
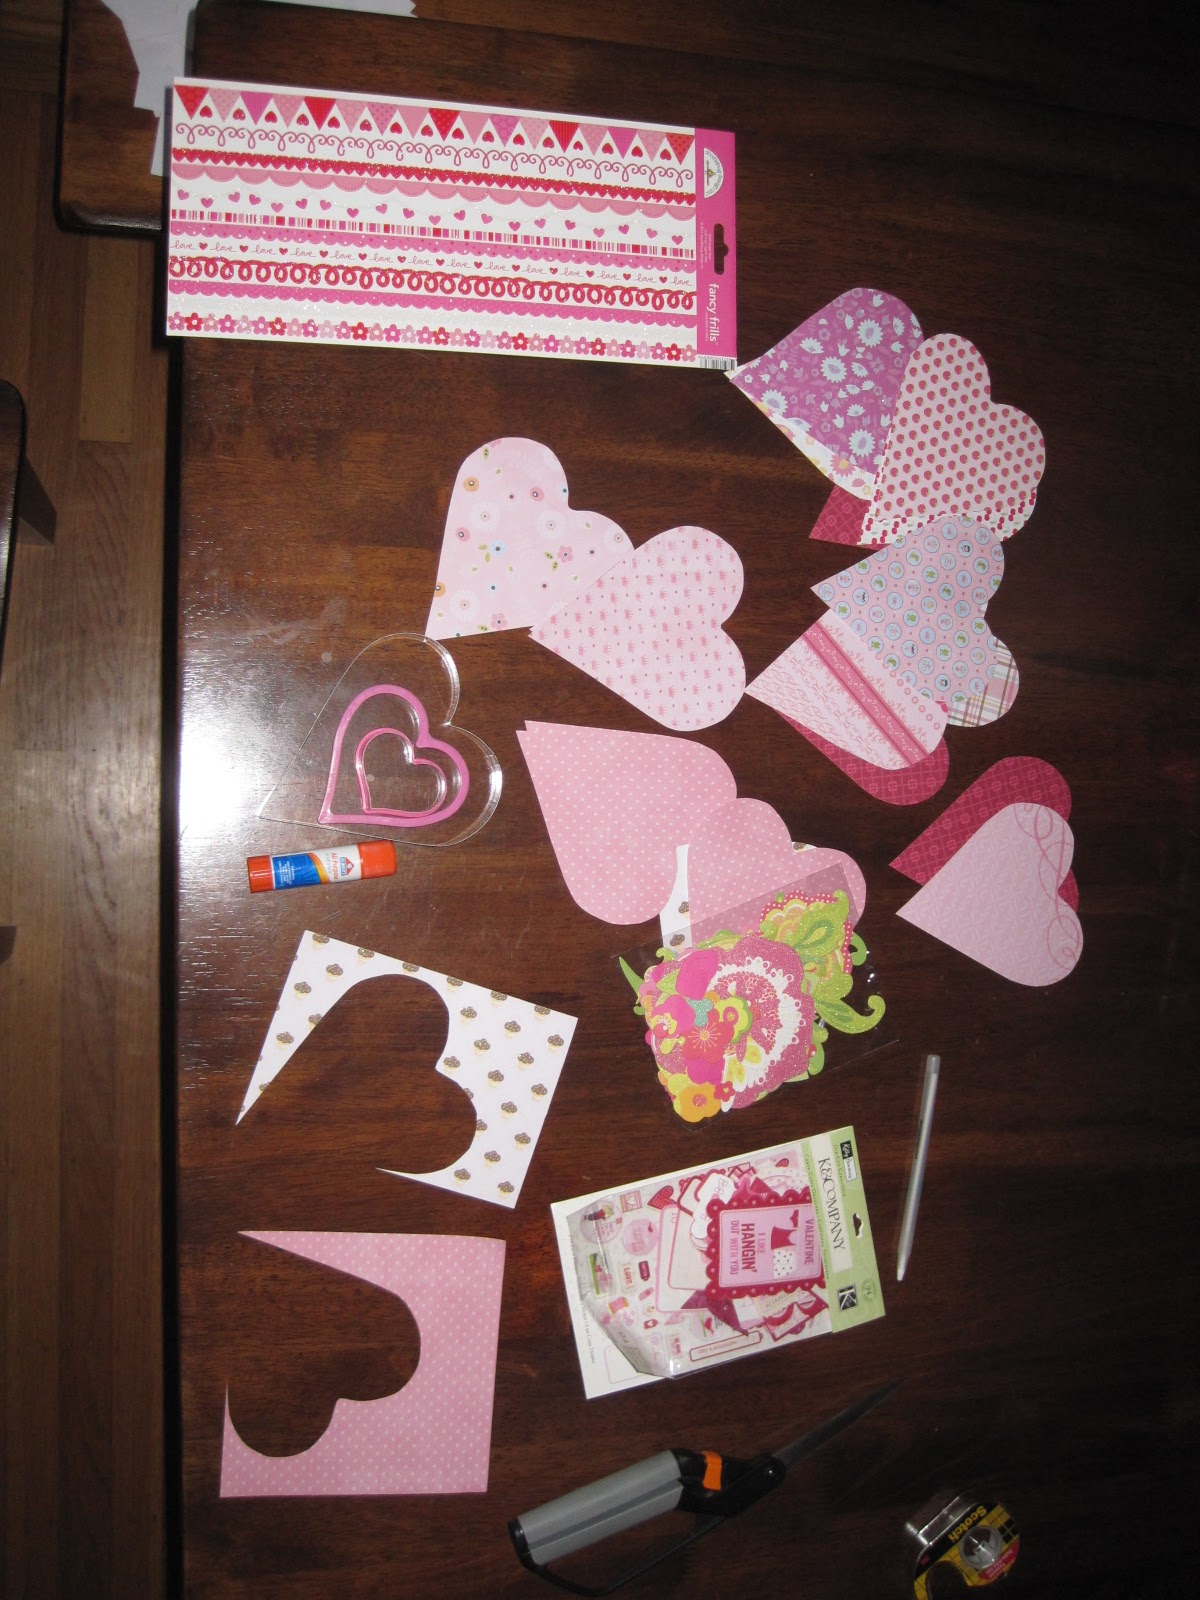
| Don't know why this photo won't rotate. Here are my cookie cutters and some hearts I cut, die cuts, and valentine border stickers |
Overview of Instructions
Cut out a bunch of hearts, decorate them, and tape them to your yarn to make a garland. Hang your garland vertically from a curtain rod, or drape it or tack to a wall, depending on the space you're decorating.
Detailed instructions
Step 1: Plan the number of hearts you'll need.
The number of hearts depends on whether you make double sided or single sided hearts. For double sided garland I planned to decorate each heart on one side and tape it to a matching heart, sandwiching a piece of yarn in the middle. However, I had some really cute card stock printed on both sides, so a few of the large hearts are single sided and decorated on both sides. So, I would need 36 large hearts to make 18 large sandwich hearts, and 24 small hearts to make 12 small sandwich hearts. Check out the first photo to see the end result. The yarn shows up on the single sided hearts but otherwise you can't really tell the difference because I used double sided card stock.
Step 2: Trace and cut out your hearts.
I used a large and a small heart cookie cutter as a template and a pen I snagged from a hotel on a business trip to trace my hearts. You could also cut your own stencil from cardboard, or just cut out two hearts at one time and keep track of its mate. Variety is the spice of life. I added more small hearts because I had scraps that I considered too large to throw away :)
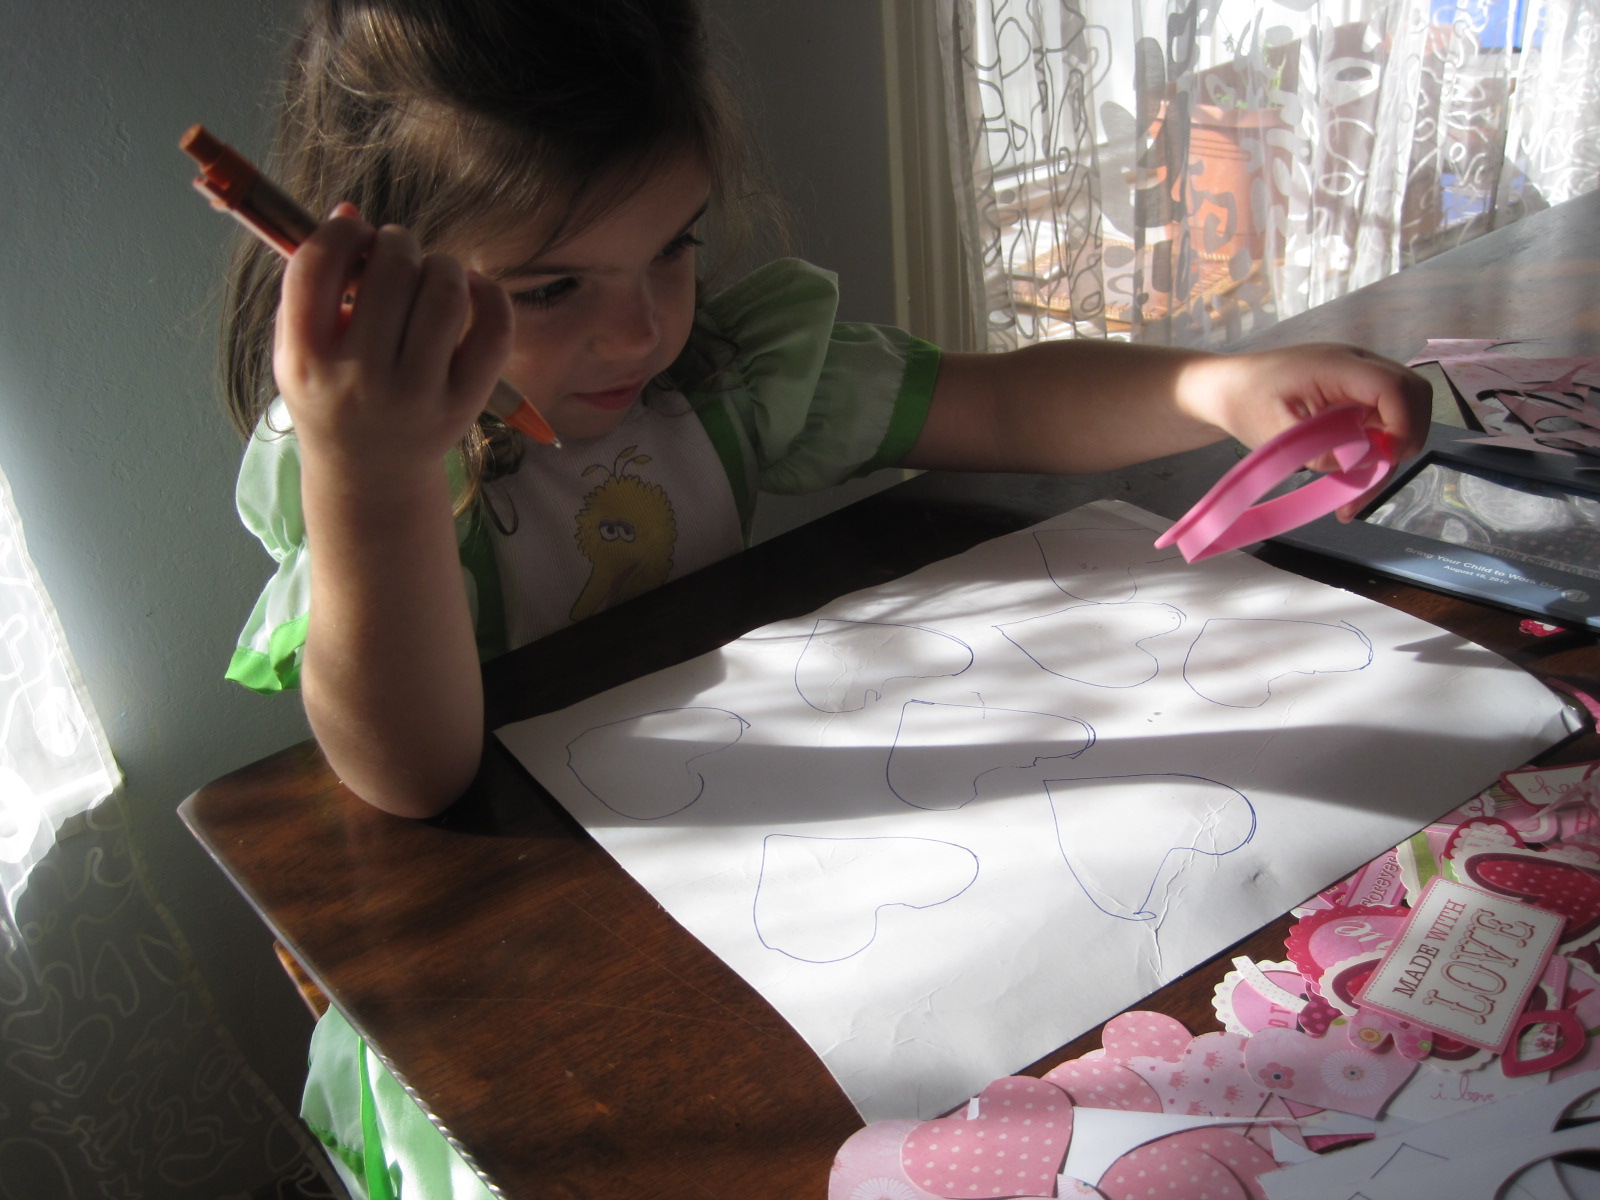
My three year old did a decent job of tracing inside the heart cookie cutter but did Zero cutting. You will probably have to do most of the cutting work if your kid is 4 or younger.
 |
| Trace on the back of your paper if you are using fancy printed paper |
Heck, since half the fun of this project is going to the craft store to buy cute valentine stuff, buy some pre-cut heart die cuts or doilies and skip this cutting step altogether.
Step 3: Decorate your hearts.
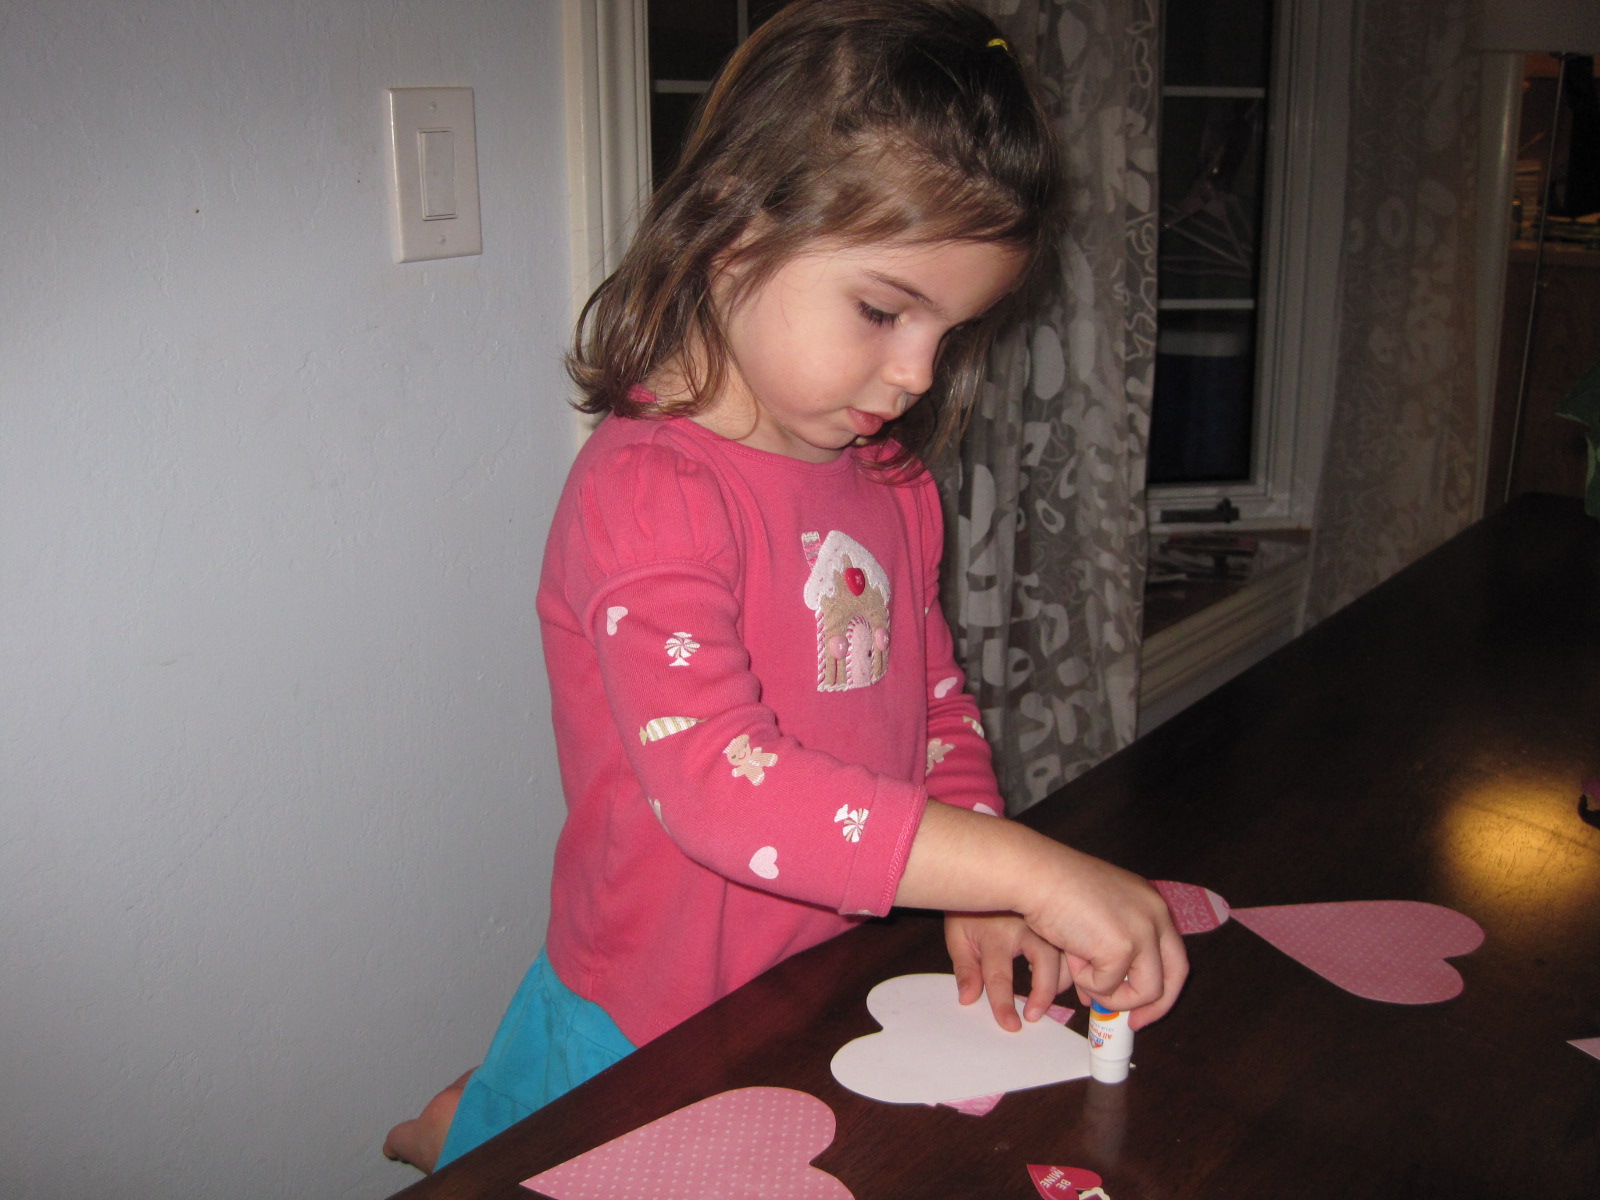
Go crazy with your glue stick, die cut embelishments, stickers, and sticker borders. My three year old did a great job without much instruction other than me frantically saying "No! No! Don't stick all of the die cuts on top of each other!!! You need to see each one!" (because each one costs around 30 cents!)
Some ended up upside down. Who cares. It is cute if a three year old does that. If you do it by accident, blame it on the kid.
Step 4: Assemble the garland.
I wanted vertical strands of garland, so I tied my yarn to the curtain rod, dropped the ball o' yarn to the ground and cut it a few inches above the floor. (Yes, I realize it is the perfect height for my cat to attack. But my cat is old, so I hope the garland will survive a few days.)
After the yarn is hanging use double stick tape (or glue stick) to smack two matching hearts together around the yarn and space at intervals that appeal to your well trained eye. If you are making a swag-style garland you can stretch out your yarn on a table or on the floor.
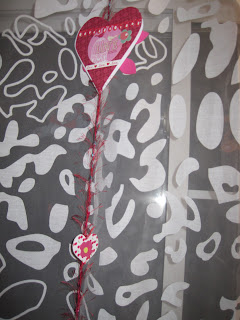 |
| My large hearts don't quite match because I used a cheap 8 year old Ikea cookie cutter template that bent every time the pen touched it. Small hearts match much better because the cookie cutter was a more stable template. Who cares, both hearts are frilly and pretty. |
If your kid (or you) got sick of making hearts before you reached your target, slap a piece of regular tape to one side of a heart to attach it to the garland and hope the thing doesn't spin too much when your heat comes on to show the plain old boring back of your fancy valentine. You could also use a big heart sticker to attach the heart to the yarn to stretch out your heart supply and have both sides look reasonably cute.
If you have big hearts make sure you use a lot of double stick tape, or glue stick.
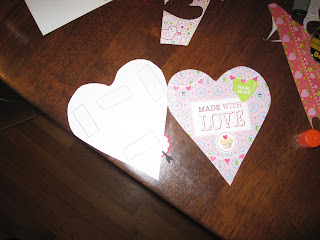 |
| Clear tape doesn't photograph well so I drew rough rectangles around each piece of tape to show how much I used on the large hearts. Hope you can see past the glare. |
Now step back and admire your handy dandy valentine garland! And tell your three year old with the oral fixation not to eat the darned things! Paper is not food.
 |
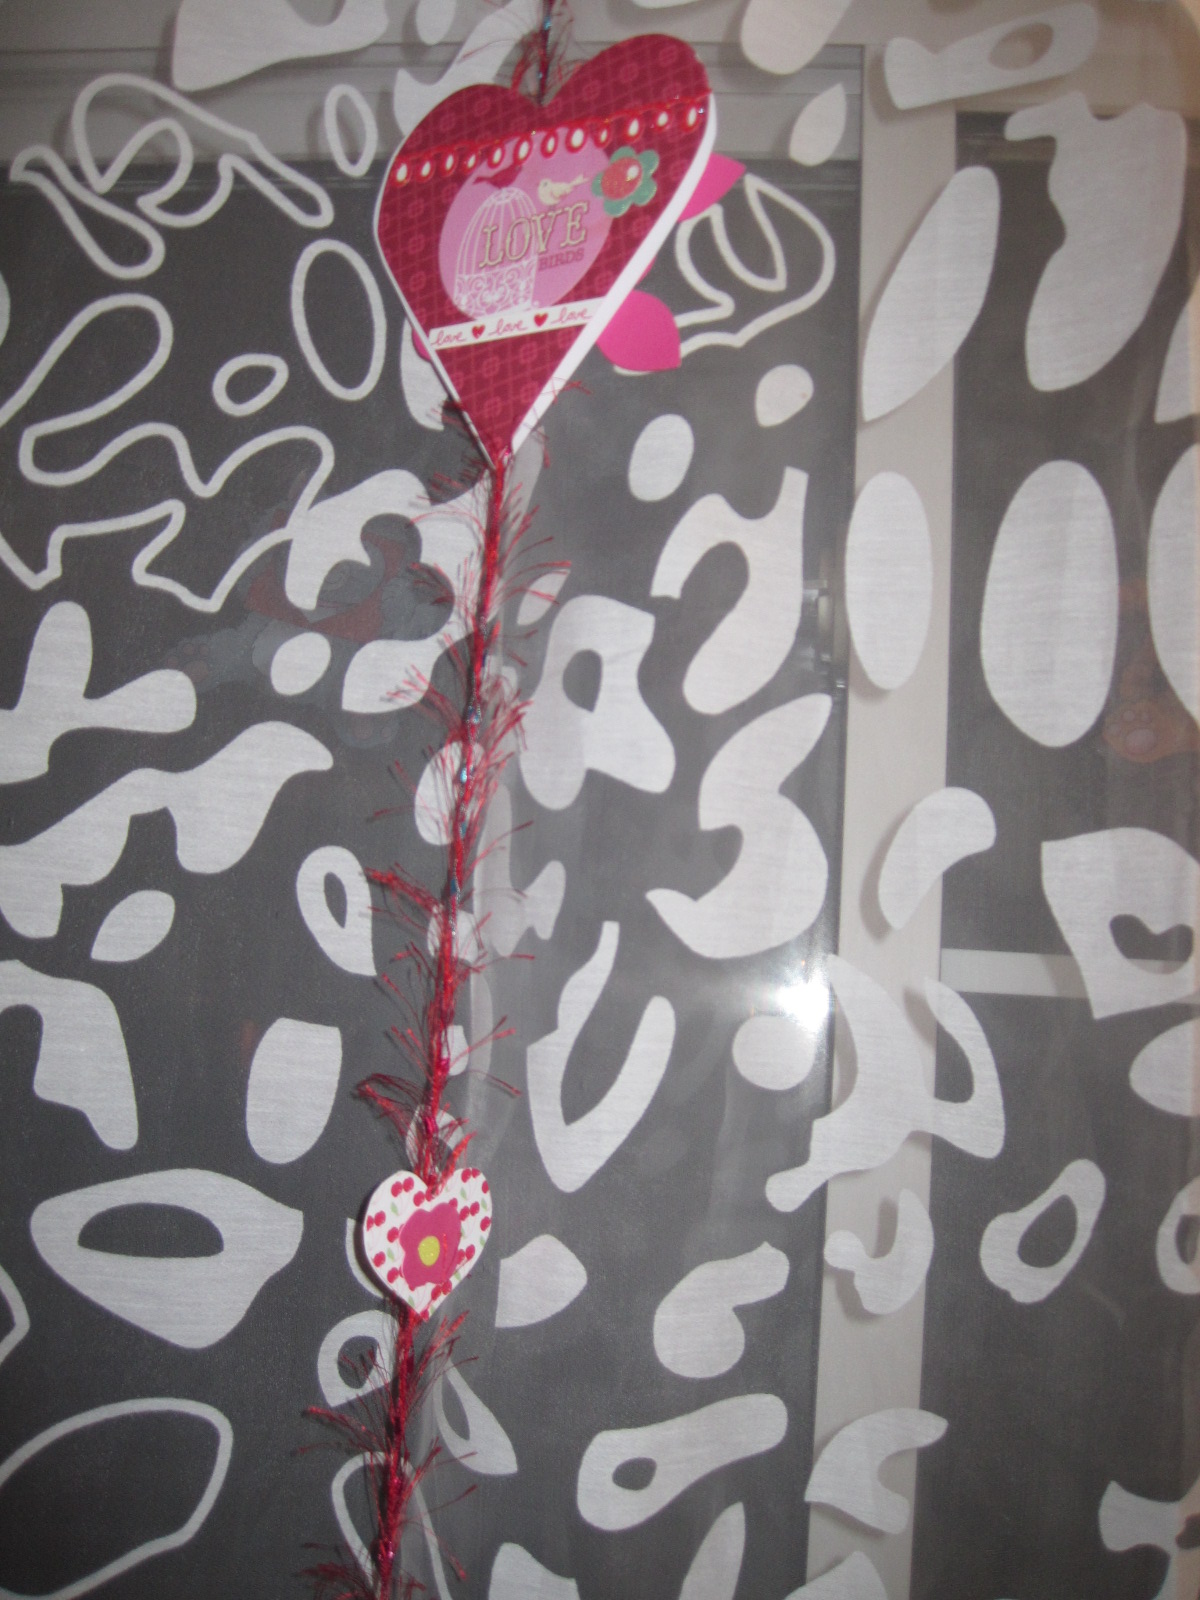
| One strand down, five strands to go |