Monday, October 10, 2011

Slime Time!


For those of you that don't know me, Halloween is my favorite time of year.  For weeks I've been dreaming up new stuff to make that's within theme for this holiday.  Here's a little recipe to make some easy slime jelly.  I've had this little "trick" stored in the back of my brain since I first learned about polymers as a Girl Scout back in the 80s.  It's still fun to make, and now I always have diapers on hand. 

Age: 5+ (I think any younger and they would want to eat the slime.  This is NOT edible!)
Time: 5-10 minutes
Cleanup:  Fairly contained, nearly mess-free!
What You Need:
  • 1 diaper
  • 1 big ziplock bag
  • Scissors
  • Bowl
  • Food Coloring
  • Water
Why I Like this Craft:  This is surprising simple to make; and if you have a non-potty trained little one in your household, you have everything you need!  When you're ready to toss your slime, you can add it to your potting soil.  The polymer will help maintain moisture in your soil.  Pretty clever, huh?

Step 1:  Cut the cotton core out the diaper.  Discard the remaining pieces.

Step 2: Place the cotton in a ziplock bag.  Close tightly.


Step 3: SHAKE IT! (...like a Polaroid picture...).  This will help separate the powder (the polymer) from the cotton.

Step 4: Move all of the powder to one corner of the bag. Cut one corner off of baggie.  Carefully pour the powder into a bowl.

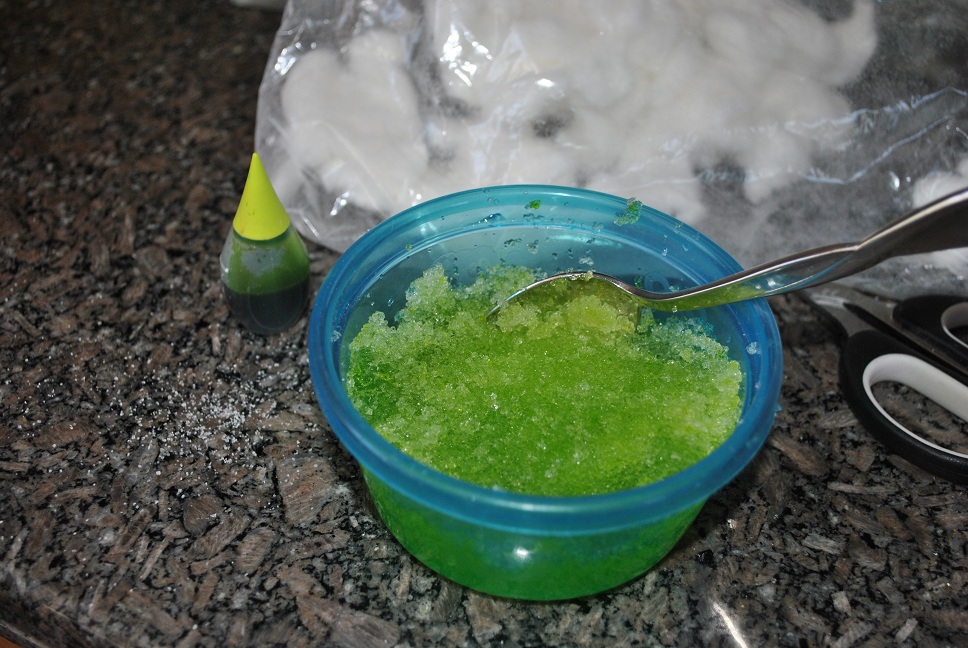
Step 5:  Add water to the bowl and stir.  It's pretty neat to water the powder swell with the water.  When you mix it, it kind of looks like snow.

Step 6:  Add food coloring and enjoy the squishy goo.
Right now is the perfect time to work on your Mad Scientist skills.  Have fun!

-Rose @-}---


Pretty, pretty Pinwheels

A.C. Moore was having a 50% sale on all packages of cardstock.  Little did I know that this sale would start my new affection for pretty paper crafts. Looking for a reason to use my new paper, I figured we would try making some tiny pinwheels.  Mission accomplished.


Age:  Any age can play with the finished craft; but scissors skills are needed.
Time:  Only about 5 minutes.
Clean-up:  Some paper scraps.
What You Need:

  • Cardstock.  (I used two-sided cardstock)
  • Scissors
  • Pencil with eraser
  • Stick Pin
  • 1 Bead
What I Like This Craft:  You can make these pinwheels in any size.  I think they would look adorable grouped together on a streamer for some birthday party decorations.  Aside from the decorations, my kids throughly enjoyed playing with the pinwheels for 2 days.  20 minutes at least were spent in front of the fan watching them spin!

Step 1:
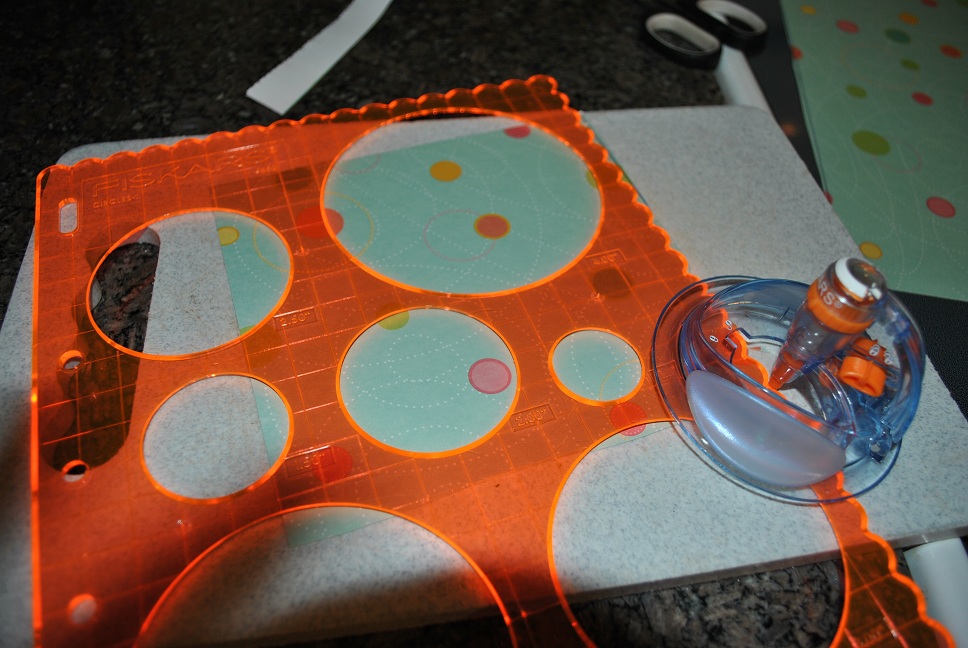
Cut paper into a square.  The second time I created a pinwheel I used my new Fiskars Shape Cutter to trim a scalloped edge.
Fiskars Shape Cutter

Step 2:
Find the middle of the square and mark with a dot.  Draw a diagonal line from each corner towards the center.  End the line about 3/4 inch away from the dot.

Step 3:
Cut along the diagonal lines.

Step 4:
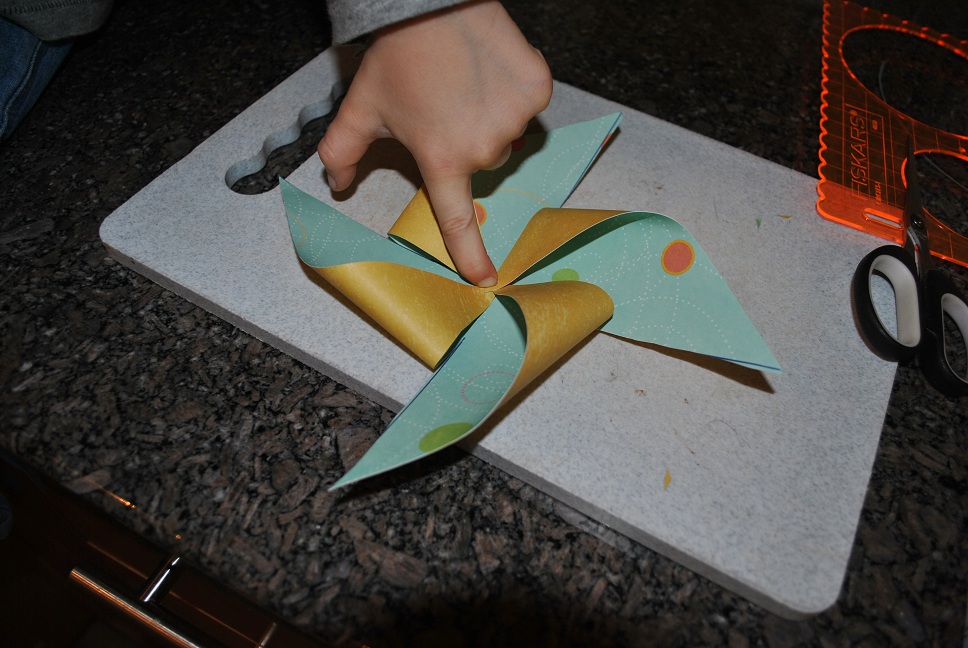
Fold over every other corner towards the center.  Using the straight pin, gather each corner that meets in the minddle, and poke through the paper near the tip of the corner.
Step 5:
Using the bead a spacer, thread the pin through the bead and stick in the pencil eraser.

5 minutes and you're done.  Enjoy. 
-Rose @-}---

Sunday, September 18, 2011

Rainbow Crayons

Our crayon box has started to overflow - which was just in time for this little craft.  I've been waiting for months to try it out and I can happily report it worked like a charm!  Making your own rainbow crayons are the perfect solution to a box filled with broken crayons.  And, this craft buys mom a little time while her little one is slowly peeling away all of the paper from each broken crayon.
They almost look good enough to eat.
Age: 2+
Time: 45 minutes
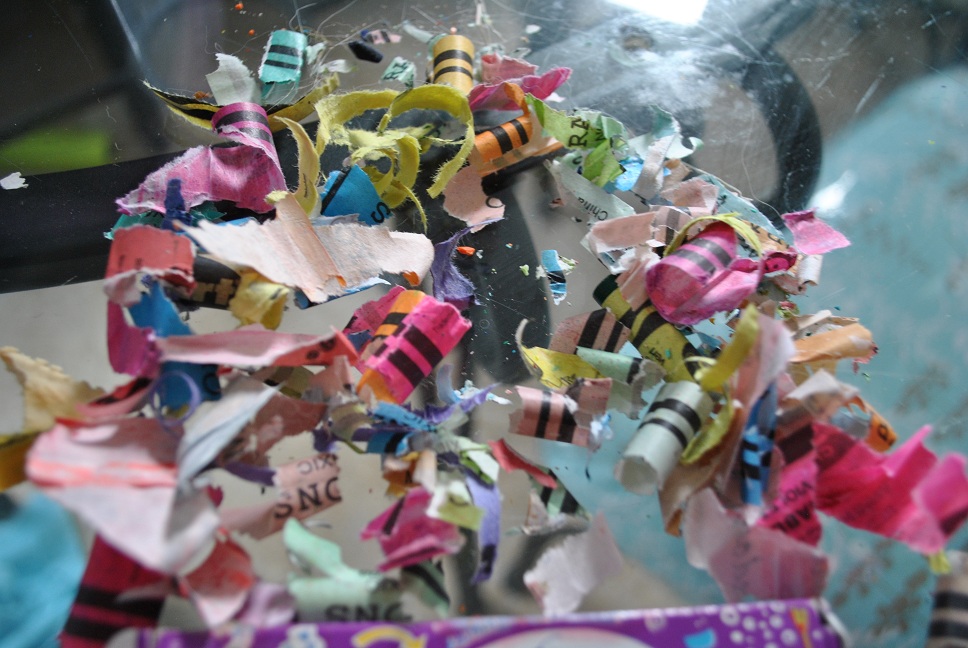
Mess:  Not too bad, just a bunch of little paper scraps.
I think the mess is almost kind of pretty.
What You Need:
  • A bunch of broken crayons
  • Silicon baking cups

What I Like This Craft:
I always like to make something that has another use, other than filling of space on my refrigerator.  This is a great way to reuse what you have and make something a little special.

Step 1:
Preheat oven to 225 degrees.  Start digging through your crayon box and find all the broken pieces.  This was a great sorting activity for both of my kids.

Step 2:
Peel off all of the paper surrounding the pieces. 

Step 3:  If you have any large broken pieces, break them into smaller sizes.  This was my son's favorite part. 

Step 4:
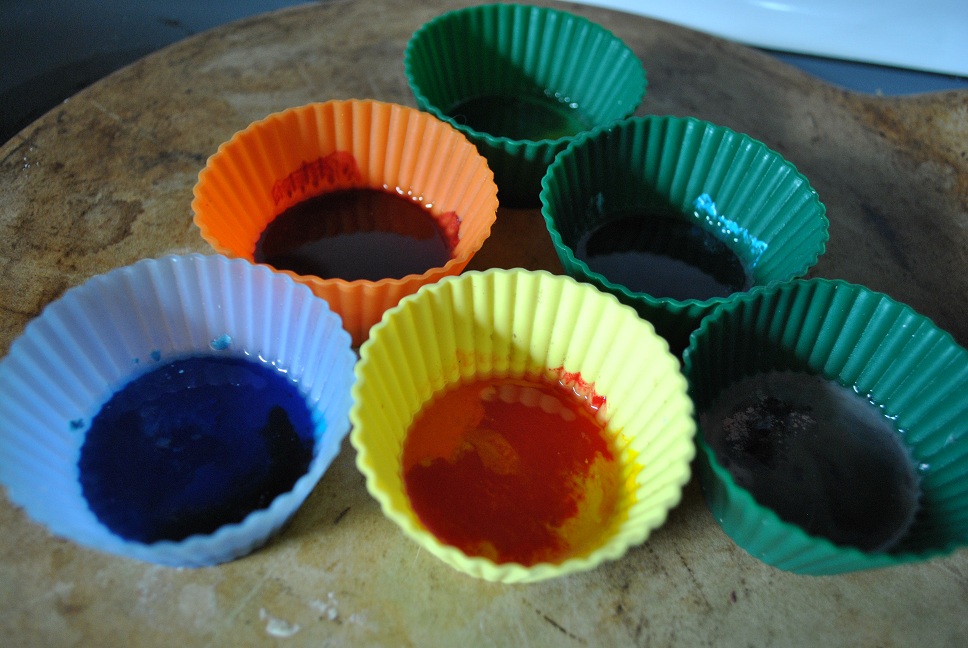
Separate your pieces into silicon cups.  We categorized our's by groups of colors.

Step 5:
Put silicon cups on baking tray or baking stone and put into the oven for about 30 minutes.  When wax is completely melted pull them out of the oven and let cool.  I stuck our's in the freezer to firm them up quicker. 

Step 6:
Pop your new rainbow crayons out of the molds and color a masterpiece.


~Rose @-}---


Easy and Delicious (Mock) Toffee

Last year I went to a Boy Scout dinner and had this super yummy treat.  As soon as I got home I was googling to find the recipe.  This is a very easy, almost no-bake, version of toffee.  It's called mock toffe because it's not true toffee, but it is simply delicious.  It's a great goodie to give as a thank you treat, bring to PTA meetings, or handout over the holidays.  I hope you enjoy it as much as I do.


Age: 2+.  My little one likes to sprinkle the toppings on top.
Time: 10 minutes to prep, ready to eat in about an hour.
Mess: For a kitchen activity, this is relatively clean with an easy clean-up.  Hardly any dishes to wash - one pan, spatula, and a cookie sheet.
What I Like this "craft":  I know this really isn't  craft, but it is an easy activity that results in a yummy treat.  Enough said :)
What You Need (recipe):
  • 1 sleeve of Saltine crackers or Graham Crackers (both versions come out very good!)
  • 1/2 cup butter
  • 1/2 cup light brown sugar
  • 3/4 cup bittersweet chocolate chips
  • Toppings (pecans, peanuts, almonds, dried sweet cheeries, dried cranberries, dried blueberries, toffee bits, etc.  Make you own combo!), about 1/4 cup each.
Step 1:
Preheat oven to 400 degrees.
Line a baking sheet with foil. Lay the crackers into the pan as close together as possible without overlapping. 

Step 2:

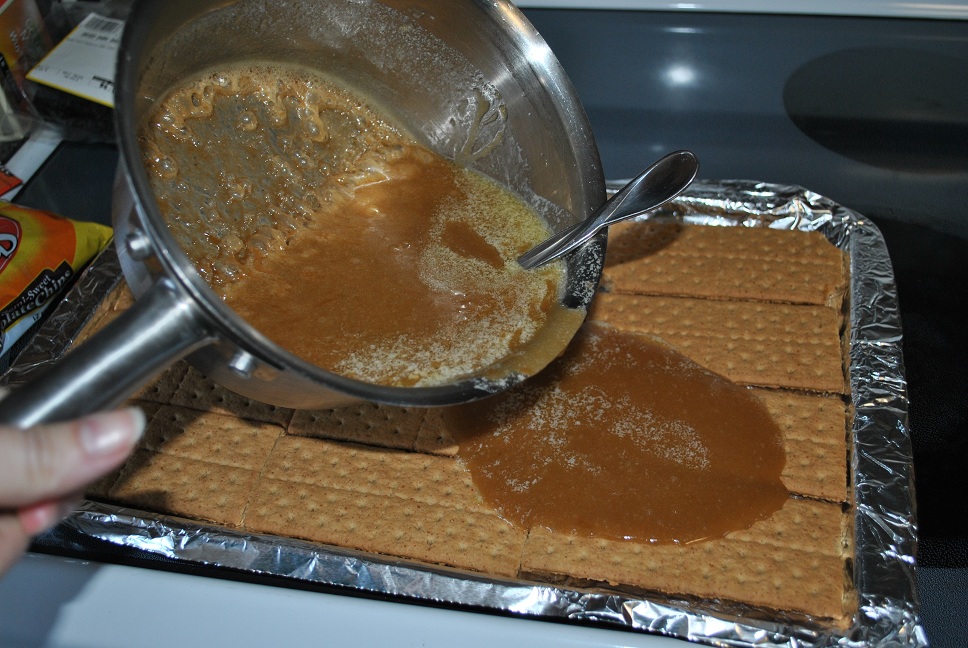
Bring the butter and sugar to a boil over medium heat. Boil for 2 minutes, stirring constantly.  Remove sugar from heat and pour evenly over crackers.


Step 3:
Bake the crackers and sugar in the oven for 5 - 7 minutes, until very bubbly. Don't let the crackers get too browned! Remove pan from oven and let sit for 1 minute to set the sugar up slightly.  

Step 4:
Sprinkle chocolate chips over crackers and let sit for 5 minutes to melt, then spread the chocolate evenly over the top when melted.  Sprinkle nuts over the top (optional).  I also like to press the toppings into the chocolate.


Note: On one variation, I used white chocolate chips for this step.  The white chocolate did not melt with a smooth finish.  I would only use what chocolate chips for the final topping or melted for a drizzle on top.

Step 5:
You can also make this extra pretty by melting some white chocolate, transferring to a plastic baggie, and drizzle the white chocolate all over the top.

Step 6:
Sprinkle a little salt (this makes it extra yummy) over the entire pan.
Cool at room temperature and then refrigerate. When the chocolate is set, cut or break into into pieces.
Yum! Yum!
~Rose @-}--- 

Friday, August 26, 2011

Make Your Own Paper Dolls

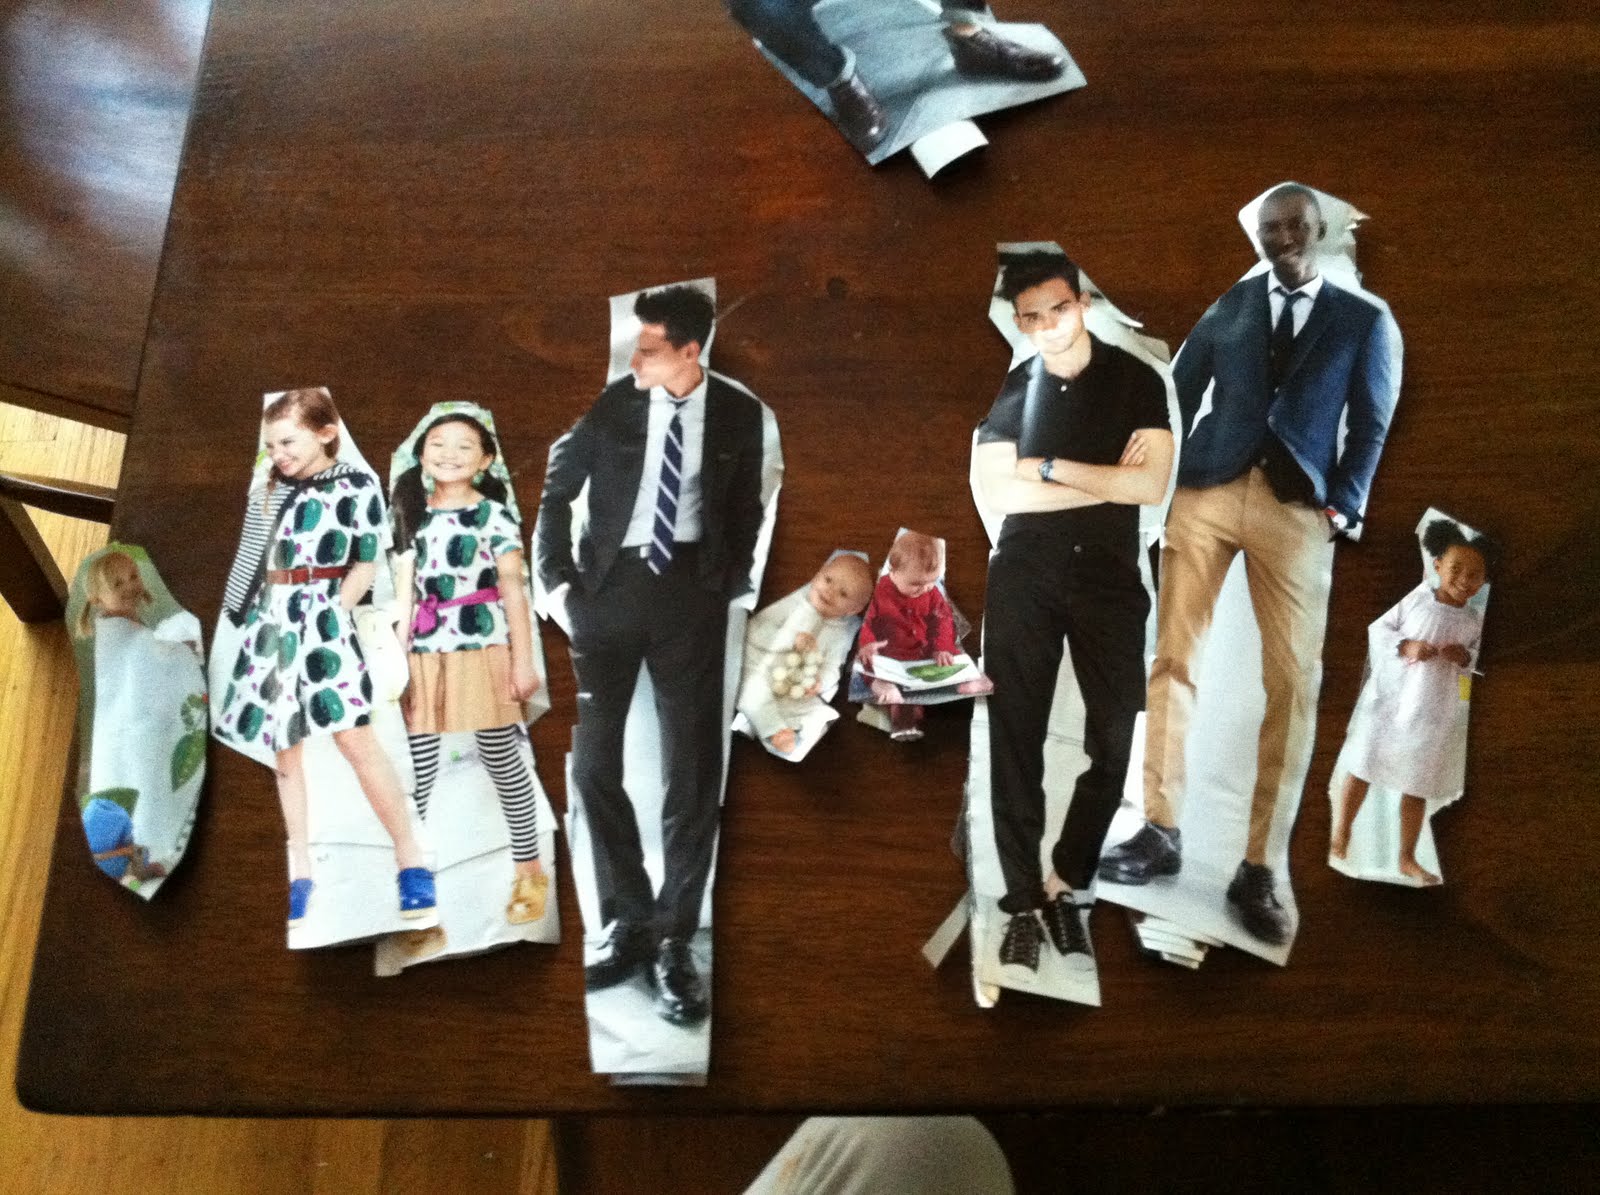
This is the easiest craft you will ever do with your kid.  My daughter posed this picture so the daddies are holding their babies. Awww! 


Age: 
2+

Time: 
As little as 10 minutes.  More dolls = more time.  This was a great craft to do after dinner.

Cleanup: 
Minimal.  Recycle your paper scraps and you're done.

What you need:
  • Catalog or magazine (we used the two catalogs that came in the mail that day)
  • Scissors
  • Tape
  • Optional:  glass of wine for parent


Why I like this craft: 
We made these paper dolls about a month ago and my kid still plays with them.  Her friends like to play with them.  I like to play with them.  It was basically free.  You can sureptitiously shop through the catalog and order the clothes you like later.  You get rid of clutter in your house.  What else is there to want?

Step 1:
Pick out a suitable person.  Photos that show the person's entire body are best.
You could easily substitute pictures of animals or monsters or any other thing you can find printed in a magazine or catalog.  My girlie girl just happens to love babies and little girls and daddies. 

These are the "big sisters" for the babies.
Step 2:
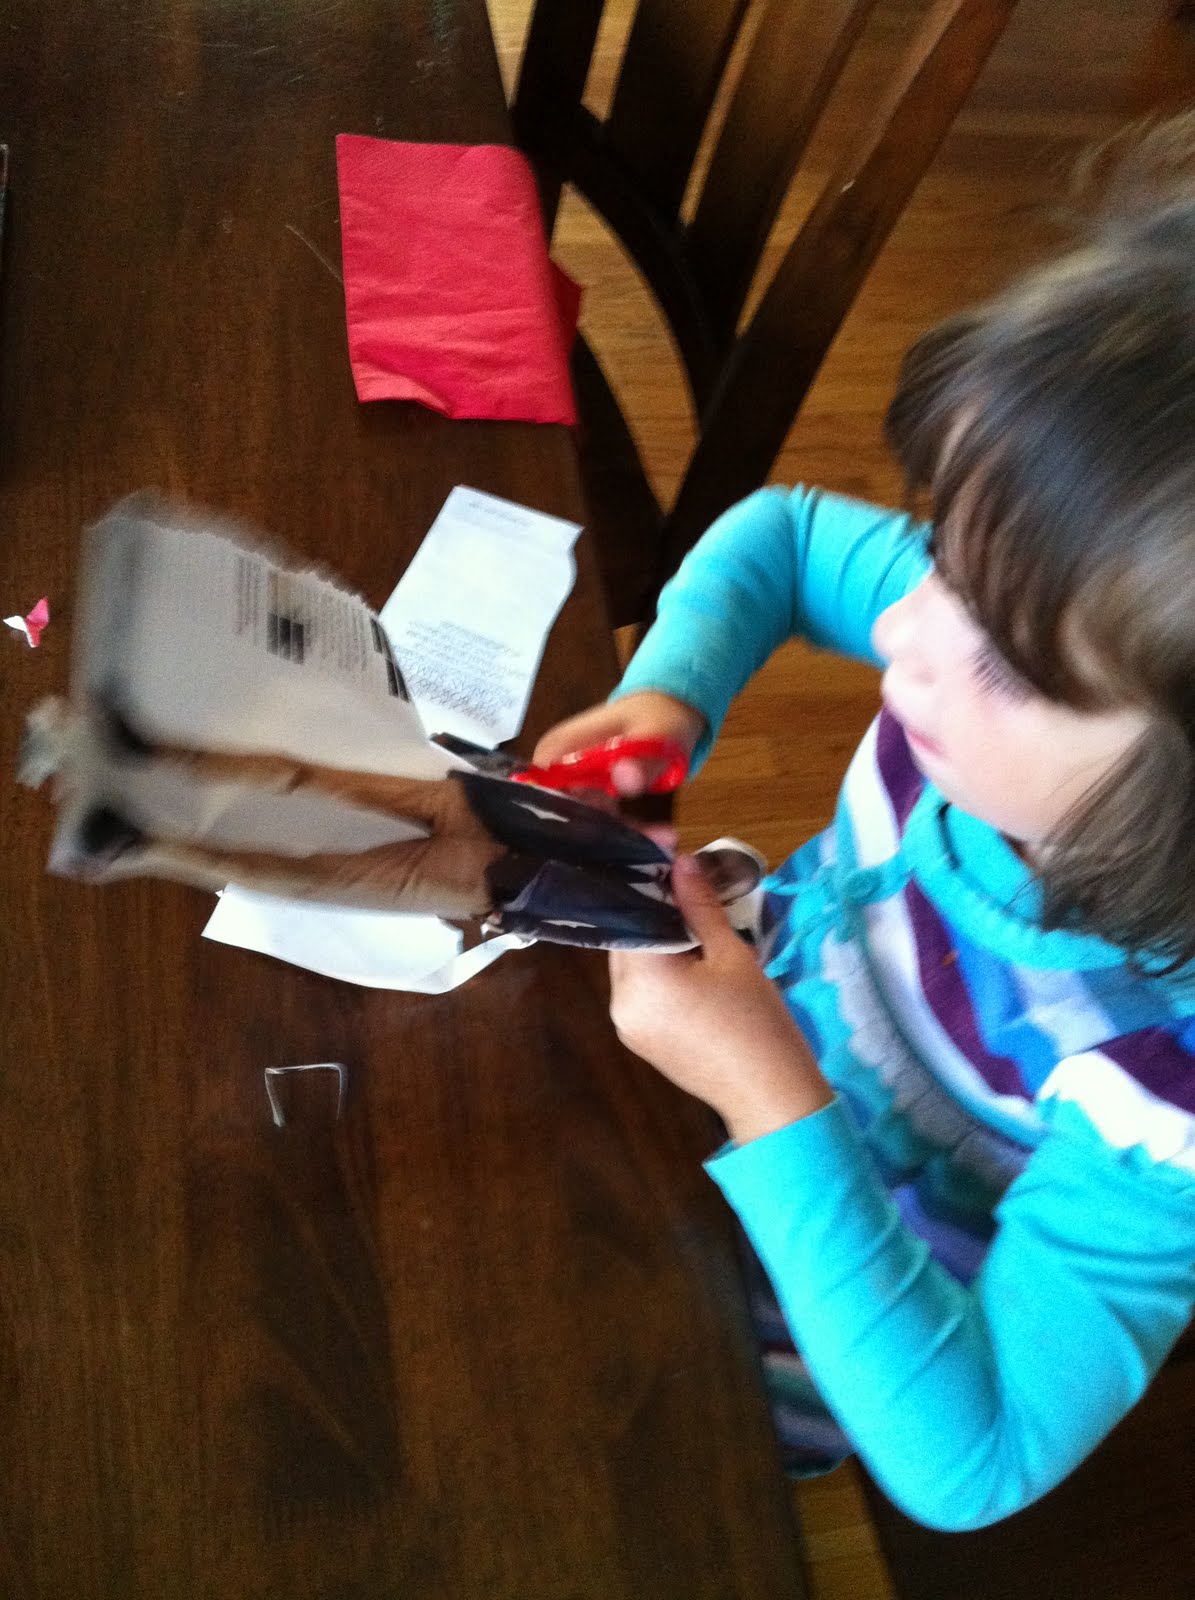
Cut around the outline of the person.


This kid has become a master with scissors (thank goodness she stopped cutting her own hair).  You can help if your kid's scissor skills are still developing.

Step 3: 
Profit!  (Just kidding, that was a South Park joke). 
Really, the next step is to fold up a page of your catalog that you don't want to use as a paper doll and tape it to the back of your person to reinforce it.  It makes the doll surprisingly strong. 

Hold it up to a light or a window to make sure you are placing it in the middle.  Trim the top and bottom to match the height of the paper doll. 

Sacrificial tube of catalog page has been taped to the back of the picture before cutting.  You can also add it after cutting, either way works just fine.

Done!


Happy family.
 -Nancy

Sunday, July 31, 2011

Paper Flower Bouquet

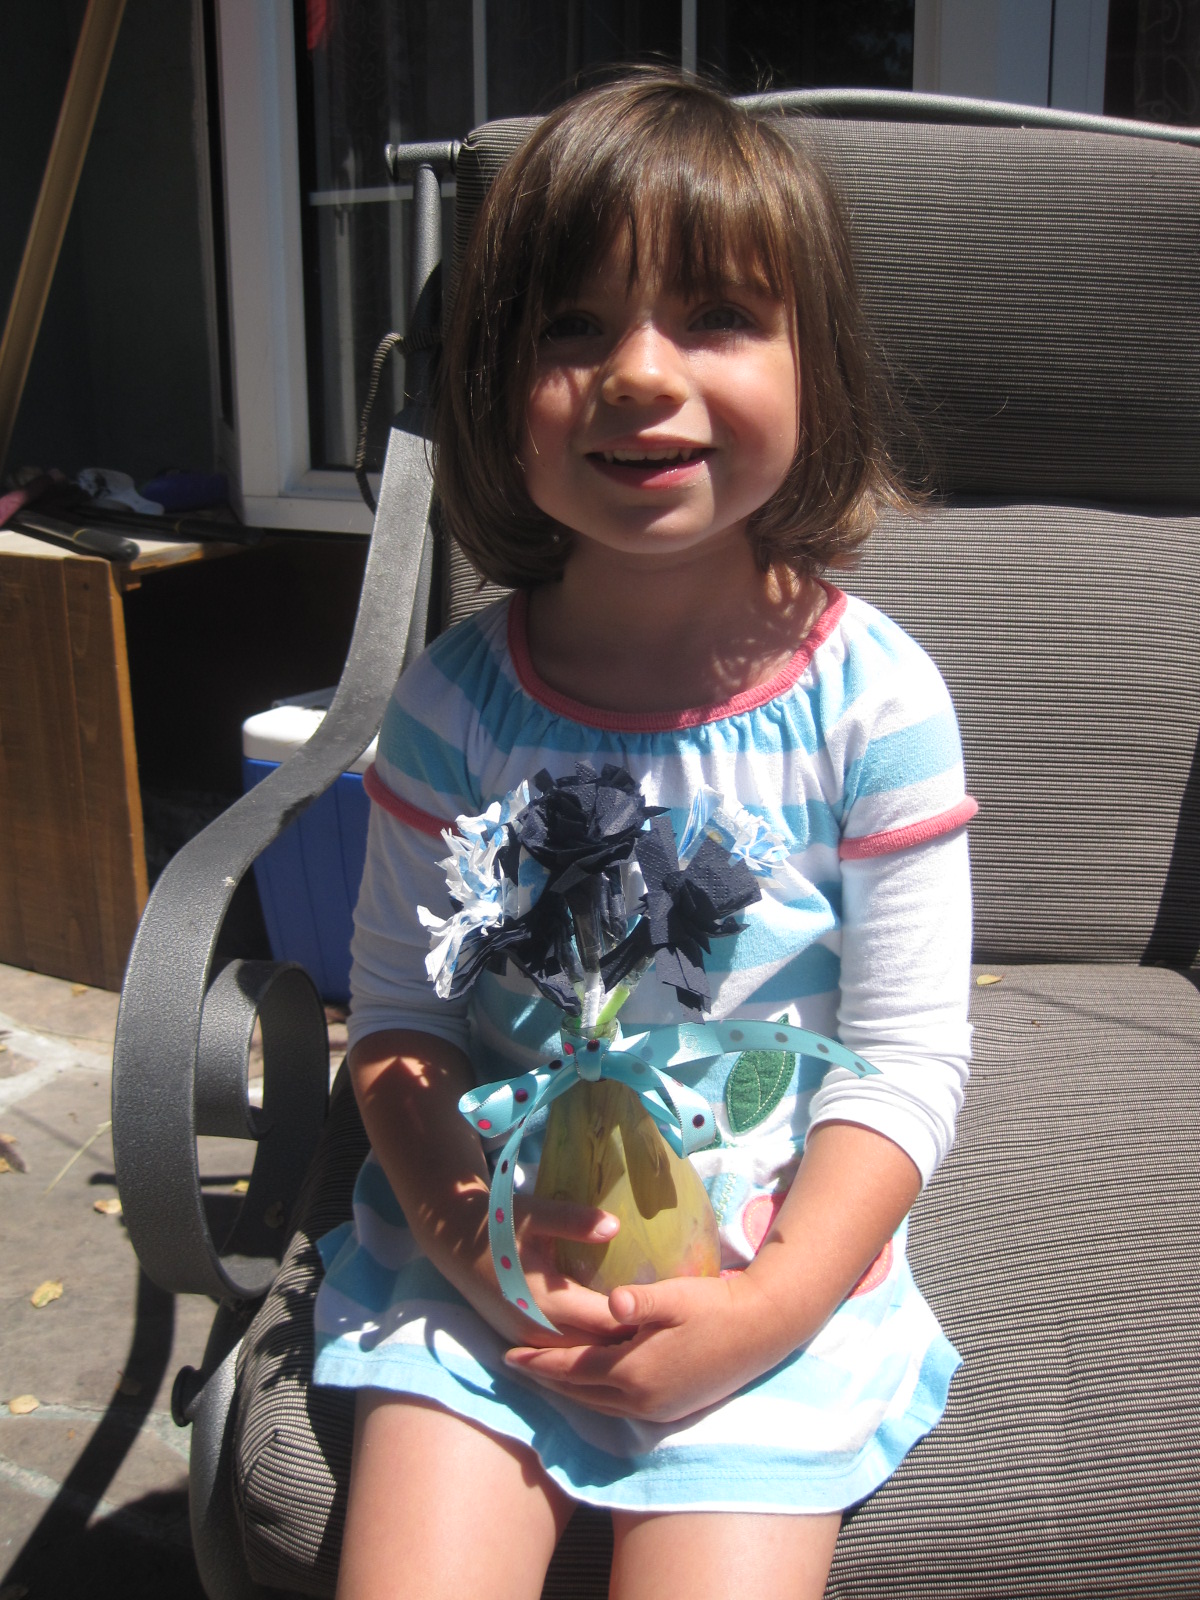
Our babysitter broke her leg so we made a bouquet of flowers to cheer her up.  She loved them!


Age:
4+ if you want the kid to do the rolling.  Three year olds could do it if they know how to use scissors. 

Time:
20 minutes plus drying time for the paint

Cleanup: 
Very easy for the flowers, a bit messier for the painted vase. 

What you need: 

Flowers
  • Colorful paper napkins
  • Pipecleaners
  • Tape
  • Scissors
  • Optional:  perfume
 Vase
  • Empty plastic bottle (we used a Method hand soap bottle)
  • Acrylic paint
  • paintbrush
  • Dry rice (or small beans)
  • Ribbon
  • Optional:  funnel to pour the rice into the bottle
Why I like this craft: 
I made a fancier version of these many years ago using floral wire, floral tape, and heavy crepe paper.  It was fun making a simpler version with my kid. 

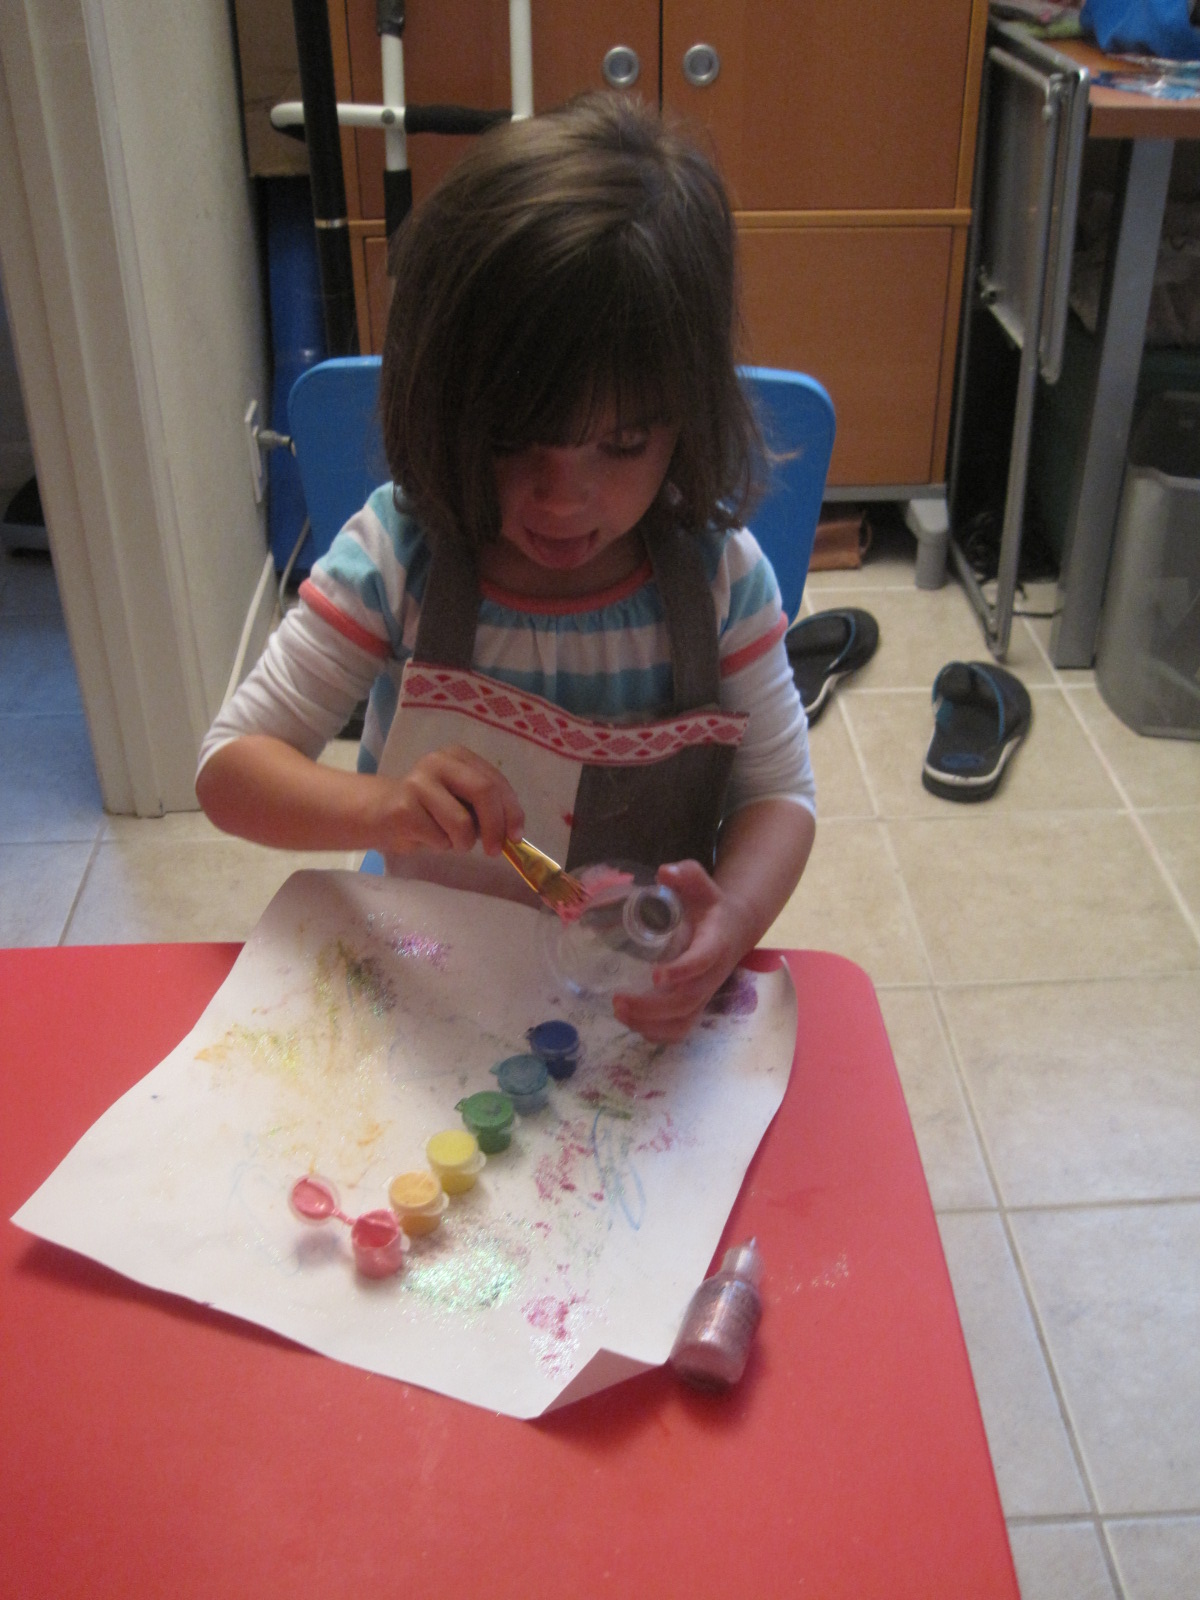
Step 1:  To make the vase, start with a clean, dry empty bottle.  Let your kid paint it with acrylic paints.  You can put a large piece of blank paper underneath to 1) protect the table and 2) the paint splattered paper can be used to make a gift card if you are giving it away.  Let it dry about 20 minutes or until it is dry to the touch.


She added some glitter glue for a little extra sparkle.
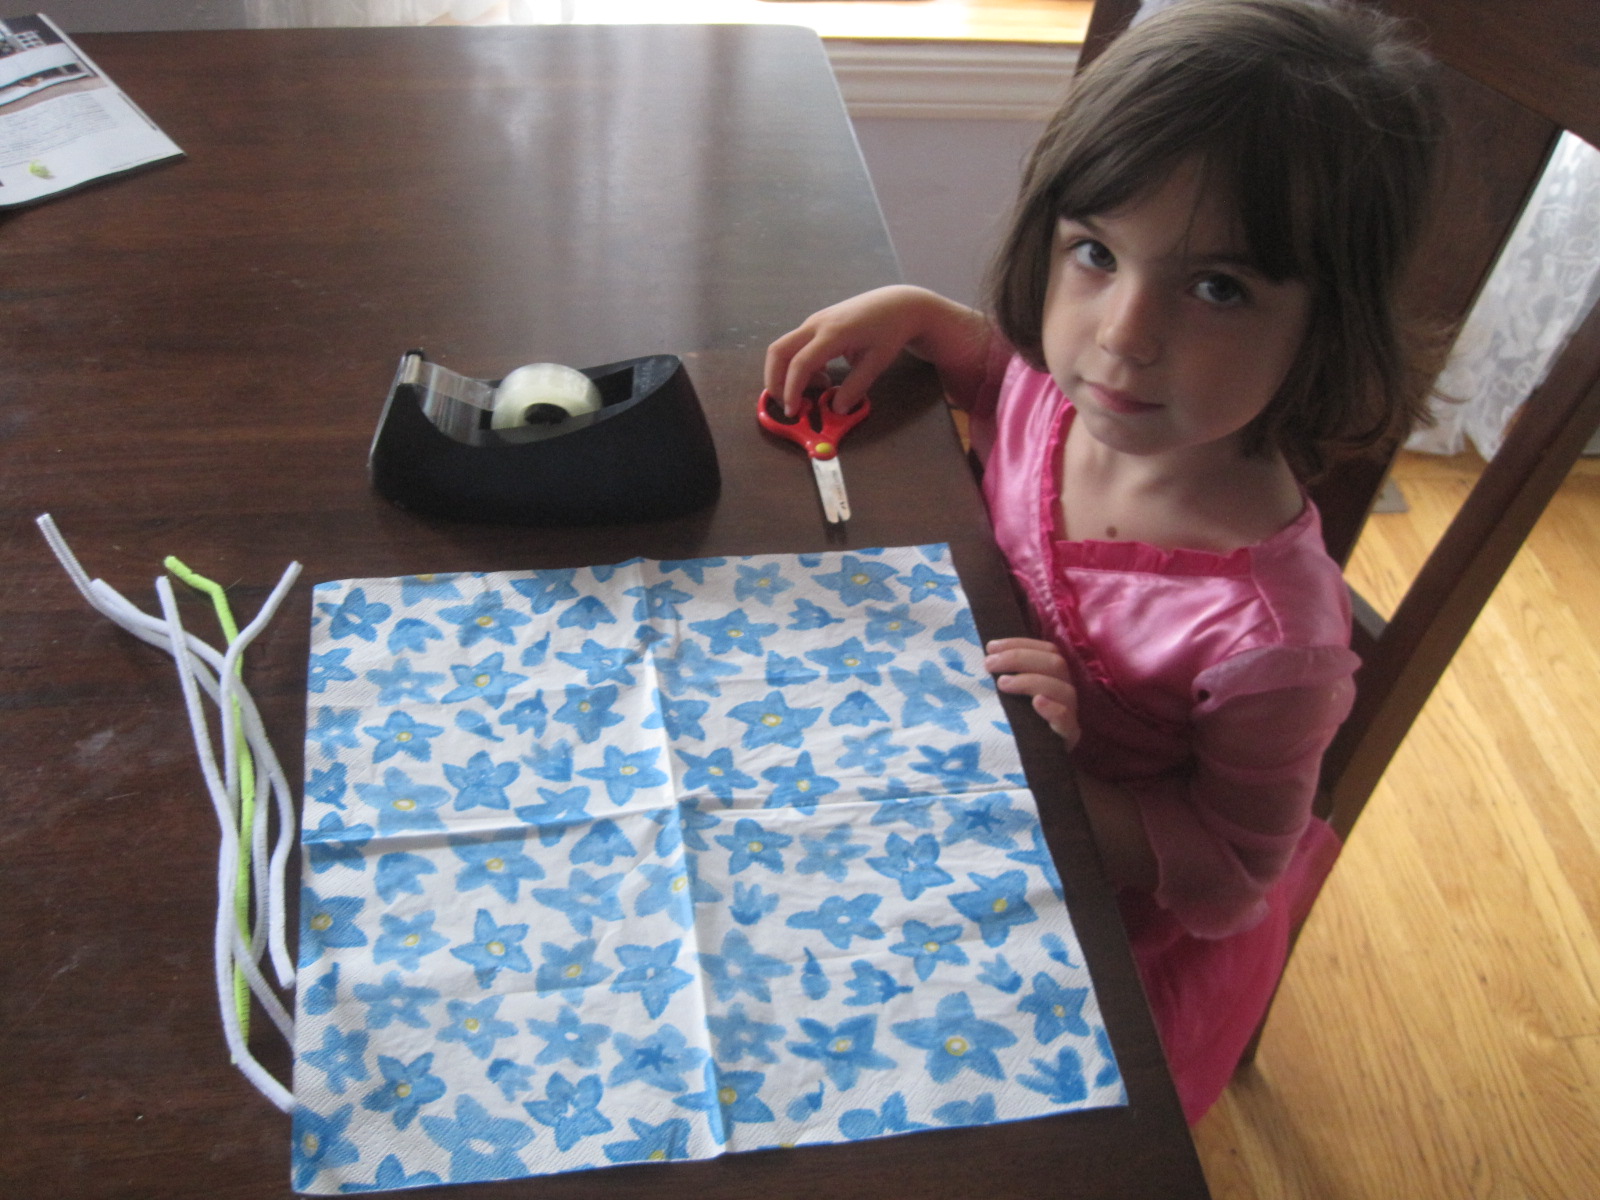
Step 2:  To make some flowers for the vase, halfway unfold a napkin so you have two layers of napkin left.  Cut a strip of napkin about four inches wide and as long as your napkin is (the length will vary with the size of the napkin.  Any size napkin will do). 

Tip: crease the napkin or draw a light line on the napkin to guide your kid's snipping.

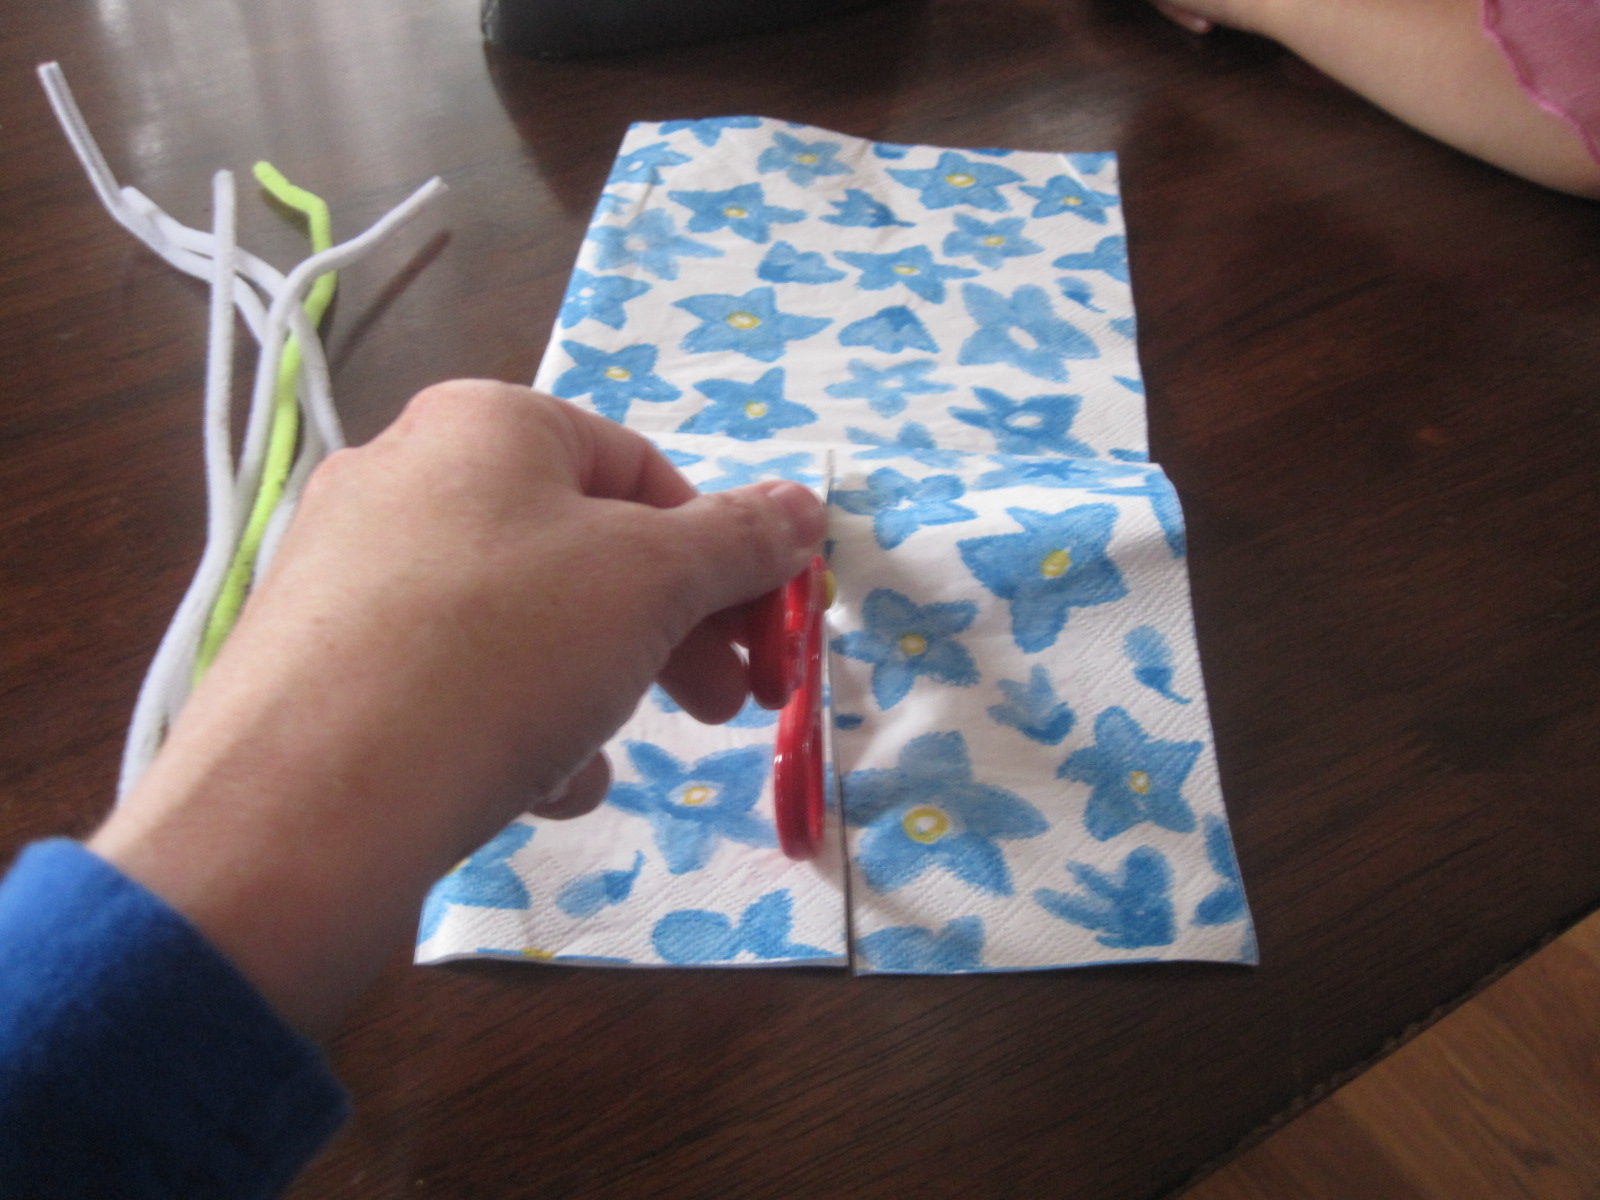
Step 3:  Cut "petal fringe" by snipping halfway into the width of the strip of napkin, repeating every quarter to half inch or so.  We cut in as far as was easy to do with one snip of the child-sized scissors.   You want to leave enough at the bottom so the petals don't tear and so you can hide the pipecleaner stem. 

Petal fringe snipping.

Step 4:  Roll your fringed strip up around a pipecleaner.  It is highly likely that at least one pipecleaner will slip out while rolling before your bouquet is done.  Don't worry, it's easy to poke it back in without re-rolling.  Tape the roll shut and let some tape extend down onto the pipecleaner so it won't pop off later.


Rolling, rolling, rolling!

Taping, taping, taping!

Step 5:  Fluff up the petals by pulling down the fringe, starting from the outer ring and working your way to the middle.  You can get extra fancy and pull some of the pipecleaner through the middle to make a stamen.  Be sure to bend down the sharp edge if you do that.  Repeat until you have enough flowers for a bouquet, or your kid gets tired.  My four year old made about half of the flowers in the picture and I made the other half. 


We had to snip the middle petals a little bit because they were rolled up so tightly.  We liked mixing to colors of napkins to make this multi-colored flower.
Optional pipecleaner stamen in the center.

Step 6:  When the vase is dry, use a plastic funnel or make a paper cone funnel and have your kid pour rice into the bottom of the painted vase.  We filled our little bottle up about an inch and a half deep.  Try tipping it over to see if it is full enough.  This not only weighs down the vase but also helps keep your flowers in position.

Adding the rice. 
Step 7:  Arrange the flowers in the vase and push the stems down into the rice so they kind of stay put.  Snip the bottom of the pipecleaners to make the flowers the correct height, if necessary. 

Step 8:  Tie a bow around the vase.  Spritz with a bit of perfume if you want to.  Done!

-N
Wednesday, June 8, 2011

Model Magic Erupting Volcano

My son's preschool class had an entire week devoted to dinosaurs.  Each day they did a dino-craft and the pregressively built what would turn out to be a huge paper-mache volcano.  Come Friday the teacher made the volcano erupt and the kids went nuts.  This was by far the coolest craft his class did all year.  He's was talking about it for days and days.  I knew we would somehow replicate the volcano, but I wasn't ready to commit the paper-mache mess.  So, this little idea came about with Crayola's Model Magic (this stuff is cool if you haven't tried it yet) and a yogurt container.

Age: 3+
Time: 20 minutes
Cleanup: I just dumped the 'lava' into the sink and threw away the mini cup.  2 minute cleanup!  We saved the 'volcano' and made it erupted at least 10 more times until we tossed it in the trash.  Be sure when erupting the volcano to have a plate underneath to catch the mess.
What You Need:
  • A couple packs of Crayola's Model Magic
  • Large plastic yogurt container
  • Mini paper cups (like bathroom cups)
  • Baking Soda
  • Vinegar
  • Scissors
  • Pen
  • Paper Plate
Why I Like This Craft:
My son had a little playdate with one of his friends.  I figured this was the perfect timet to try out the volcano.  They loved seeing it erupt! This is a quite, fun activity that kids can work on in a group.  And the cleanup is a snap.

Step 1:
Turn yogurt container upside down.  With pen, trace the top of the cup on the bottom of the yogurt container.  Cut out hole.

Step 2:
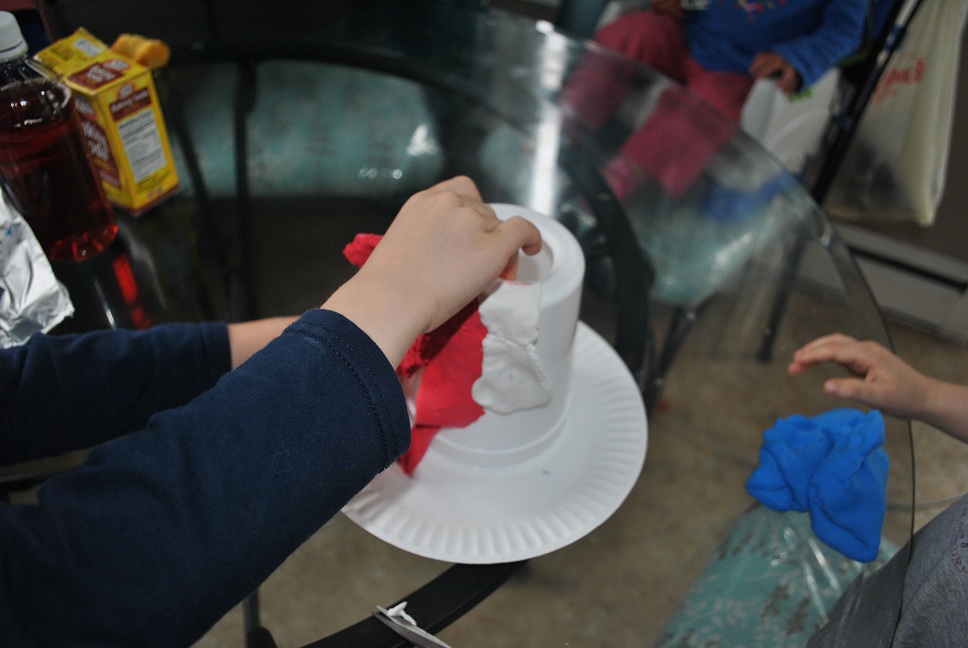
Place container on plate. Cover yogurt container with model magic.  This kids used a few different colors to make it look like lava. If I had more stuff immediately on hand, I would add little trees and maybe my son's dinosaurs around the base of the volcano.

Step 3:
Get ready to erupt the volcano!  Place a few tablespoons of baking soda into the mini cup.  Pour vinegar into the cup and watch it bubble over.  The boys thought this was so cool.  We did the eruption over and over until the novelty wore off.

That's it.  Pretty easy, right?  Enjoy!

-Rose @-}---