- Age: 2+
- Time: 15 minutes for 4 cards
- Mess/Cleanup: easy breezy @ < 5 minutes
- What You Need:
- Fancy Hole Punch or shape cutter (I love my Fiskar's Shape Cutter)
- Green and Red paper
- Glue sticks or craft glue
- Red pom-poms
- 1 cup
- Pencil
- Scissors
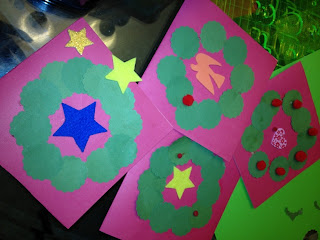
- Why I Like this Craft: I love using my new scalloped hole punch/paper shapers. I think it may be one of my favorite tools in my crafting closet. Kids can easily punch the cutouts and glue them on. The finished product looks like a wreath and with minimal meltdowns (from me or the kids).
Step 1:
Using the punch, punch out the pieces in the green paper. Once the edges of the paper were used my son cut straight lines around the voids so he can move the tools towards the inside of the paper.
Step 2:
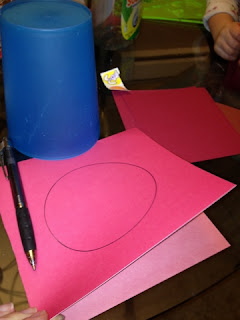
Using the red paper, trace a circle (using a cup as a guideline).
Step 3:
Using either a glue sticks or regular craft glue, encircle your traced line with glue. I don't have a picture of this step, because my 2-year old started eating the glue sticks and gluing various items to my table. I brought out the craft glue, had my 5 year old draw the glue circle, then locked the glue up in the cabinet to avoid another meltdown.
Step 4:
Have you little ones place the green circles on the glue line.
Step 5:
Decorate your wreath with pom-poms and stickers.
Again, this isn't rocket science, but it is a nice little activity. Enjoy!
-Rose @-}--


