Monday, October 10, 2011

Iron Man Rice Krispie Pops

My oldest just celebrated his 5th birthday.  Weeks prior to his birthday he informed me that he wanted an Iron Man party, so I put the gears in motion to figure out what we could put together.  I love the idea of Cake Pops (Bakerella continues to inspire me), but wasn't sure I wanted to tackle that again.  I was hoping using Rice Krispie treats in lieu of cake would make the pops a little easier to handle.  And, it was... but fair warning, these took me HOURS to make.  I wasn't even in one of my neurotic-perfectionist moods!  I just wanted to get these pops done so I had enough for my son's class.  I think they came out awesome.  I would totally make them again.  However, I would have more adult beverages on hand before I begin :)
Age: 5+ (My son helped me on some of the steps, but was bored about the frist 30 minutes)
Time: Too long!  Reserve a block of hours on your schedule.
Cleanup:  I didn't want to take a picture of my kitchen because it was a MESS!
What You Need:

  • Rice Krispie Treats (we made a homemade batch, and had some pre-made ones on hand)
  • Lollipop sticks
  • Red Candy Melts (Like these).  I forgot to take a picture of them.
  • Fruit Roll-Ups.  Look for the Cherry-Orange Wildfire ones - which only came in a variety pack.  So I had to buy a couple boxes.  You will get about 3 masks per fruit roll-up. 
  • Cookie frosting
  • Black food coloring gel
  • Gold Luster Dust (edible glittery powder)
  • Brand new paint brushes
  • Waxed paper or a silpat mat
  • Bowl
Why I Like This Craft: Because it made my son happy :)  I heard him tell his cousin that, "my mom can make anything."  He rocks.

Step 1: Form your rice krispie treats into the shape of an Iron Man helmet.  Insert popsicle stick.  When all are formed pop in the fridge or freezer.

Step 2: Melt your candy coating according to package instructions.  Mix until smooth. 

Step 3: Take your treats out of the fridge and dip the pop into the coating.  Pour chocolate over the treat to ensure everything is covered.  Shake off excess and place pop on waxed paper or the silpat mat. I made these the night before I did the decorating.

Step 4:  On your computer, Google some images of Iron Man.  I found one that I like and resized it so it roughly matched the size of my pops.  Cut out the gold part of the mask.  You could freehand this part, but for some reason I couldn't get the proportions of the mask correct, so I just snagged an image to use as a pattern.

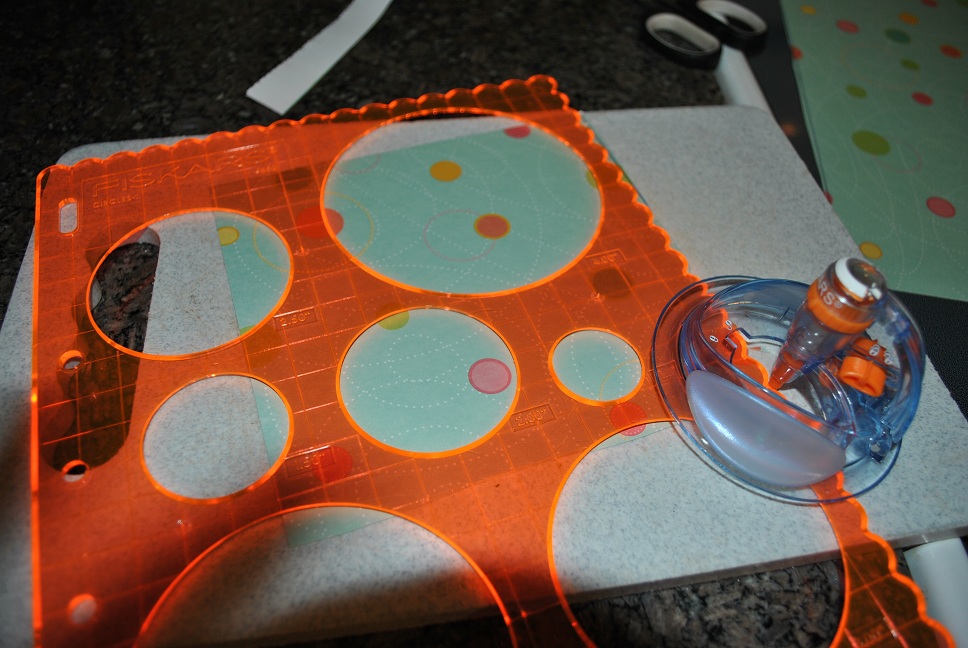
Step 5: Warning -- this is the tedious and time consuming part.  Unroll your Fruit Roll-Ups.  Place your pattern on the Fruit Roll-Up and cut out (with very clean, sharp scissors) the mask.  Note:  In the picture below I used a 2-toned Fruit Roll-Up (I don't remember the name of the flavor).  The Cherry-Orange Wildfire flavor comes with a "tongue-tattoo".  So I used a wet paper towel to wipe off the tattoo so I just had a plain roll-up.  This made things very sticky!  Also, I intially attempted to use Marshmallow Fondant for the mask, but I couldn't easily cut the fondant with the scissors, so I decided to use the Fruit Roll-Ups instead.

Step 6: "Paint" the mask with the luster dust. 
My son couldn't wait to paint the Fruit Roll-Ups.  It looks red in the picture, but it's actually an orange and yellow swirl.

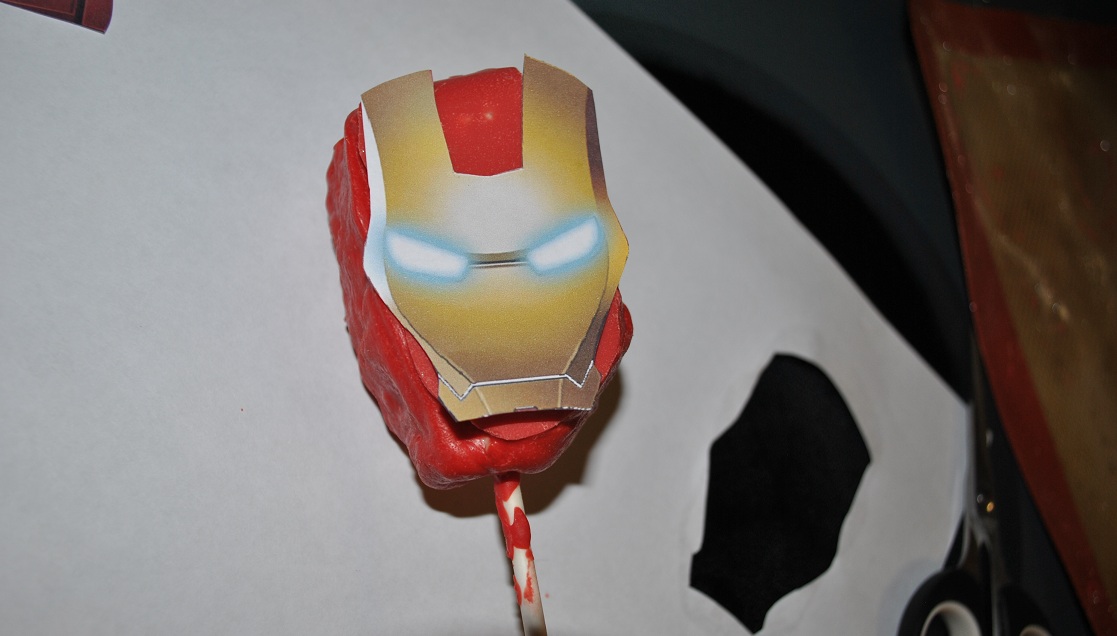
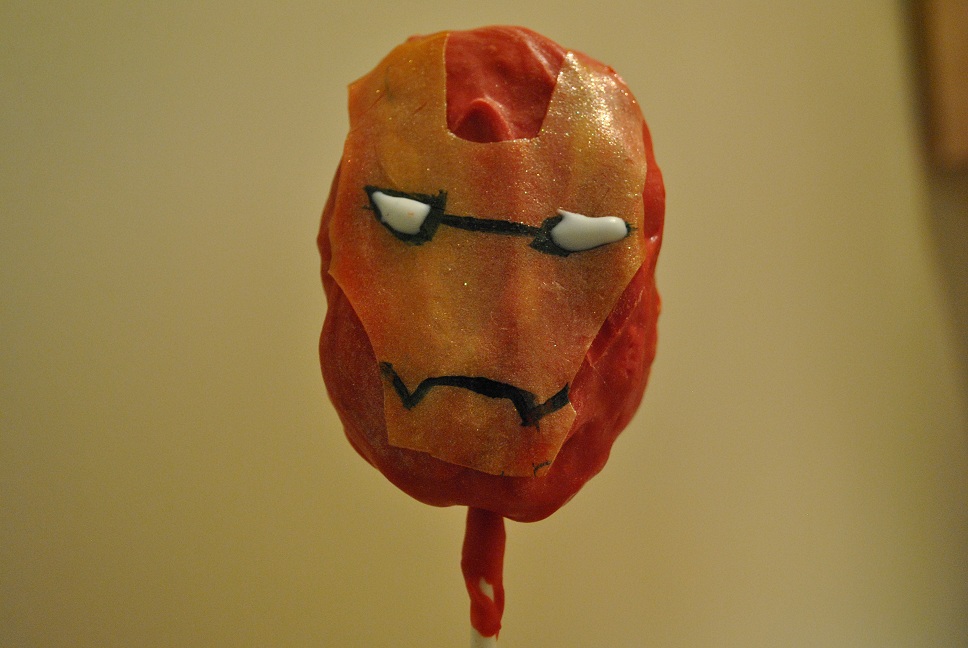
Step 7: Using your graphic as a guide, paint on the details of Iron Man's mask.  I found that black gel food coloring, with some water, and a thin paint brush made this task pretty painless.  I first attempted with a food writer, but that didn't work too well on the Fruit Roll-Up.

Step 8:  Using the cookie icing, color in the eyes.  Also, use it as glue to stick the mask on the pop.


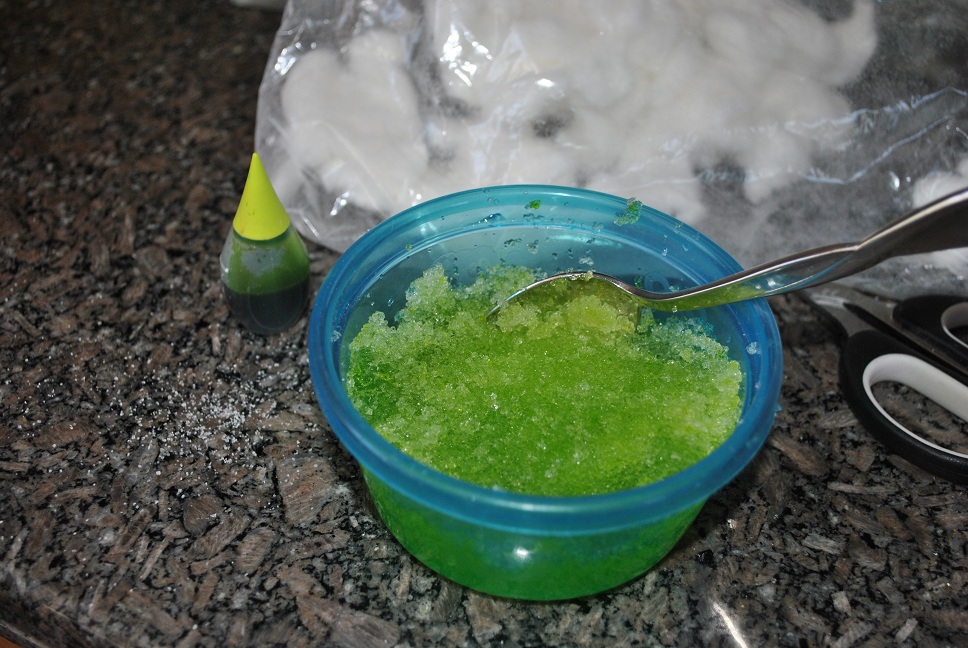
Step 9:  I was 2 pops short for the teachers, so I quickly (2 minutes) whipped up these apples.  Cute, aren't they?  I just cut a green candy melt in half to use as the apple leaves.
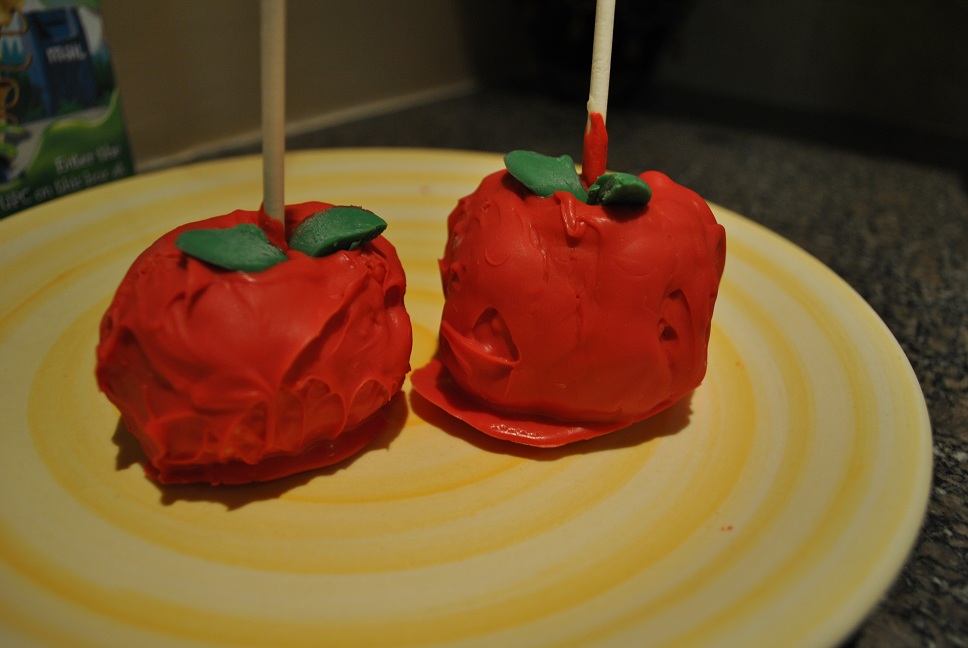
A is for Apple Rice Krispie Pops

That's it.  I individually wrapped the Iron Man pops in little baggies. Very easy to transport!  I think it took me so long because of my trials and errors (including an extra trip to the grocery store) - and getting rid of those darn tongue tattoos!  But the final product is very exciting to a 5 year old. 
Good Luck!

P.S.  I didn't have it in me to create another 2 dozen pops for my son's home birthday party, so we made simple Iron Man cupcakes with a yellow/red swirl icing (Hello Cupcake! is a great book for decorating tips and tricks).  We even made the little confetti cupcake topper.  Super easy craft that both of my kids enjoyed.  I'll post those instructions in another thread.
Iron Man party cupcakes

-Rose @-}---


Slime Time!


For those of you that don't know me, Halloween is my favorite time of year.  For weeks I've been dreaming up new stuff to make that's within theme for this holiday.  Here's a little recipe to make some easy slime jelly.  I've had this little "trick" stored in the back of my brain since I first learned about polymers as a Girl Scout back in the 80s.  It's still fun to make, and now I always have diapers on hand. 

Age: 5+ (I think any younger and they would want to eat the slime.  This is NOT edible!)
Time: 5-10 minutes
Cleanup:  Fairly contained, nearly mess-free!
What You Need:
  • 1 diaper
  • 1 big ziplock bag
  • Scissors
  • Bowl
  • Food Coloring
  • Water
Why I Like this Craft:  This is surprising simple to make; and if you have a non-potty trained little one in your household, you have everything you need!  When you're ready to toss your slime, you can add it to your potting soil.  The polymer will help maintain moisture in your soil.  Pretty clever, huh?

Step 1:  Cut the cotton core out the diaper.  Discard the remaining pieces.

Step 2: Place the cotton in a ziplock bag.  Close tightly.


Step 3: SHAKE IT! (...like a Polaroid picture...).  This will help separate the powder (the polymer) from the cotton.

Step 4: Move all of the powder to one corner of the bag. Cut one corner off of baggie.  Carefully pour the powder into a bowl.

Step 5:  Add water to the bowl and stir.  It's pretty neat to water the powder swell with the water.  When you mix it, it kind of looks like snow.

Step 6:  Add food coloring and enjoy the squishy goo.
Right now is the perfect time to work on your Mad Scientist skills.  Have fun!

-Rose @-}---


Pretty, pretty Pinwheels

A.C. Moore was having a 50% sale on all packages of cardstock.  Little did I know that this sale would start my new affection for pretty paper crafts. Looking for a reason to use my new paper, I figured we would try making some tiny pinwheels.  Mission accomplished.


Age:  Any age can play with the finished craft; but scissors skills are needed.
Time:  Only about 5 minutes.
Clean-up:  Some paper scraps.
What You Need:

  • Cardstock.  (I used two-sided cardstock)
  • Scissors
  • Pencil with eraser
  • Stick Pin
  • 1 Bead
What I Like This Craft:  You can make these pinwheels in any size.  I think they would look adorable grouped together on a streamer for some birthday party decorations.  Aside from the decorations, my kids throughly enjoyed playing with the pinwheels for 2 days.  20 minutes at least were spent in front of the fan watching them spin!

Step 1:
Cut paper into a square.  The second time I created a pinwheel I used my new Fiskars Shape Cutter to trim a scalloped edge.
Fiskars Shape Cutter

Step 2:
Find the middle of the square and mark with a dot.  Draw a diagonal line from each corner towards the center.  End the line about 3/4 inch away from the dot.

Step 3:
Cut along the diagonal lines.

Step 4:
Fold over every other corner towards the center.  Using the straight pin, gather each corner that meets in the minddle, and poke through the paper near the tip of the corner.
Step 5:
Using the bead a spacer, thread the pin through the bead and stick in the pencil eraser.

5 minutes and you're done.  Enjoy. 
-Rose @-}---