Thursday, November 25, 2010

Snow Sculptures

Over here in PA it's SNOWING (yay!) on Thanksgiving. Immediately my son reminded me that we needed to build him a dinosaur I think we'll have to wait a little longer until we get more snow, but I just wanted to post some pictures of last year's sculptures.  I can't wait to see what we (me) will be building this winter.

Age: 1-100 years (with some help from Mom for the sculpting part)
Time:  This depends on the quantity and quality of the snow.  Each of these scultures took about 30 minutes.
Clean-Up: It all melts!
What You Need: Snow, Warm Gloves, Spray Bottle with Food Coloring/Water Mix.  And if you plan on making something green, be sure to add more blue than yellow, else your snow will look like a dog peed on it.  (See alligator picture)


He tamed the alligator.

We used twigs and pinecones for the teeth, claws, and eyes.
 
We were watching "Little Bill" on Nick Jr.  Little Bill and his friend built a "Snow Racer".  Here's our version.  My son's favorite part was spraying the car blue. 
Have fun!
-Rose
@-}---

Wednesday, November 24, 2010

Homemade Hobby Horse - Ride 'Em Cowboy!

Background:
Somehow my little ones got a hold of 2 wrapping paper tubes.  I'm not sure where the wrapping paper went, but my 4 & 18 month old were having tons of fun riding their witch's broom and pony; and when I told my son I could make the tube into a pony he was ready to craft! That's how this impromptu craft started.


Age: 2-6 years
Time:  15-30 minutes + play time
Mess/Cleanup:  It's a little messy with the glue and the yarn pieces.  Maybe a 3 out of 10 on a messy scale.
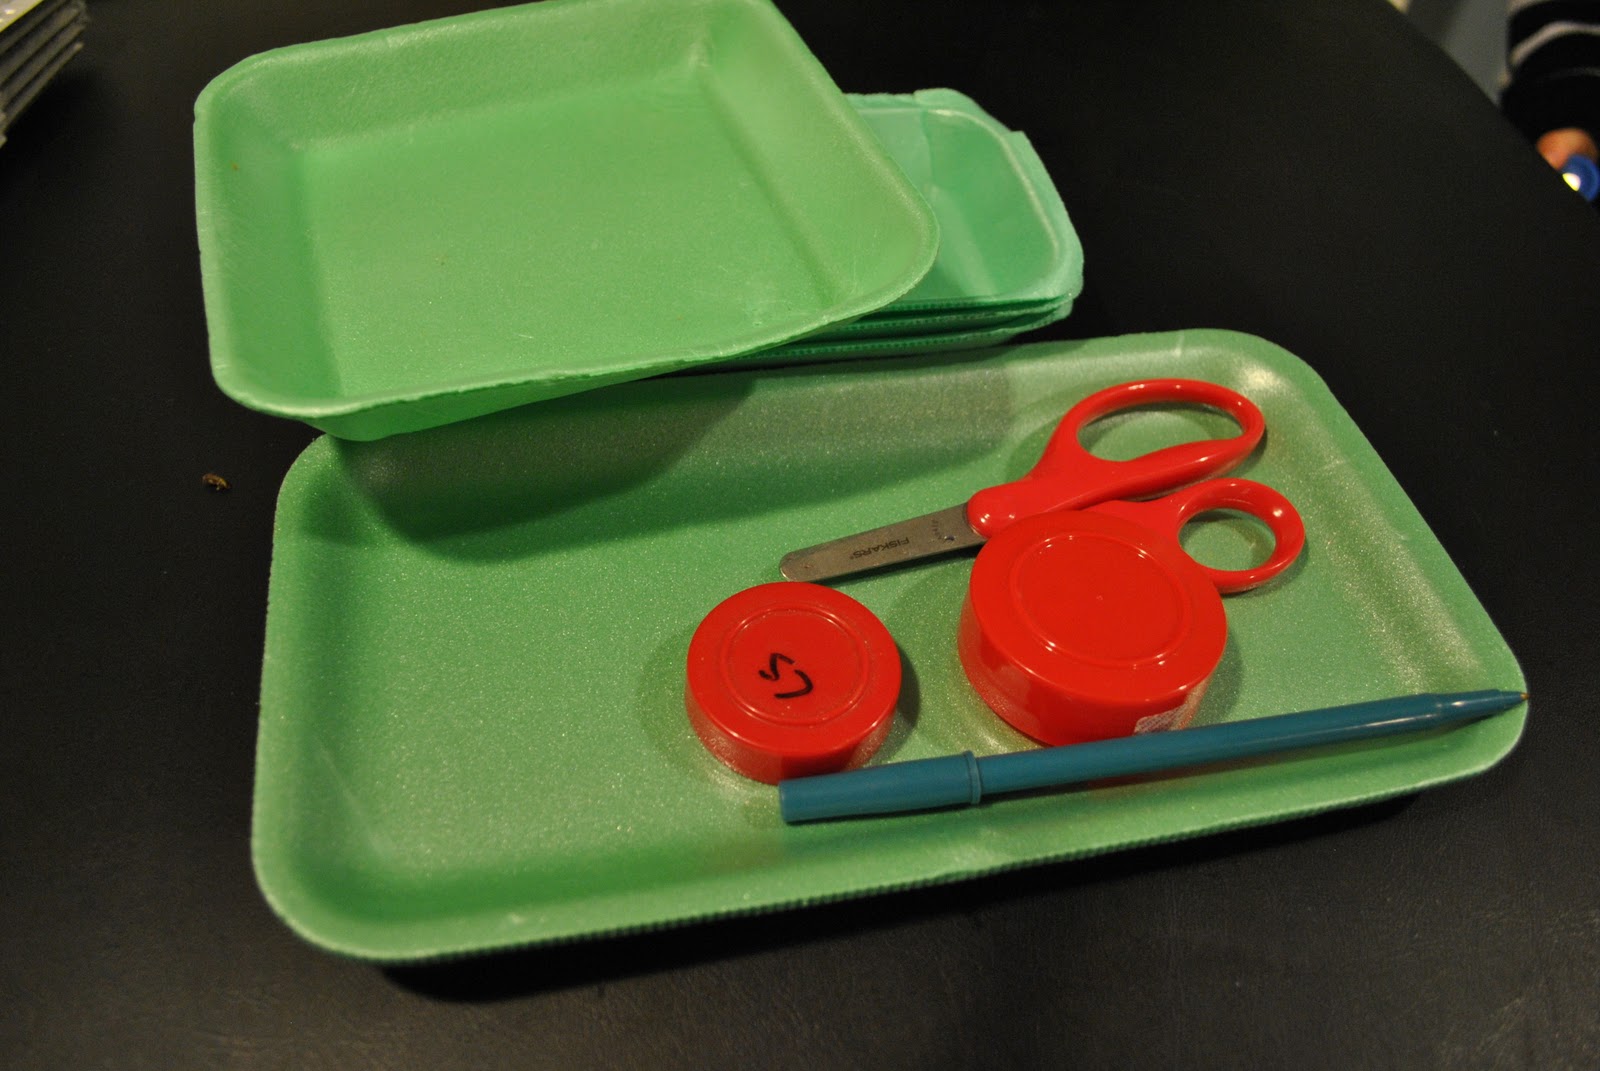
What You Need: Scissors, Construction Paper, Googly Eyes, Wrapping Paper Tube, Marker, Glue or Glue Stick
Substitutions:
  • Felt instead of paper
  • Draw eyes instead of googly eyes
  • Stapler instead of glue
  • Shredded or crinkly paper instead of yarn
Why I Like This Craft: Again, I like this toy because it can be tossed if it gets ruined.  It also gives me another use for those wrapping paper tubes!  I'm sure my kids will play with this for a few days and forget about.  I'll probably toss the horse head and save the tube for future projects.


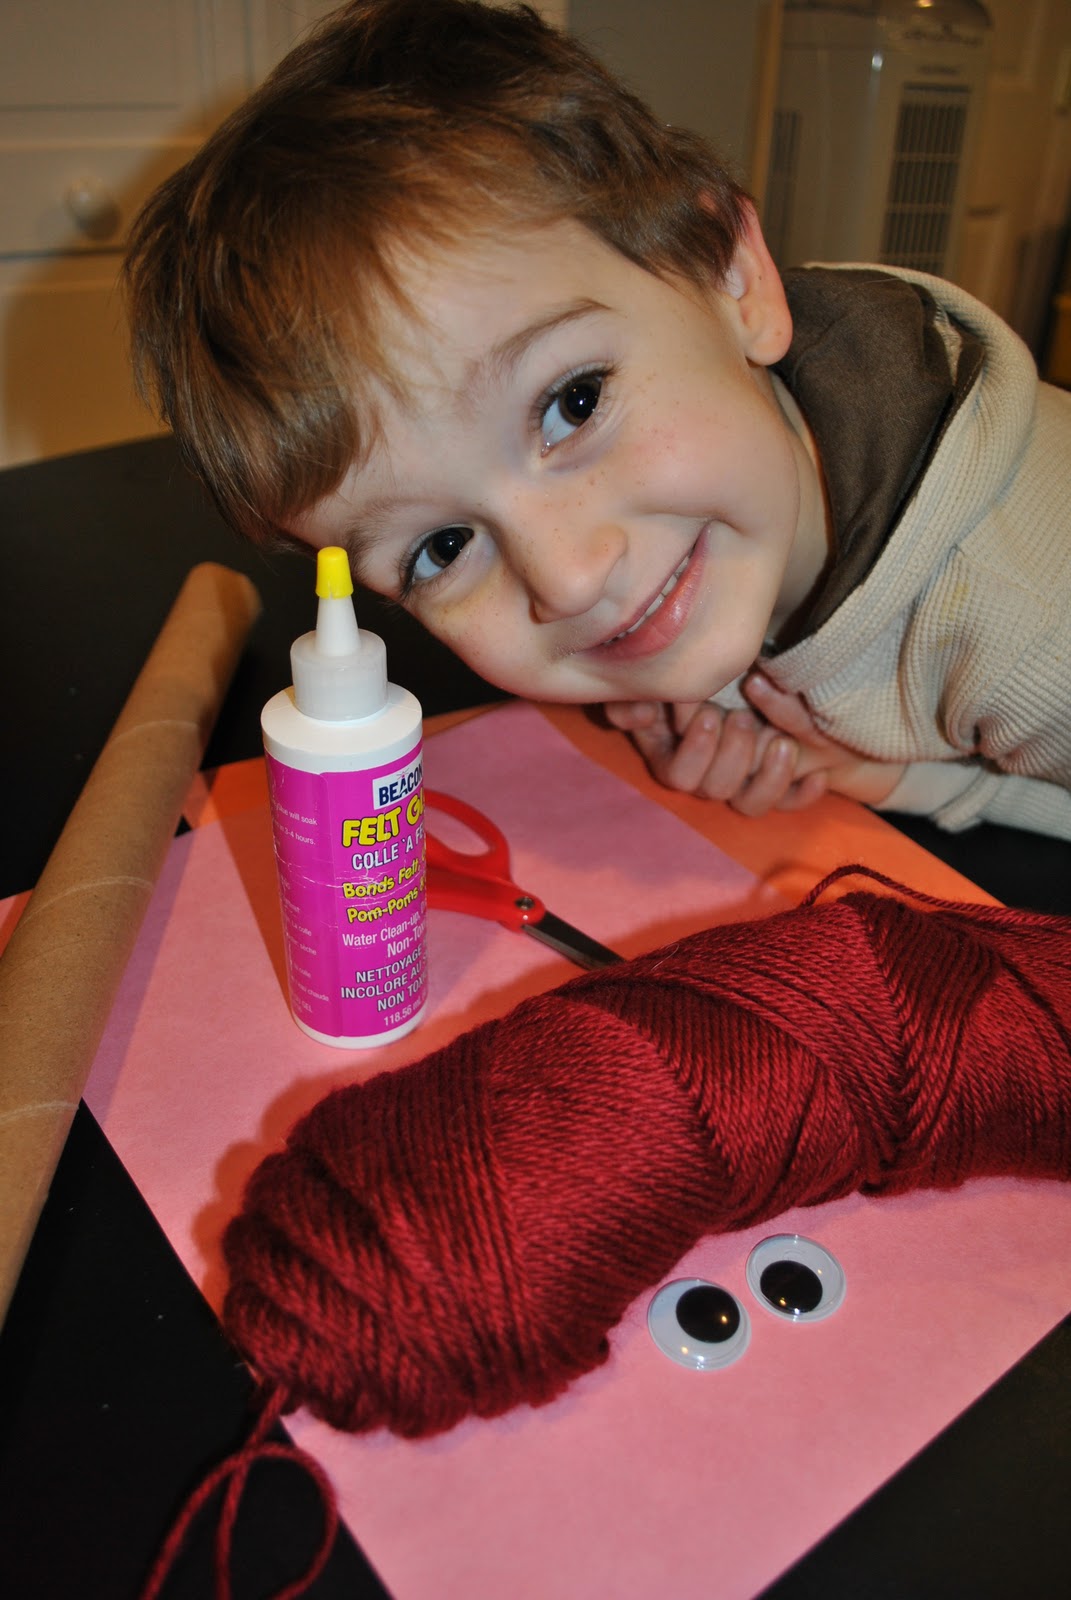
The Stuff: Cute Kid, Paper, Yarn, Googly Eyes, Glue, Scissors, Wrapping Paper Tube

How to Make This:
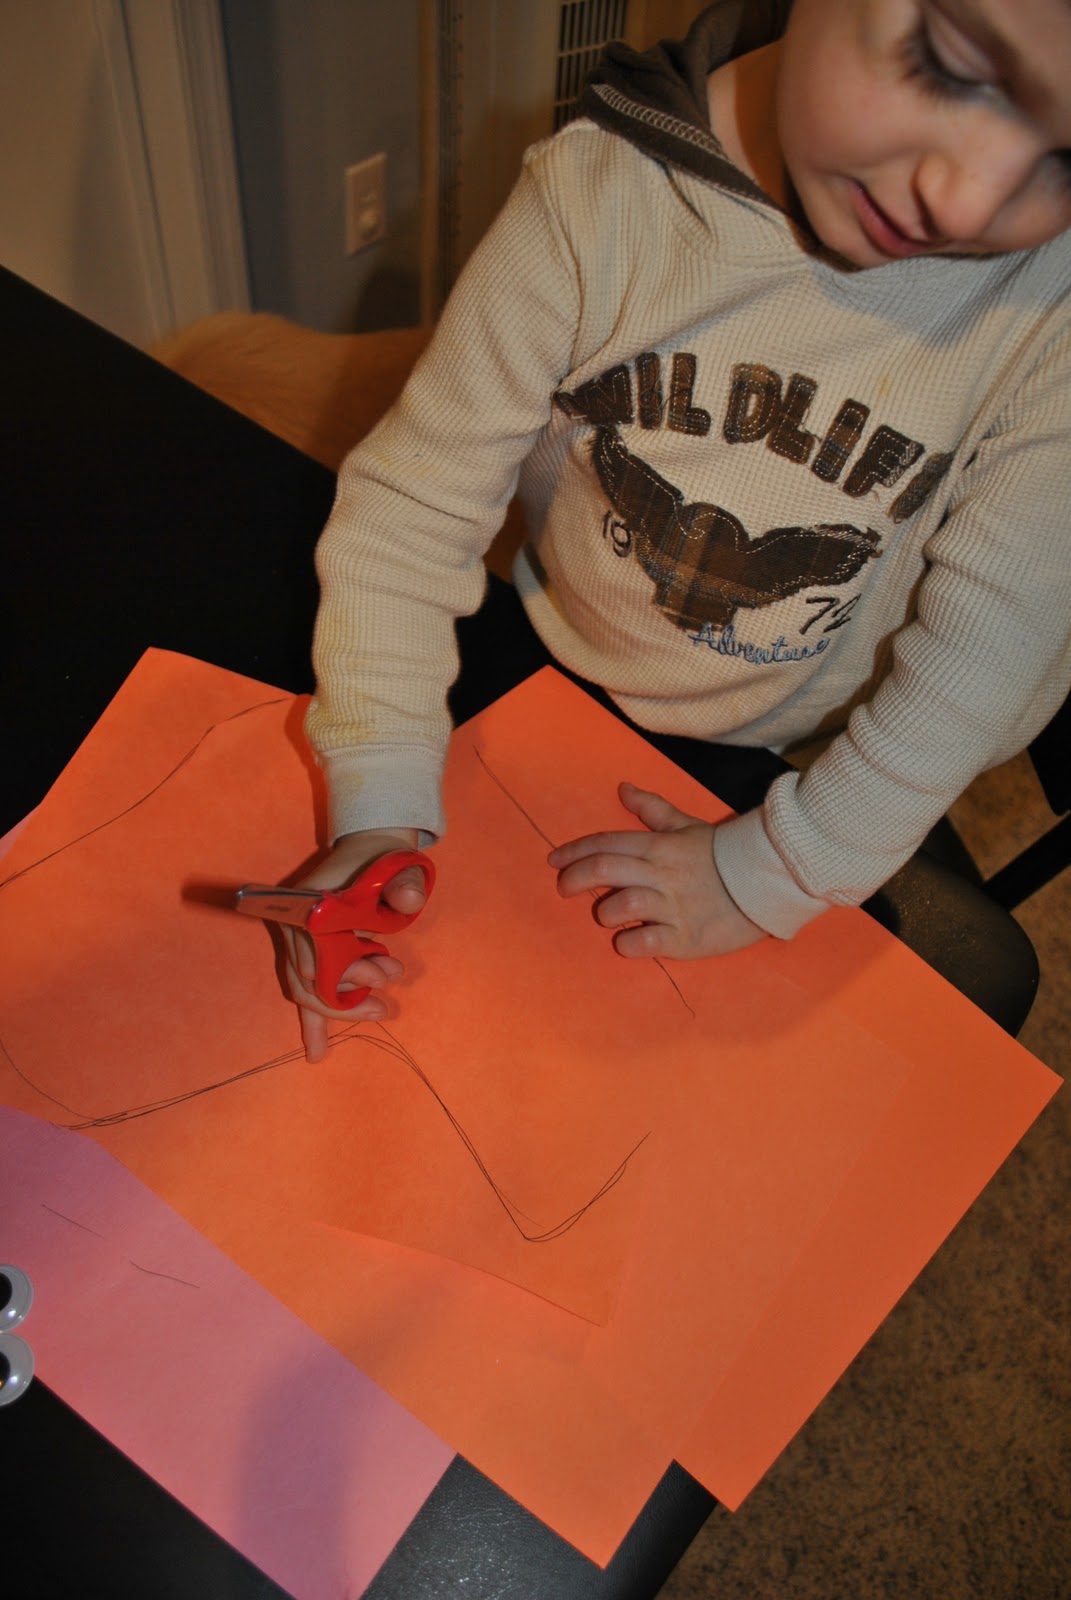
  1. Draw a "L" shape on the paper.  It kind of looks like a stocking. 
  2. Cut out 2 shapes.  This will make the both sides of the horses head.  Also cut out 2 shapes to resemble the horse's ears.
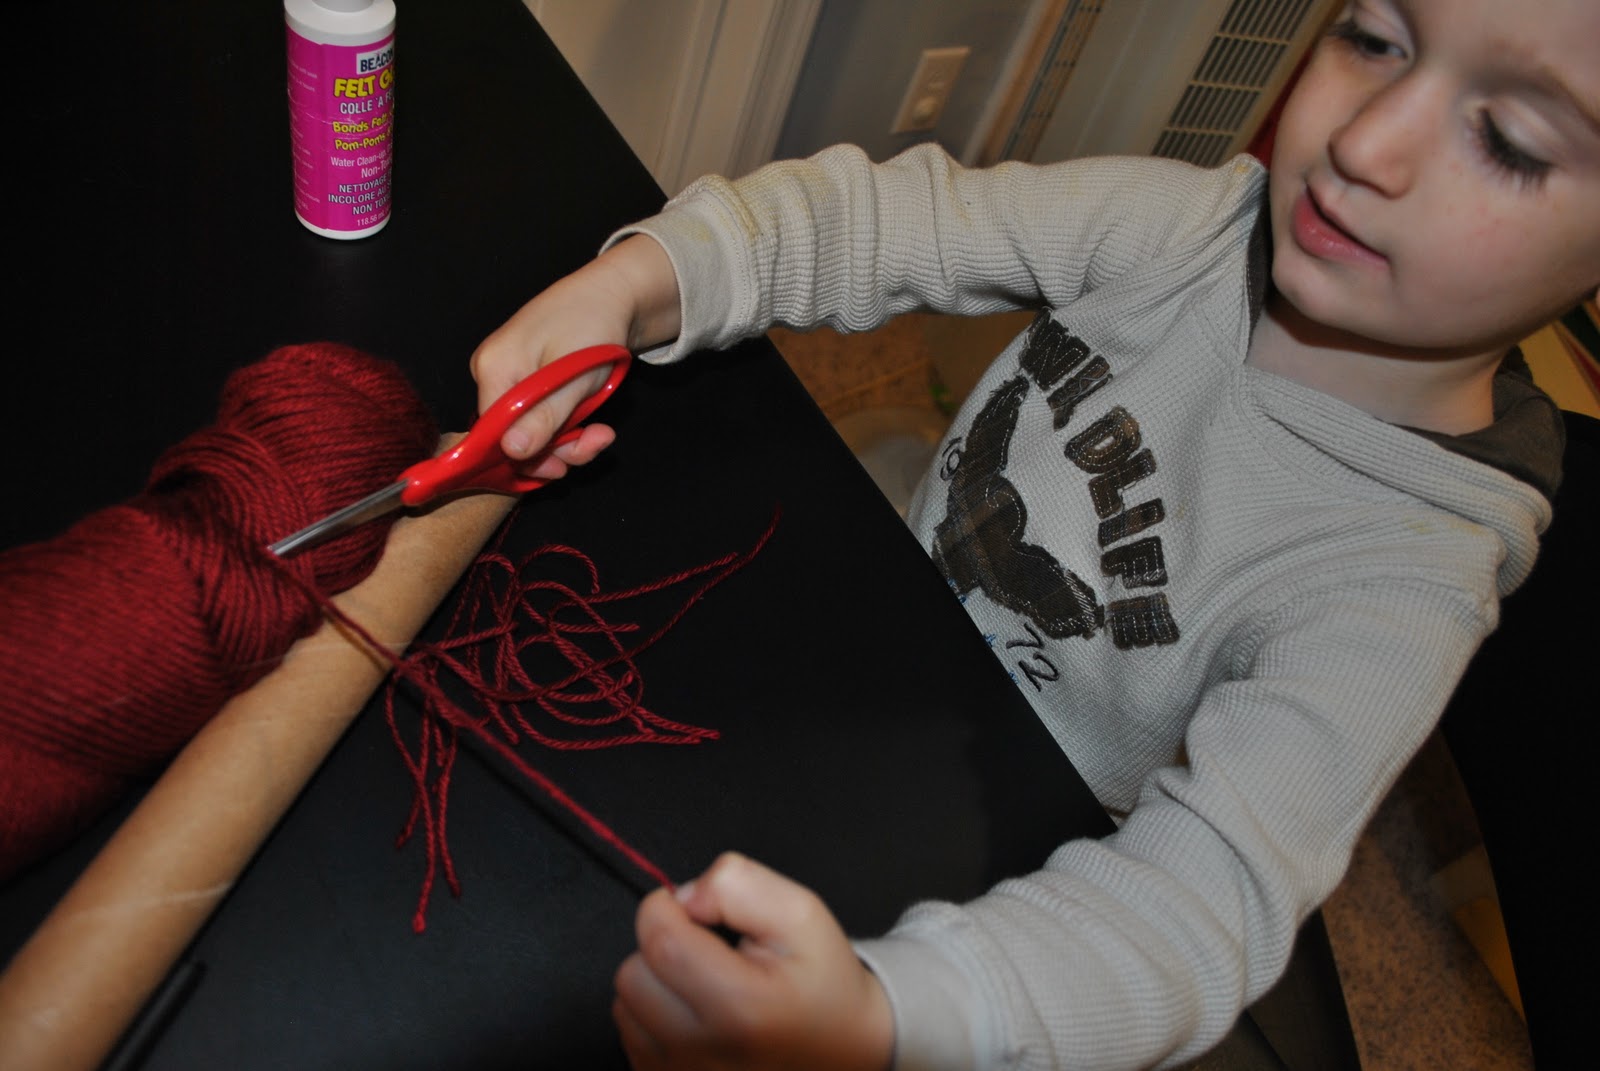
  3. Cut out strands of yarn about 6 inches long.  My son loved this part!
  4. With one "L" piece, run a bead of glue on the side of the paper that would be the horse's neck and arrange pieces of yarn on the glue so they hang to the outside of the paper.  When you're done placing all of the yarn pieces, run another bead of glue over the yarn and the perimeter of the "L", leaving space at the base of the 'neck' so you can insert the tube in a later step.
  5. Squish or sandwich the second "L" piece on top of the glue (another favorite part for my 4 year old).
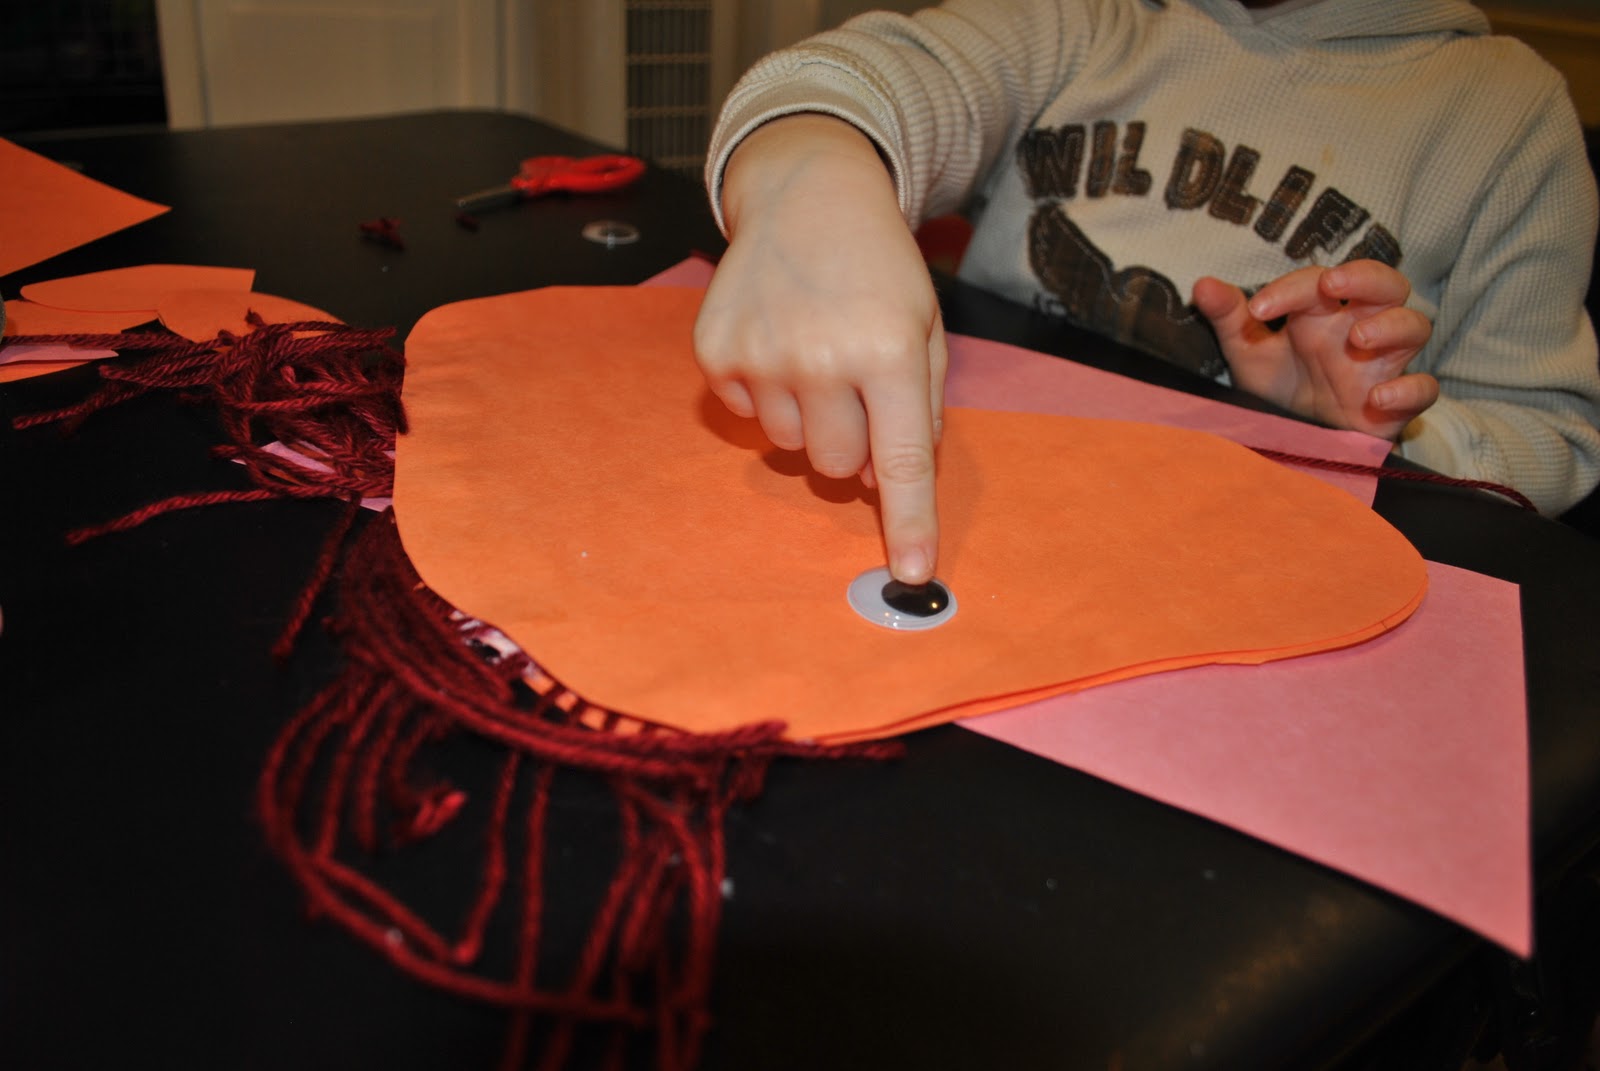
  6. Add the googly eyes, ears, mouth.
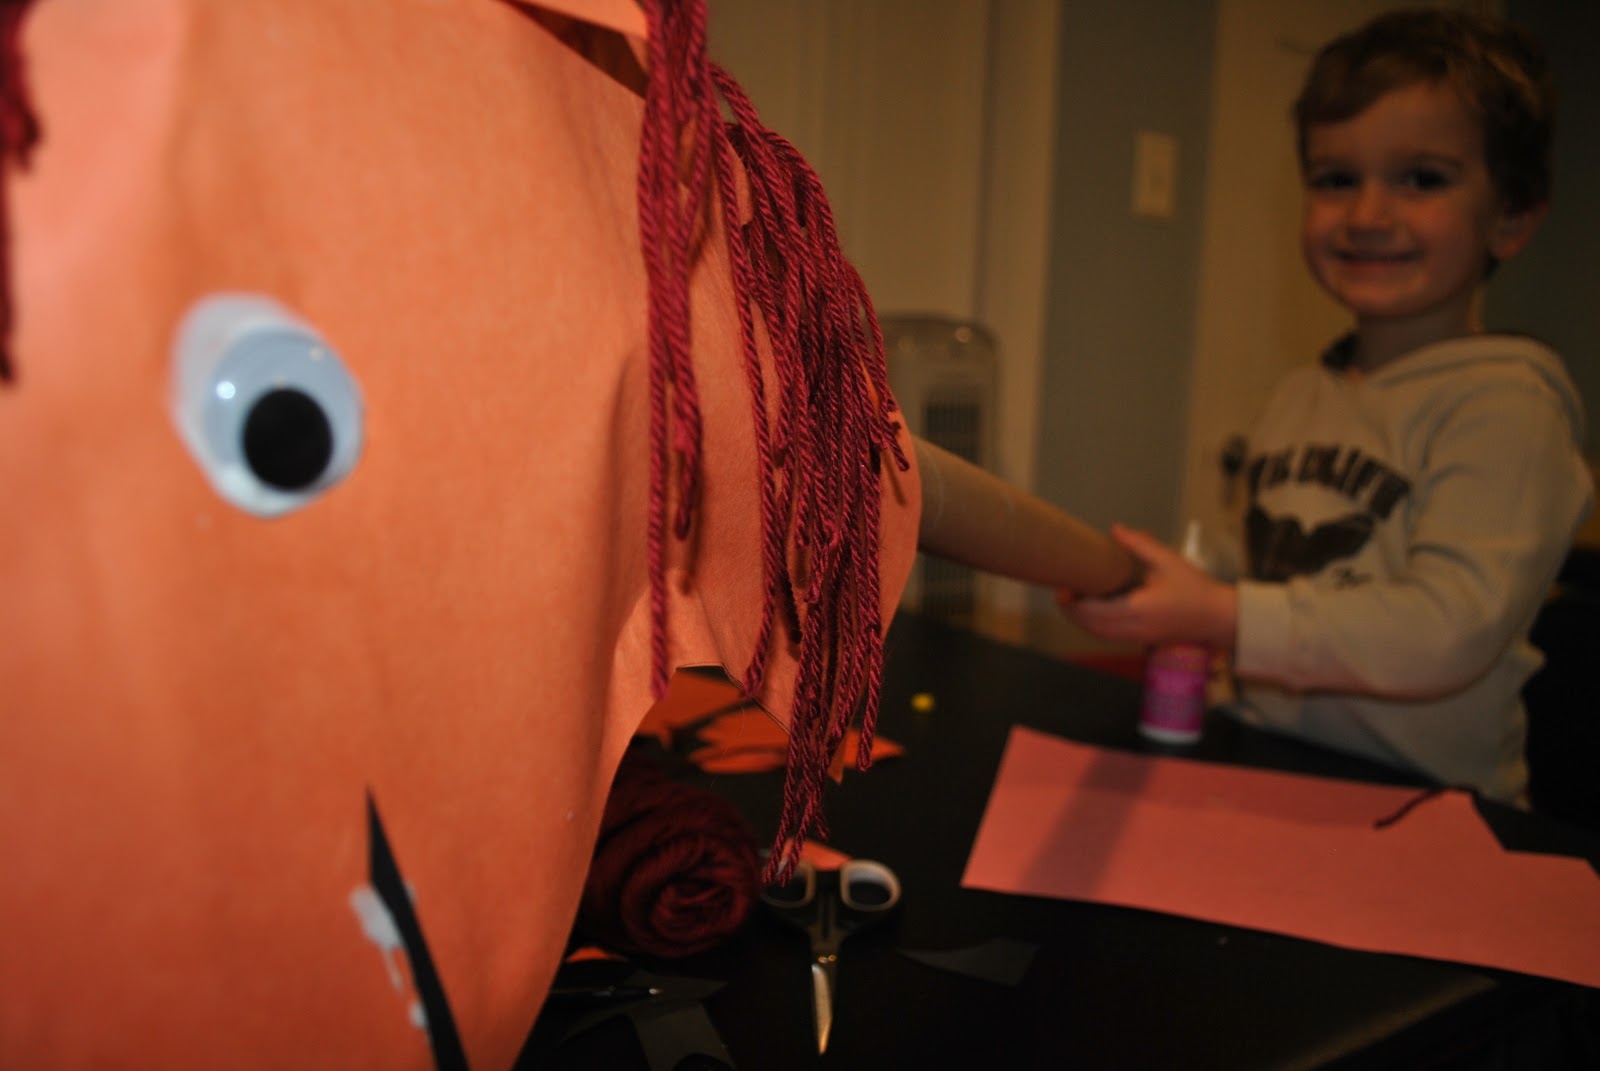
  7. Insert the wrapping paper tube at the base of the horse's neck.  I didn't glue the head to the tube. I think it would be too messy and this way we can make a variety of interchangeable "heads".
Amp It Up!  If my sewing machine wasn't on the fritz, I would seriously consider sewing all of these pieces to make a Mommy-craft.  I can't imagine it being that hard.  Just sew some felt pieces, lots of yarn for the mane, fill the head with stuffing, wrap an old broom stick with ribbon or just wrap the tube with ribbon.  I think you can't go wrong!

Enjoy!
-Rose
@-}---

Make-Your-Own Connector Set Toy

Background:
When I was little my mom used to save everything if you she thought it could potentially be useful in a craft or as a substitute for a toy.  For example, those little tins on the ends of biscuit containers served as my Barbie's dinnerware for years.  She also saved the styrofoam packaging from groceries for us to make a variety of glittery Christmas ornaments.  That styrofoam  is pretty durable, since 30+ years after I made those ornaments they still make their yearly appearance on her Christmas Tree.  My local grocery store packages all of their fruits and vegetables styrofoam trays and I started to feel really guilty just throwing them away.  So, here's my idea for reusing stryofoam .... Make-Your-Own Connector Toys, something similar to K'nex.

It's a bird, a plane?  Who knows... but it was fun!
Age: 3-10 years
Time:  15-30 minutes + play time
Mess/Cleanup:  Really easy clean-up.  Just brush the leftovers and broken pieces in the trash.
What You Need: Scissors, Marker/Pen, Styrofoam Packaging, Something to trace circles (I used lids from my spice containers)
Why I Like This Craft: My son loves to build stuff; however most of our building toys have a million pieces and it's inevitable that 1/2 the pieces are missing.  When I find these missing pieces in my shoe or in the bottom of my purse I'm always tempted to throw it away.  With this craft, it's an activity and a toy.  And if one of the pieces end up where it's not supposed to be I can thow it away without the guilt.  It was destined for trash anyway!

The Stuff: Scissors, Pen, Spice Lid, Styrofoam
How To Make This:
  1. Trace/Draw shapes onto styrofoam
  2. Cut out shapes.  My 4-year loves his safety scissors and they work perfectly on stryfoam.  He was able to easily cut of circles, squares, and various "freeform" shapes.
  3. Cut out little notches around the shape.  These notches will allow you to connect the pieces together.  Depending on the age of your child, you may want to do this part.  My son got a little scissor-happy and a number of the circles transformed into half-moons, so I took over this step and used my super-sharp mom scissors to cut the notches.
  4. That's it!  You're ready to create!

Enjoy!
-Rose
 @-}---

Monday, November 15, 2010

Just the Beginning

Nancy and Rose are currently compiling the first round of crafts.  Stop by soon to see the first submissions!